
KZ1000A1 Spare Parts Project
- calum
-
 Topic Author
- Offline
- User
-

Registered
- Posts: 1144
- Thanks: 415
Re: KZ1000A1 Spare Parts Project
11 Feb 2022 13:24
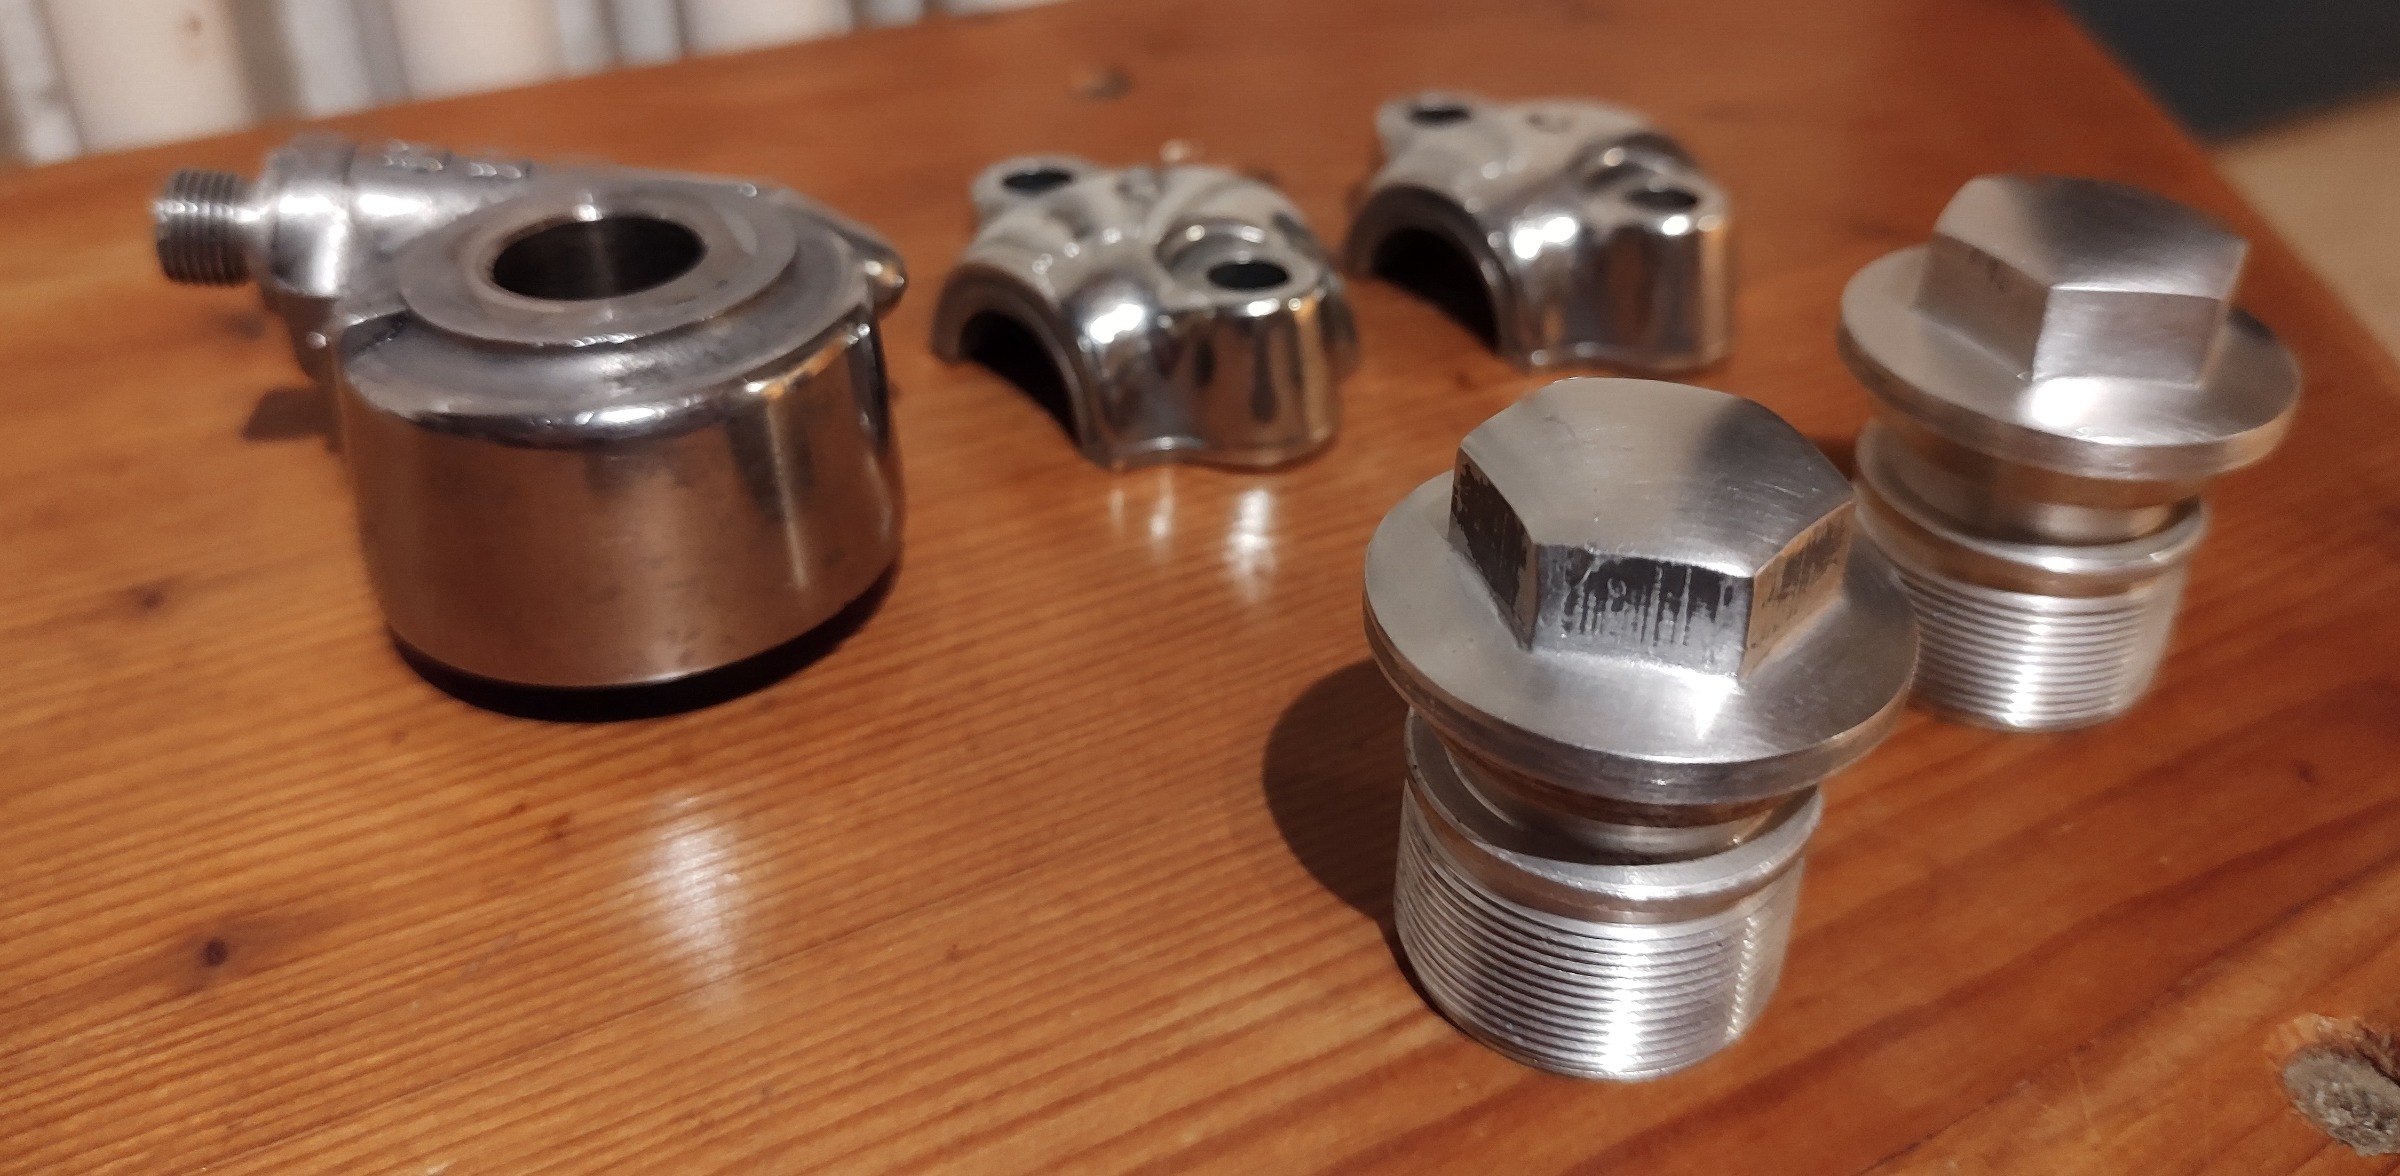
Did some of my least favourite work today. Thankfully nothing more to polish for a while ")
KZ1000 Restomod (
www.kzrider.com/forum/11-projects/614517-1977-kz1000-restomod
)
1977 KZ1000A1 ( www.kzrider.com/forum/11-projects/616901...-spare-parts-project )
1980 KZ750H ( kzrider.com/forum/11-projects/612054-kz750h-restoration )
2000 BMW F650GS
1977 KZ1000A1 ( www.kzrider.com/forum/11-projects/616901...-spare-parts-project )
1980 KZ750H ( kzrider.com/forum/11-projects/612054-kz750h-restoration )
2000 BMW F650GS
Please Log in or Create an account to join the conversation.
- calum
-
Topic Author
- Offline
- User
-
Registered
- Posts: 1144
- Thanks: 415
Re: KZ1000A1 Spare Parts Project
04 Mar 2022 06:38
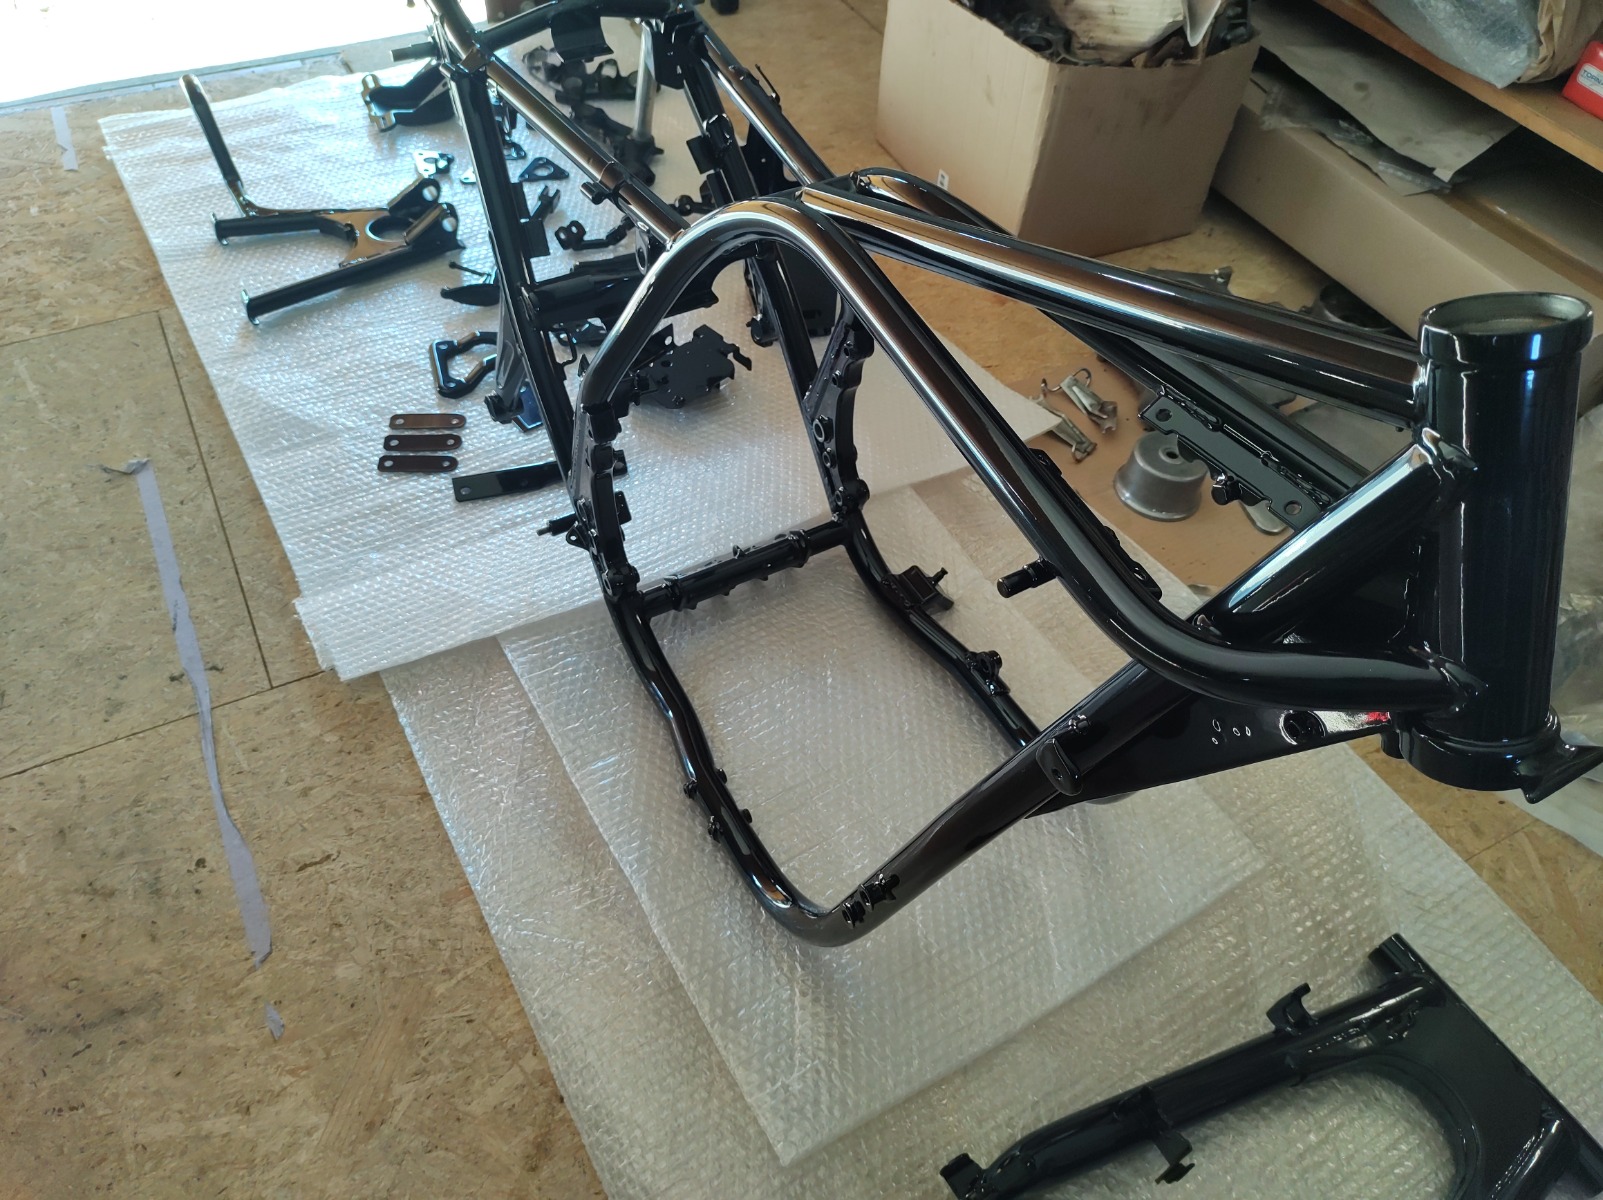
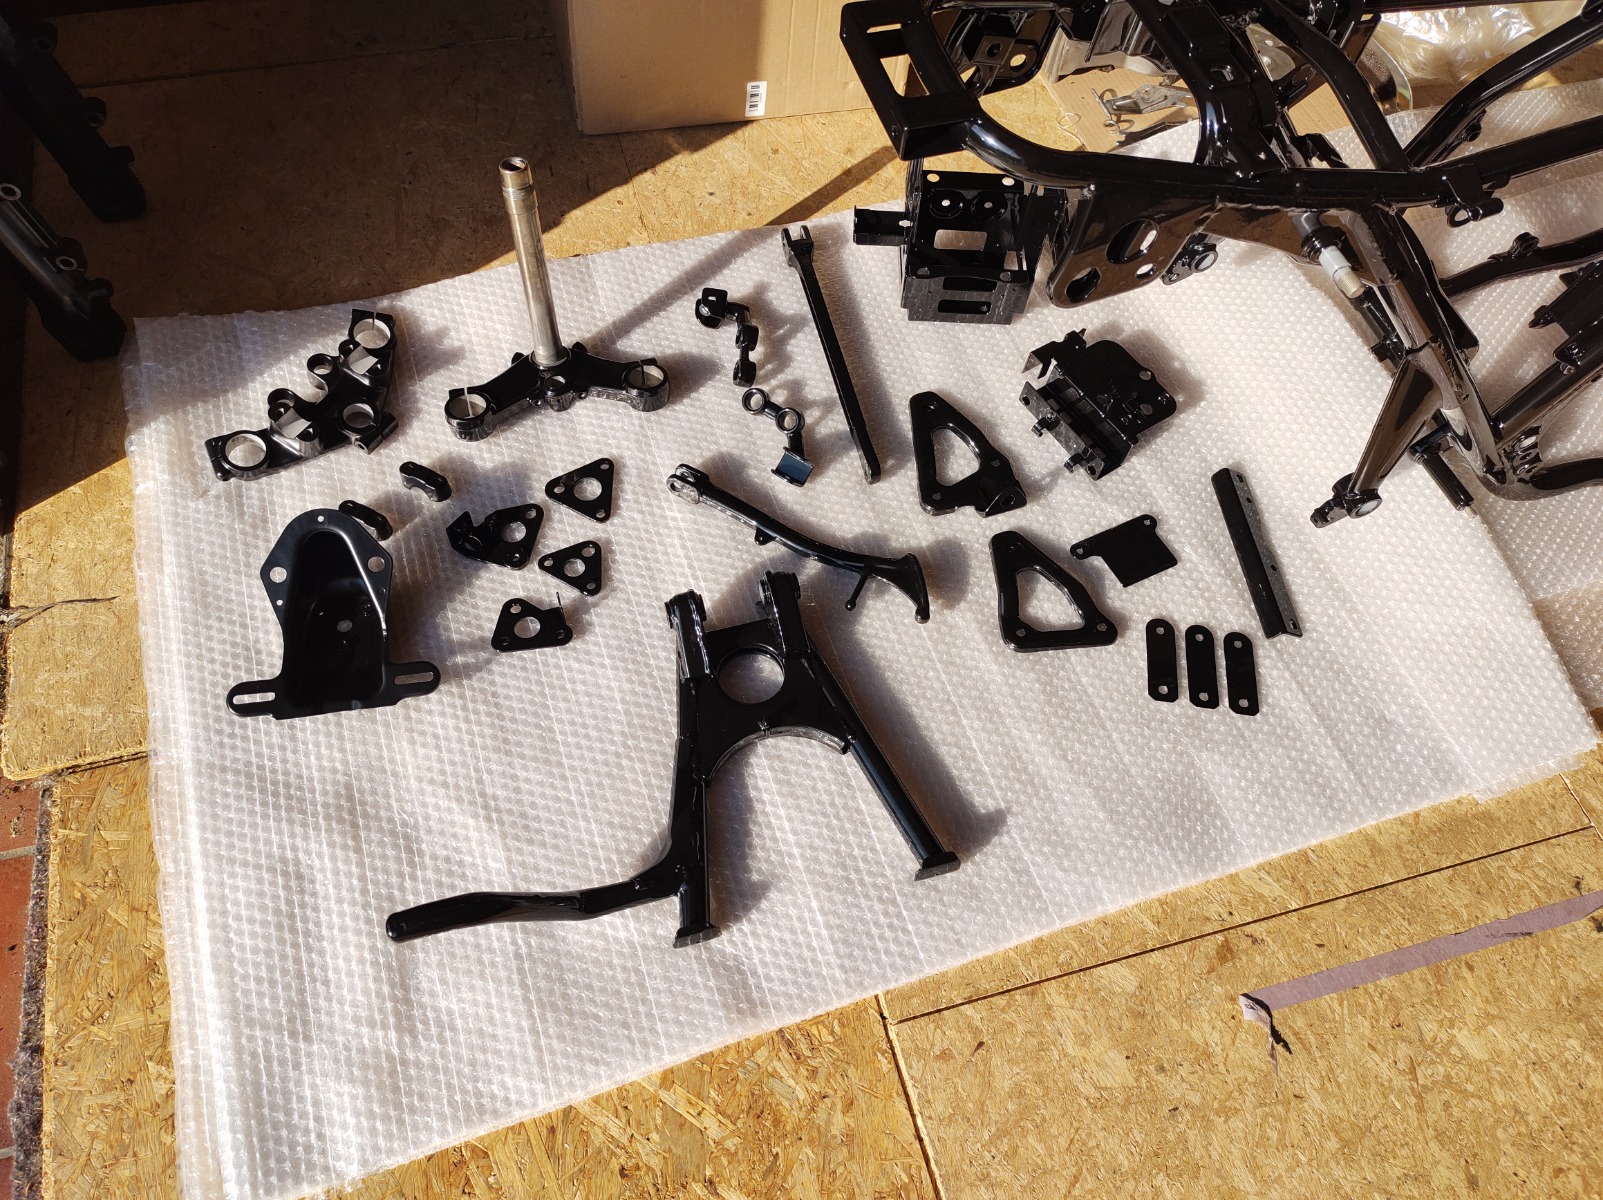
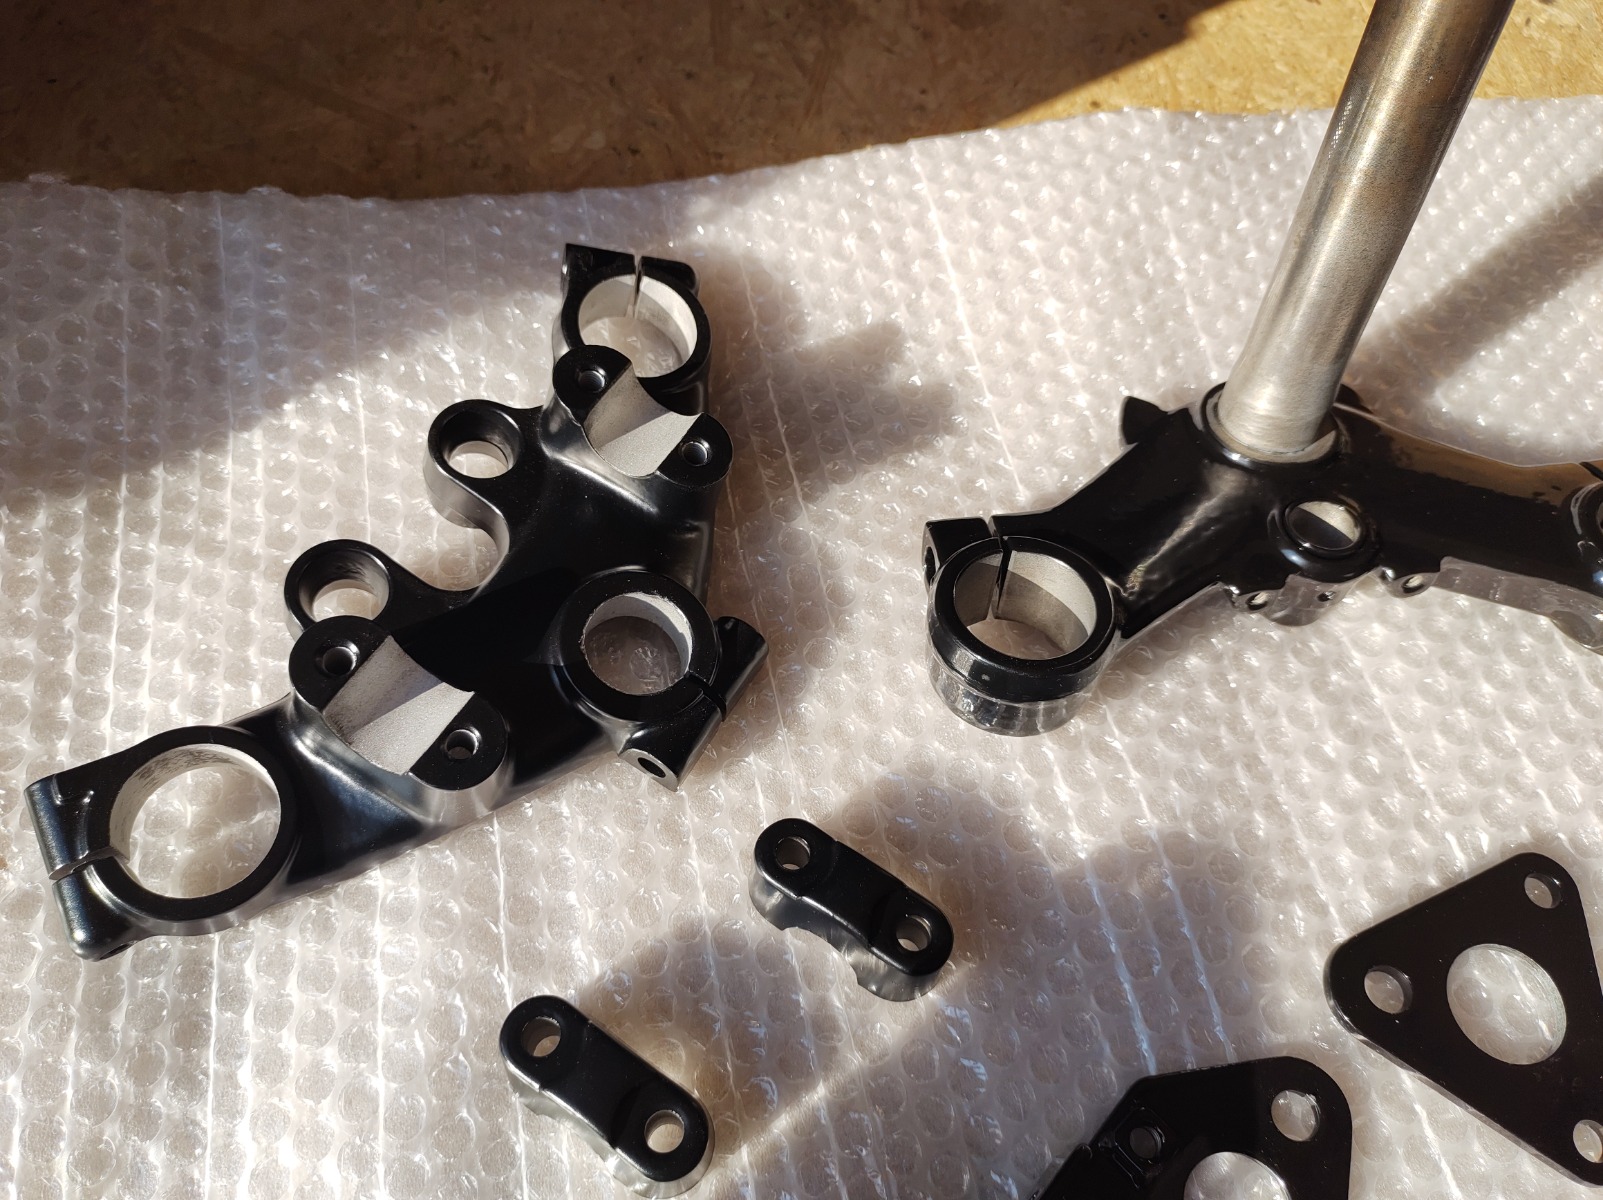
Got everything back from the powder coaters today. Went with the stock gloss finish (except the taillight bracket and top triples). Was a bit worried it would be too glossy but it is a very nice finish - not overdone. You can see the difference in the photo of the top and bottom triples.
It was hard to get a decent photo as I am running out of room in the garage.
It was hard to get a decent photo as I am running out of room in the garage.
KZ1000 Restomod (
www.kzrider.com/forum/11-projects/614517-1977-kz1000-restomod
)
1977 KZ1000A1 ( www.kzrider.com/forum/11-projects/616901...-spare-parts-project )
1980 KZ750H ( kzrider.com/forum/11-projects/612054-kz750h-restoration )
2000 BMW F650GS
1977 KZ1000A1 ( www.kzrider.com/forum/11-projects/616901...-spare-parts-project )
1980 KZ750H ( kzrider.com/forum/11-projects/612054-kz750h-restoration )
2000 BMW F650GS
Please Log in or Create an account to join the conversation.
- calum
-
Topic Author
- Offline
- User
-
Registered
- Posts: 1144
- Thanks: 415
Re: KZ1000A1 Spare Parts Project
12 Mar 2022 09:17 - 12 Mar 2022 09:38
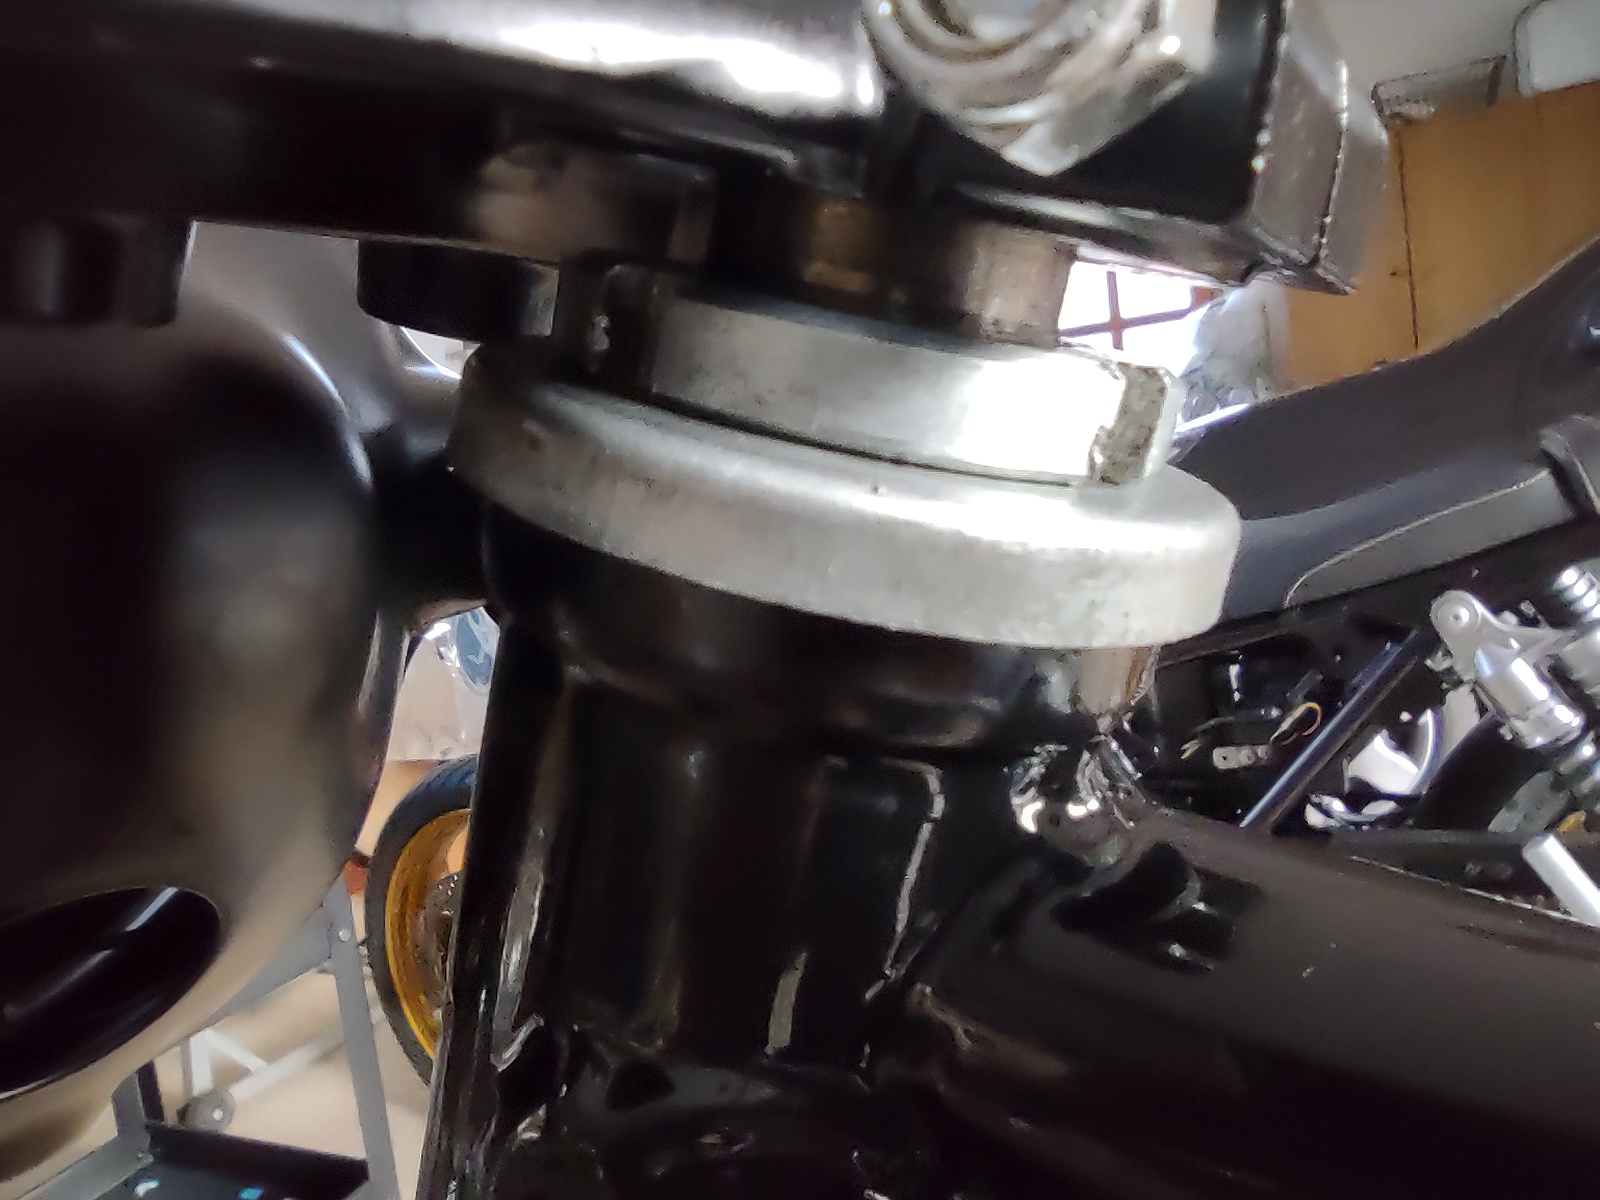
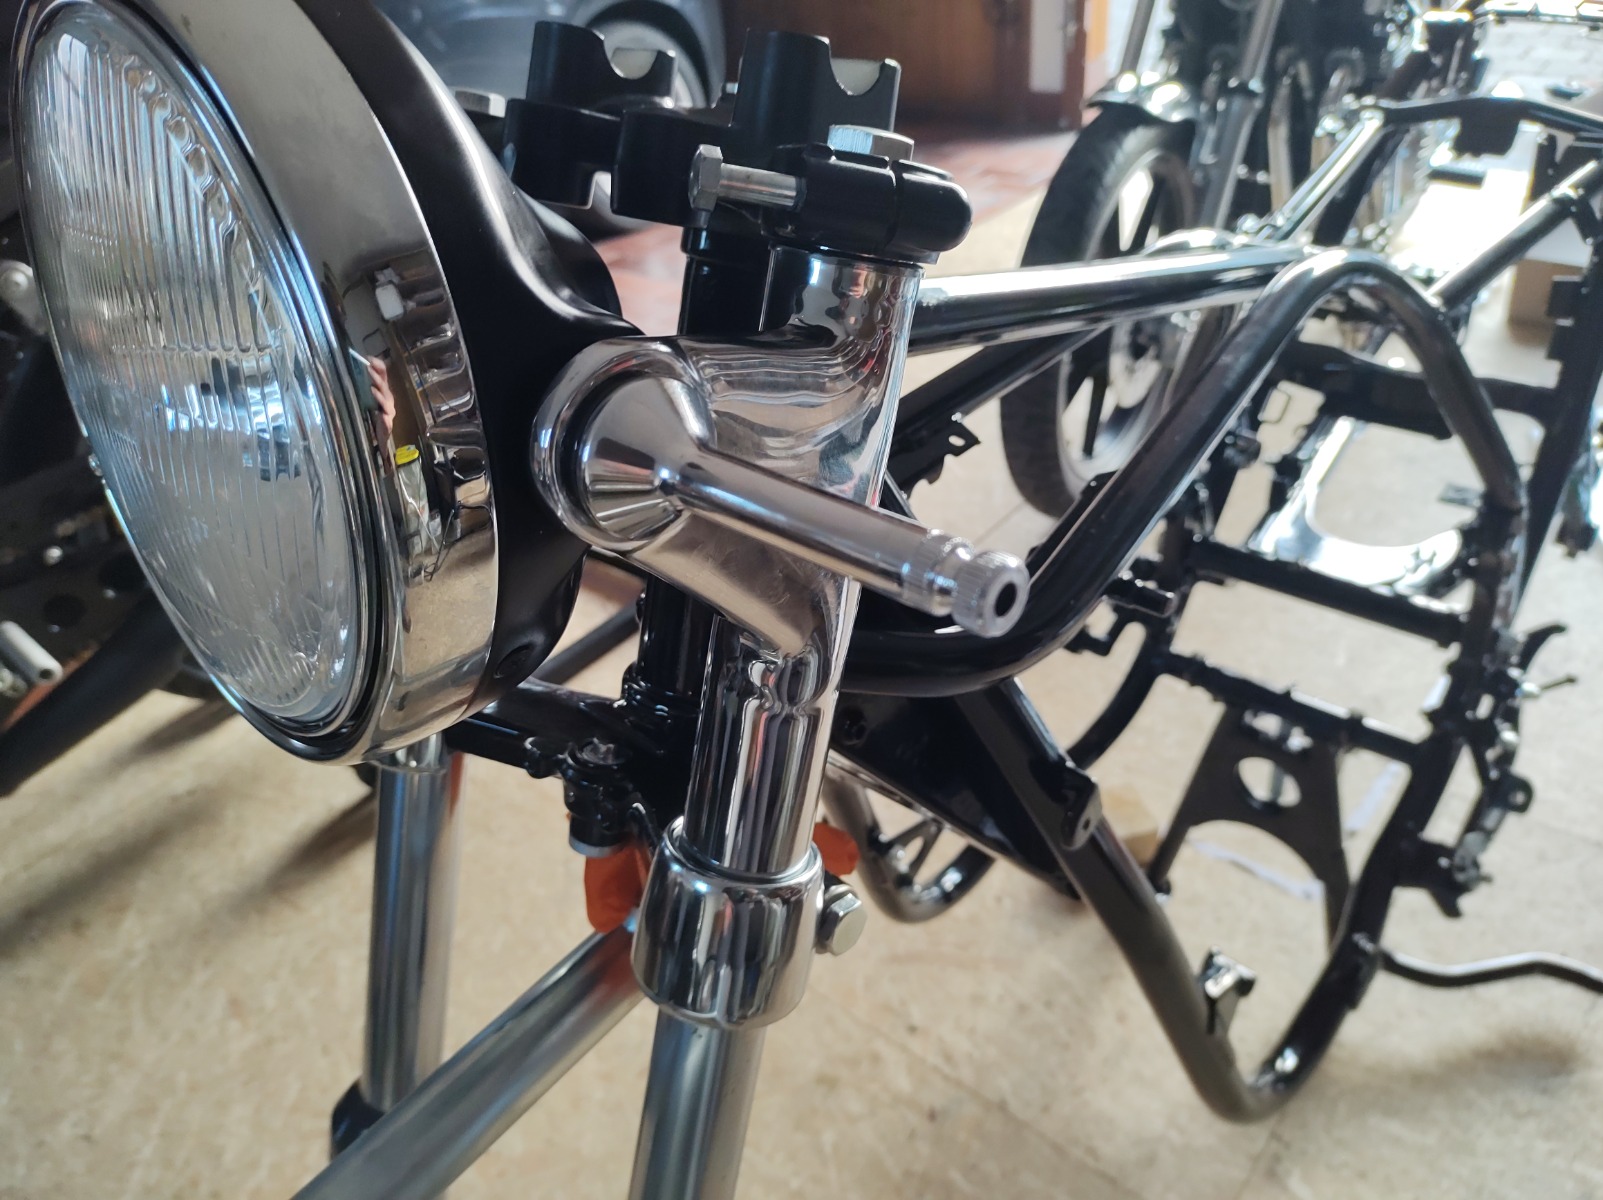
Started putting everything together today. I think I may need some new fork uppers - they have seen better days.
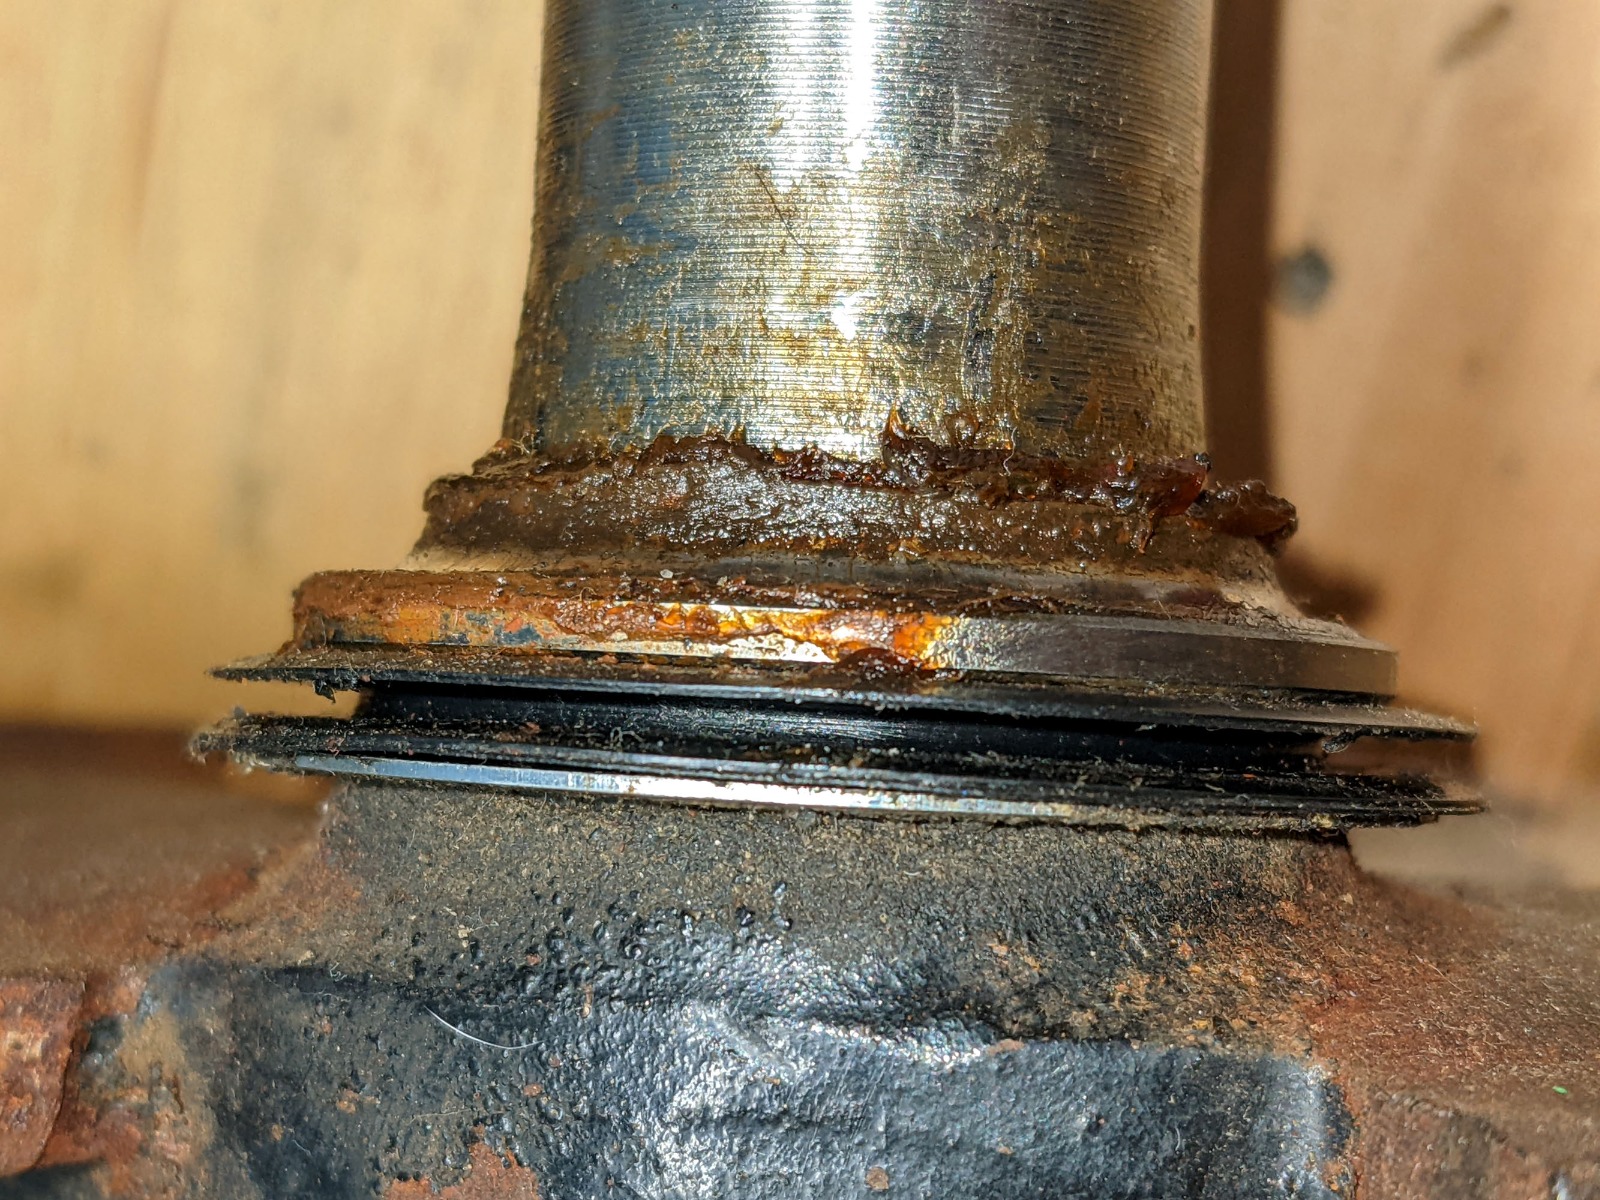
When I put the headlight mount on with all the spacers I ended up with a 6-7mm gap under the upper triple (between the triple clamp and the steering stem nut). Are the repro headlight mounts too long (180mm) or is this due to me using tapered roller bearings?
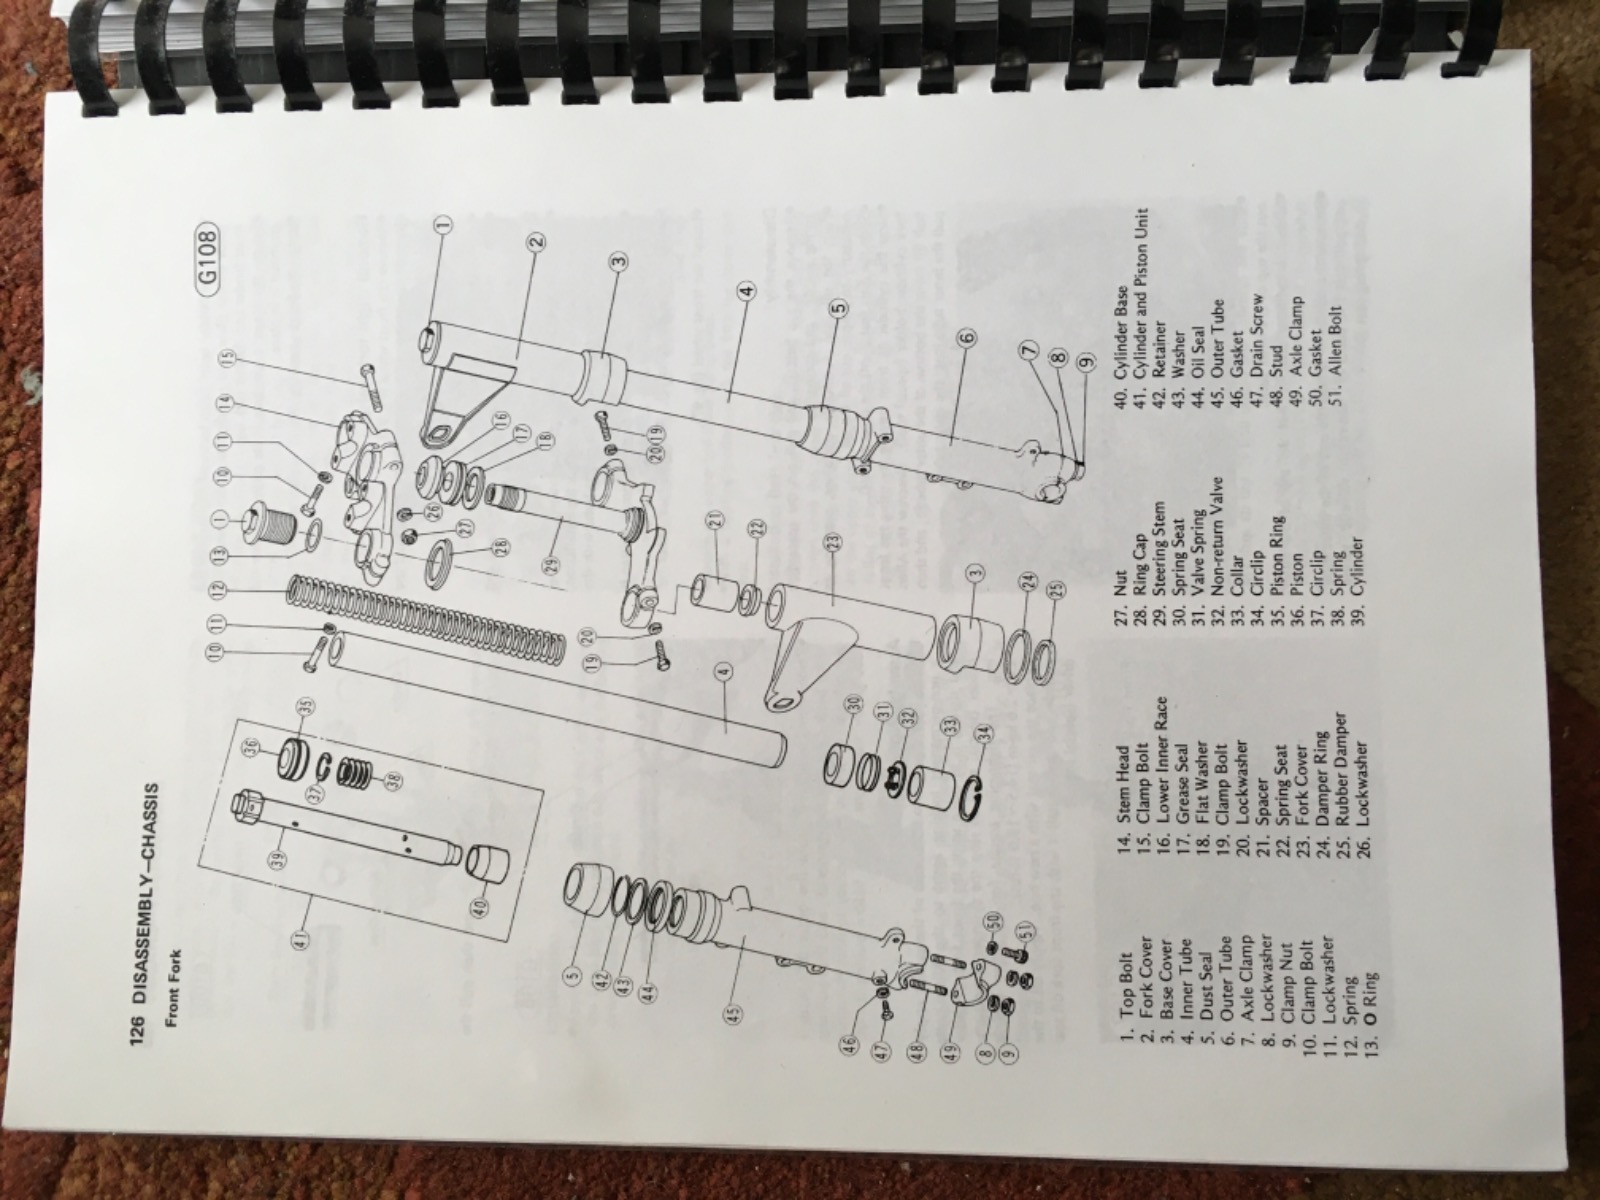
EDIT: it might have something to do with part no. 13 here: www.cmsnl.com/kawasaki-kz1000a1-1977-can...partslist/66381.html
It looks like a spacer (or maybe a dust seal) but it's not listed. The washer (no. 12) is also missing...
When I put the headlight mount on with all the spacers I ended up with a 6-7mm gap under the upper triple (between the triple clamp and the steering stem nut). Are the repro headlight mounts too long (180mm) or is this due to me using tapered roller bearings?
EDIT: it might have something to do with part no. 13 here: www.cmsnl.com/kawasaki-kz1000a1-1977-can...partslist/66381.html
It looks like a spacer (or maybe a dust seal) but it's not listed. The washer (no. 12) is also missing...
KZ1000 Restomod (
www.kzrider.com/forum/11-projects/614517-1977-kz1000-restomod
)
1977 KZ1000A1 ( www.kzrider.com/forum/11-projects/616901...-spare-parts-project )
1980 KZ750H ( kzrider.com/forum/11-projects/612054-kz750h-restoration )
2000 BMW F650GS
1977 KZ1000A1 ( www.kzrider.com/forum/11-projects/616901...-spare-parts-project )
1980 KZ750H ( kzrider.com/forum/11-projects/612054-kz750h-restoration )
2000 BMW F650GS
Last edit: 12 Mar 2022 09:38 by calum.
Please Log in or Create an account to join the conversation.
- Mikaw
-
- Offline
- Sustaining Member
-

Registered
- Posts: 4825
- Thanks: 1852
Re: KZ1000A1 Spare Parts Project
12 Mar 2022 10:47 - 12 Mar 2022 10:51
Part #13 is the lower grease seal. It number 17 in this breakdown. The fishe you posted has them out of order. Them metal washer then the grease seal then the inner race.
1976 KZ 900 A4
kzrider.com/forum/11-projects/613548-1976-kz-900-a4
1976 KZ 900 B1 LTD
1978 KZ 1000 B2 LTD
1980 KZ 750 E1
Kowledge Speaks, But Wisdom Listens.
Jimi Hendrix.
1976 KZ 900 B1 LTD
1978 KZ 1000 B2 LTD
1980 KZ 750 E1
Kowledge Speaks, But Wisdom Listens.
Jimi Hendrix.
Last edit: 12 Mar 2022 10:51 by Mikaw.
Please Log in or Create an account to join the conversation.
- Mikaw
-
- Offline
- Sustaining Member
-
Registered
- Posts: 4825
- Thanks: 1852
Re: KZ1000A1 Spare Parts Project
12 Mar 2022 10:53
This fishe shows the rest of the triple clamp items
www.partzilla.com/catalog/kawasaki/motor...ings-77-78-a1-a2-a2a
www.partzilla.com/catalog/kawasaki/motor...ings-77-78-a1-a2-a2a
1976 KZ 900 A4
kzrider.com/forum/11-projects/613548-1976-kz-900-a4
1976 KZ 900 B1 LTD
1978 KZ 1000 B2 LTD
1980 KZ 750 E1
Kowledge Speaks, But Wisdom Listens.
Jimi Hendrix.
1976 KZ 900 B1 LTD
1978 KZ 1000 B2 LTD
1980 KZ 750 E1
Kowledge Speaks, But Wisdom Listens.
Jimi Hendrix.
Please Log in or Create an account to join the conversation.
- Mikaw
-
- Offline
- Sustaining Member
-
Registered
- Posts: 4825
- Thanks: 1852
Re: KZ1000A1 Spare Parts Project
12 Mar 2022 10:57
The length of the OEM headlight ear is 177mm
1976 KZ 900 A4
kzrider.com/forum/11-projects/613548-1976-kz-900-a4
1976 KZ 900 B1 LTD
1978 KZ 1000 B2 LTD
1980 KZ 750 E1
Kowledge Speaks, But Wisdom Listens.
Jimi Hendrix.
1976 KZ 900 B1 LTD
1978 KZ 1000 B2 LTD
1980 KZ 750 E1
Kowledge Speaks, But Wisdom Listens.
Jimi Hendrix.
The following user(s) said Thank You: calum
Please Log in or Create an account to join the conversation.
- DOHC
-
- Offline
- Sustaining Member
-
Registered
- Those Doe-Hawks really go!
- Posts: 1271
- Thanks: 600
Re: KZ1000A1 Spare Parts Project
12 Mar 2022 11:00 - 12 Mar 2022 11:03
I was going to ask the same thing. Did you install the washer and the dust seal before you installed the lower inner race on the stem?
'78 Z1-R in blue
, '78 Z1-R in black,
'78 Z1-R in pieces
My dad's '74 Z1
'00 ZRX1100
My dad's '74 Z1
'00 ZRX1100
Last edit: 12 Mar 2022 11:03 by DOHC.
The following user(s) said Thank You: calum
Please Log in or Create an account to join the conversation.
- calum
-
Topic Author
- Offline
- User
-
Registered
- Posts: 1144
- Thanks: 415
Re: KZ1000A1 Spare Parts Project
12 Mar 2022 11:58 - 12 Mar 2022 12:07
Thanks guys. I'm using tapered roller bearings (from all-balls). The bottom bearing sits up pretty high as the inner race extends downward about 7-8mm past the rollers. I am missing the washer and the headlight ears are maybe 2-3mm too long.The bearing surfaces in the steering head were also redone and are probably a bit deeper than before. All that probably adds up to about the size of the gap.
That leaves me with either shortening the ears or putting a spacer under the bottom bearing. The spacer under the bottom bearing is probably the way to go - that way I'm not shortening the distance between the triples.
That leaves me with either shortening the ears or putting a spacer under the bottom bearing. The spacer under the bottom bearing is probably the way to go - that way I'm not shortening the distance between the triples.
KZ1000 Restomod (
www.kzrider.com/forum/11-projects/614517-1977-kz1000-restomod
)
1977 KZ1000A1 ( www.kzrider.com/forum/11-projects/616901...-spare-parts-project )
1980 KZ750H ( kzrider.com/forum/11-projects/612054-kz750h-restoration )
2000 BMW F650GS
1977 KZ1000A1 ( www.kzrider.com/forum/11-projects/616901...-spare-parts-project )
1980 KZ750H ( kzrider.com/forum/11-projects/612054-kz750h-restoration )
2000 BMW F650GS
Last edit: 12 Mar 2022 12:07 by calum.
Please Log in or Create an account to join the conversation.
- calum
-
Topic Author
- Offline
- User
-
Registered
- Posts: 1144
- Thanks: 415
Re: KZ1000A1 Spare Parts Project
12 Mar 2022 12:03
It'd be really helpful if someone could tell me how far down the top of the steering stem is relative to the top surface of the upper triples. That would make it easier to figure out the size of the spacer.
KZ1000 Restomod (
www.kzrider.com/forum/11-projects/614517-1977-kz1000-restomod
)
1977 KZ1000A1 ( www.kzrider.com/forum/11-projects/616901...-spare-parts-project )
1980 KZ750H ( kzrider.com/forum/11-projects/612054-kz750h-restoration )
2000 BMW F650GS
1977 KZ1000A1 ( www.kzrider.com/forum/11-projects/616901...-spare-parts-project )
1980 KZ750H ( kzrider.com/forum/11-projects/612054-kz750h-restoration )
2000 BMW F650GS
Please Log in or Create an account to join the conversation.
- Mikaw
-
- Offline
- Sustaining Member
-
Registered
- Posts: 4825
- Thanks: 1852
Re: KZ1000A1 Spare Parts Project
12 Mar 2022 12:50
I think your problem is in the overall stacked height of the headlight ear components. It’s not allowing the top clamp to drop down far enough. Just on a cursory review I think adding a shim between the bottom bearing and the lower clamp is only going to push the entire assembly down closer to the ground. In reality wouldn’t it then shorten the distance between the lower clamp and the upper clamp. The steering stem would penetrate the upper clamp even less correct?
1976 KZ 900 A4
kzrider.com/forum/11-projects/613548-1976-kz-900-a4
1976 KZ 900 B1 LTD
1978 KZ 1000 B2 LTD
1980 KZ 750 E1
Kowledge Speaks, But Wisdom Listens.
Jimi Hendrix.
1976 KZ 900 B1 LTD
1978 KZ 1000 B2 LTD
1980 KZ 750 E1
Kowledge Speaks, But Wisdom Listens.
Jimi Hendrix.
The following user(s) said Thank You: 750 R1, calum
Please Log in or Create an account to join the conversation.
- Wookie58
-

- Offline
- Moderator
-

Registered
- Posts: 6055
- Thanks: 3797
Re: KZ1000A1 Spare Parts Project
12 Mar 2022 13:08
Hi Calum, as far as I can see spacing the bottom bearing would have the desired effect, HOWEVER it looks to me like spacing it far enough to take up the gap will mean the top bearing retaining nut won't have enough thread left to bite on. The simplest solution looks to be shortening the headlight mounts but there is then the risk that water will get under the chrome

1982 KZ1000 Ltd
www.kzrider.com/forum/11-projects/617631...-82-begins?start=192
kzrider.com/filebase-alias?view=download...d-fault-diagnosis&ca
www.kzrider.com/forum/11-projects/617631...-82-begins?start=192
kzrider.com/filebase-alias?view=download...d-fault-diagnosis&ca
The following user(s) said Thank You: calum
Please Log in or Create an account to join the conversation.
- calum
-
Topic Author
- Offline
- User
-
Registered
- Posts: 1144
- Thanks: 415
Re: KZ1000A1 Spare Parts Project
12 Mar 2022 13:31 - 12 Mar 2022 13:31
Thanks guys. putting a spacer under the bearing would sort it out, but as Wookie58 pointed out the stem will not stick out far enough for the nut to thread on properly. I'll put some weight on it tomorrow to see how much the headlight mount stack compresses and what sort of gap is left over (there's no downward pressure on the top clamp in the photos). The nut has about 2mm that isn't threaded so if I flip it so that is at the top I can put a small spacer under the bearing and maybe that will be enough.
However, the fact that the thread on the steering stem is just enough for the nut points towards the headlight ears being the problem. I need to get the bottom triple clamp covers rechromed as they needed a lot of work with the file before they would fit. Getting the ears redone as well isn't a big deal as they were half the usual price for replicas and it won't be too expensive as the surface finish is good. TBH the chrome on all the repro parts I've got is pretty bad, getting a couple redone locally is fine. Now I just need to get hold of a pipe cutter.
On another note, is there anything that holds the headlight at a specific angle? My 750 has an adjustment plate underneath the headlight body but I can't find anything like it in the parts diagrams and when I got the bike the light was hanging on by a thread. Surely it can't just be held in place by the indicator mounts...
KZ1000 Restomod (
www.kzrider.com/forum/11-projects/614517-1977-kz1000-restomod
)
1977 KZ1000A1 ( www.kzrider.com/forum/11-projects/616901...-spare-parts-project )
1980 KZ750H ( kzrider.com/forum/11-projects/612054-kz750h-restoration )
2000 BMW F650GS
1977 KZ1000A1 ( www.kzrider.com/forum/11-projects/616901...-spare-parts-project )
1980 KZ750H ( kzrider.com/forum/11-projects/612054-kz750h-restoration )
2000 BMW F650GS
Last edit: 12 Mar 2022 13:31 by calum.
Please Log in or Create an account to join the conversation.
Moderators: Street Fighter LTD