
KZ750H Restoration
- calum
-
 Topic Author
- Offline
- User
-

Registered
- Posts: 1144
- Thanks: 415
Re: KZ750H Restoration
07 Mar 2020 03:24 - 07 Mar 2020 03:31martin_csr wrote: I installed the green Dyna 3.0 ohm coils, but the gray 2.2 ohm are supposed to be a better match for the stock electronic ignition.
Yeah, I just checked the manual again and the primary resistance of the stock coils should be 1.8-2.8 ohms. Puts the 2.2 ohm coils right in the sweet spot. Did you notice any difference between the 3 ohm coils and stock?
Edit: just found some specs and the main difference (as far as the specs are concerned) is that the secondary resistance of the mini coils is 11.5 kΩ and it's 14.4kΩ for the normal green 3Ω coils. Spec is 11-16kΩ. Not really sure what effect this will have, assuming that more current will mean a stronger spark. Can't imagine it would make much of a difference for normal street use, though.
KZ1000 Restomod (
www.kzrider.com/forum/11-projects/614517-1977-kz1000-restomod
)
1977 KZ1000A1 ( www.kzrider.com/forum/11-projects/616901...-spare-parts-project )
1980 KZ750H ( kzrider.com/forum/11-projects/612054-kz750h-restoration )
2000 BMW F650GS
1977 KZ1000A1 ( www.kzrider.com/forum/11-projects/616901...-spare-parts-project )
1980 KZ750H ( kzrider.com/forum/11-projects/612054-kz750h-restoration )
2000 BMW F650GS
Last edit: 07 Mar 2020 03:31 by calum.
Please Log in or Create an account to join the conversation.
- calum
-
Topic Author
- Offline
- User
-
Registered
- Posts: 1144
- Thanks: 415
Re: KZ750H Restoration
11 Mar 2020 11:31 - 11 Mar 2020 22:37
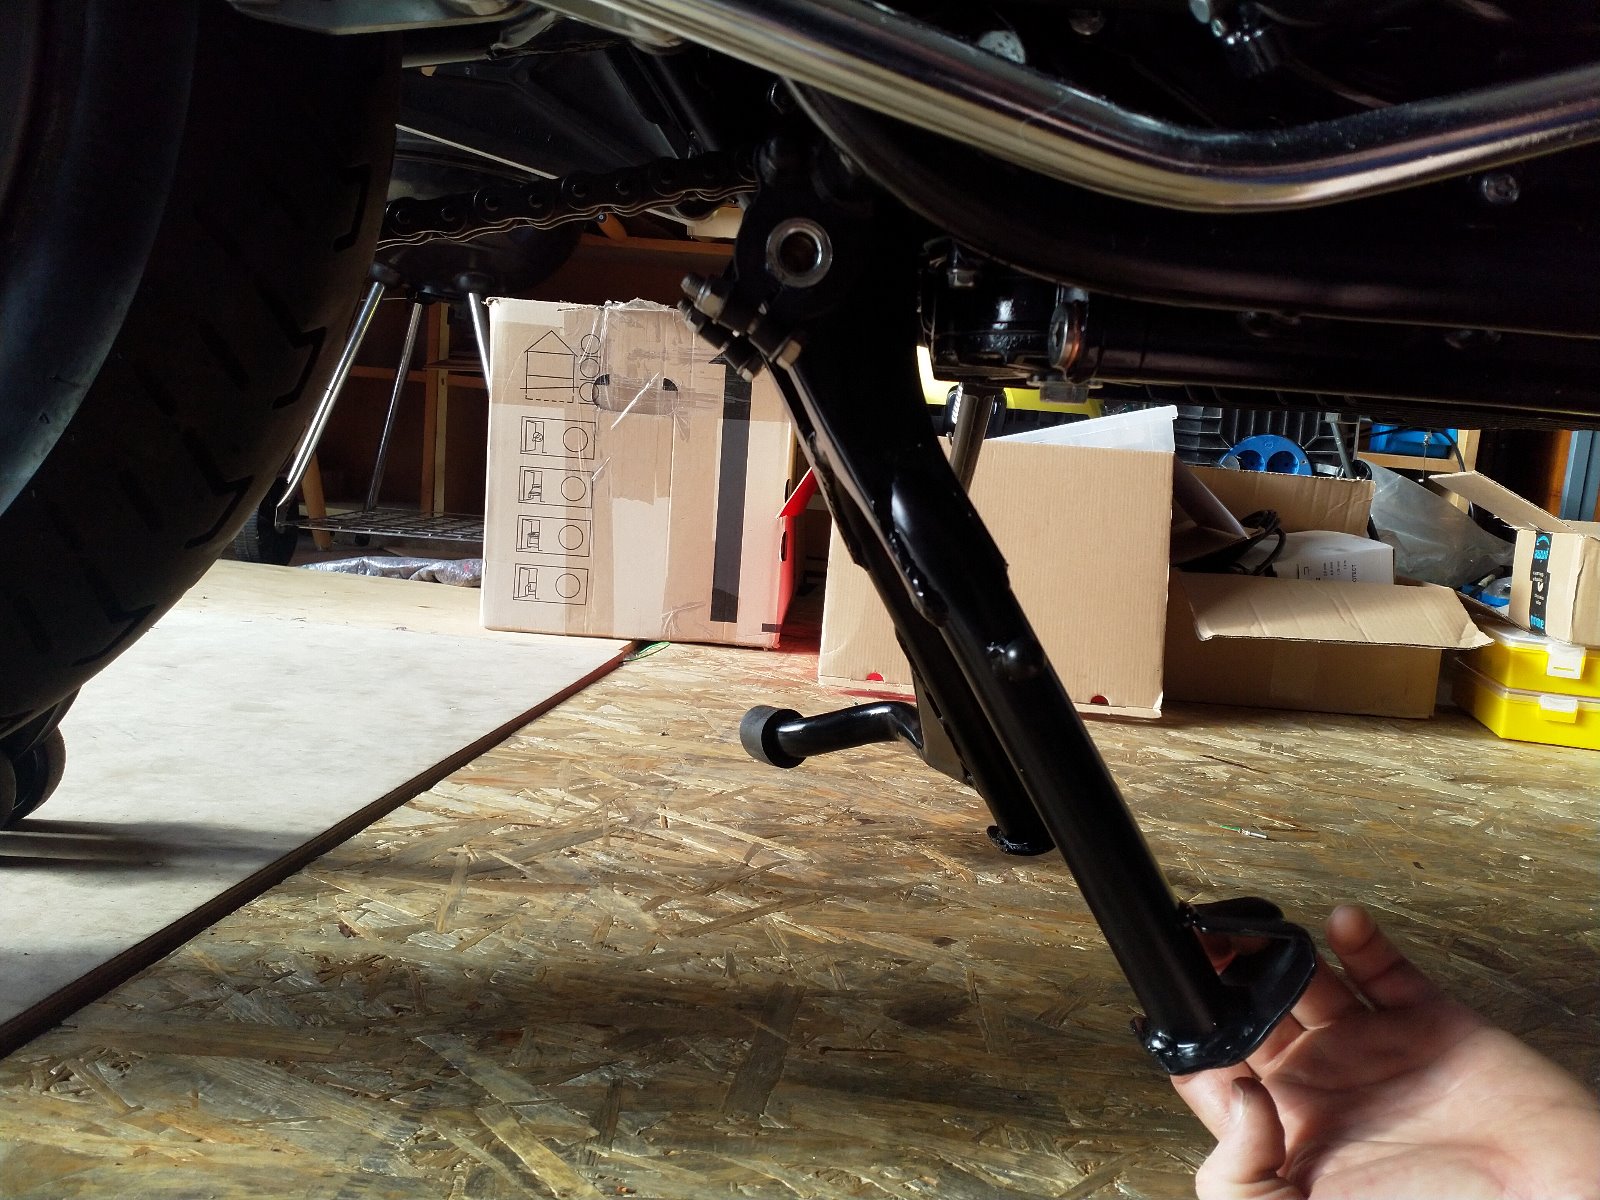
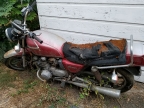
Today I found out why the bike didn't have a centre stand. By the time the stand hits the crossbar and stops, the rear wheel is back on the ground. The mounting points are a bit bent (it looks worse in the photo - you can hardly tell when you look from the left hand side of the bike). Also, the crossbar has a couple of dents where the stand hits.
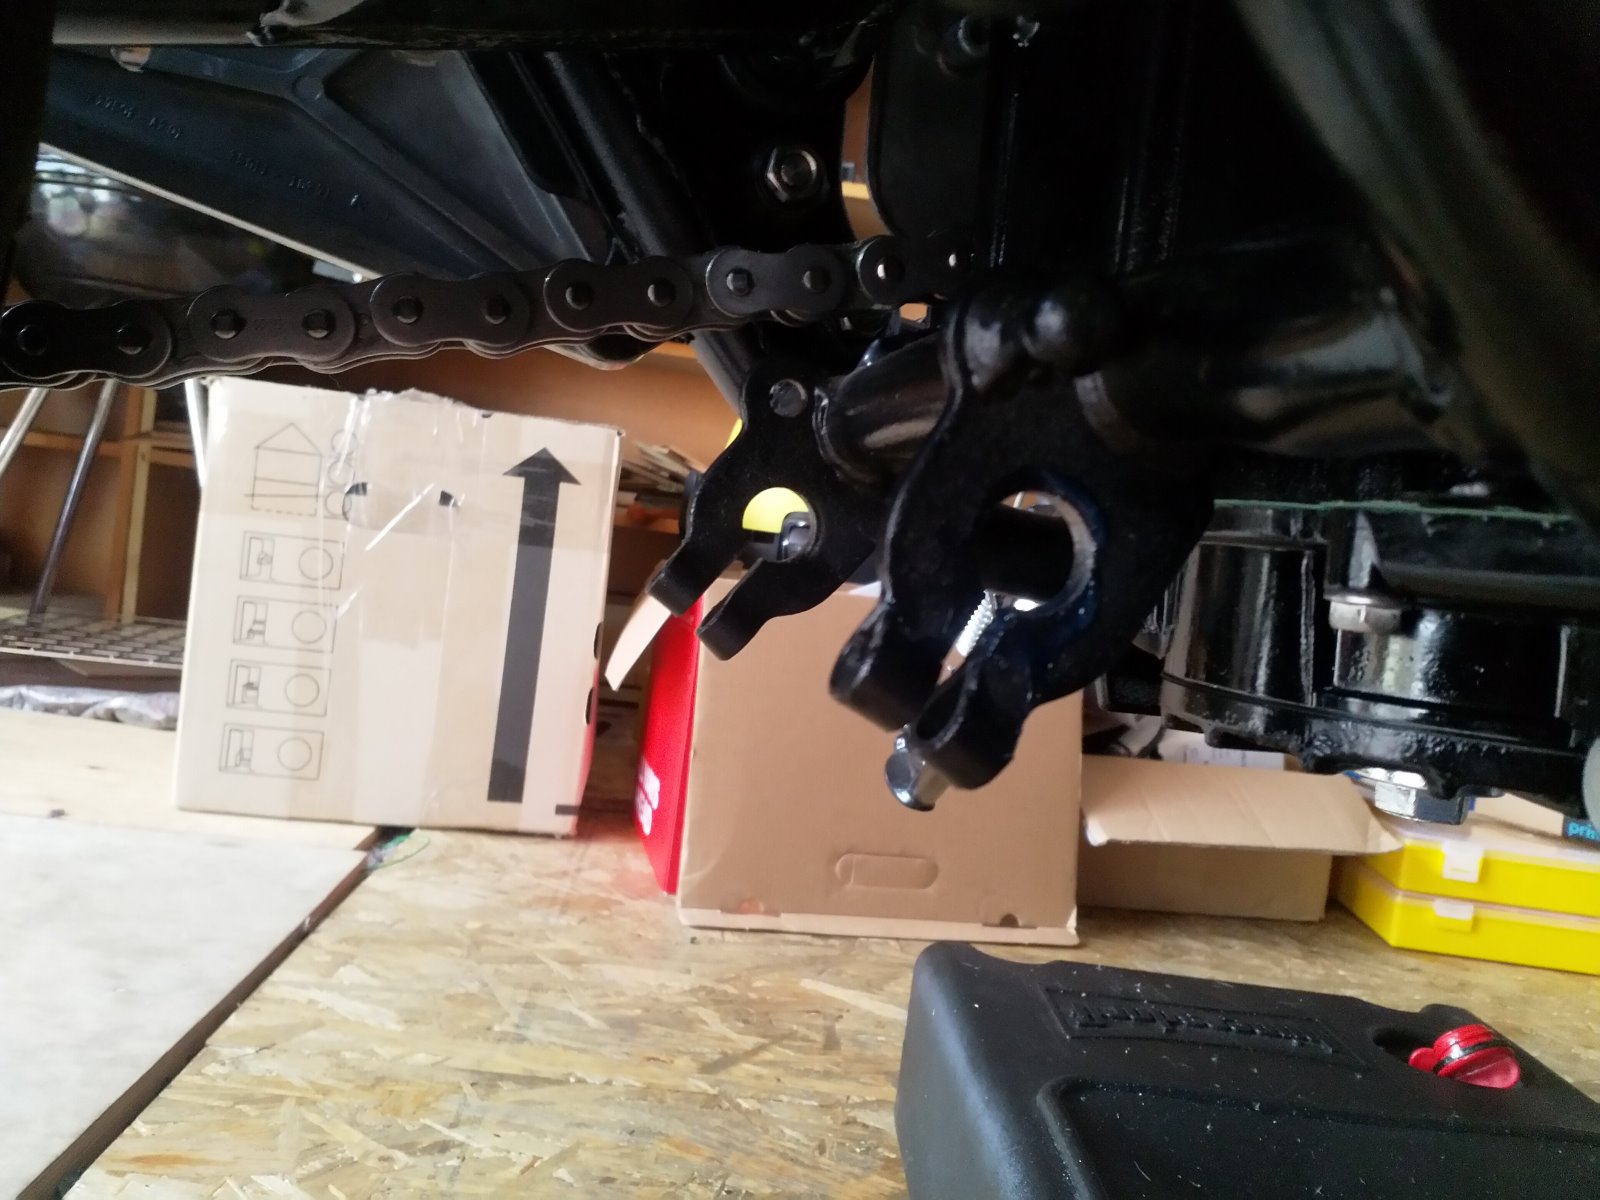
I'm thinking I'll do the following:
- put a washer or metal plate in the gap on the right hand bracket and tap it (lightly) with a hammer to see if I can straighten it out a bit. I'll leave the left hand one alone as that is right next to the engine mount (which is why I assume it is straight - the engine went in the frame without a problem).
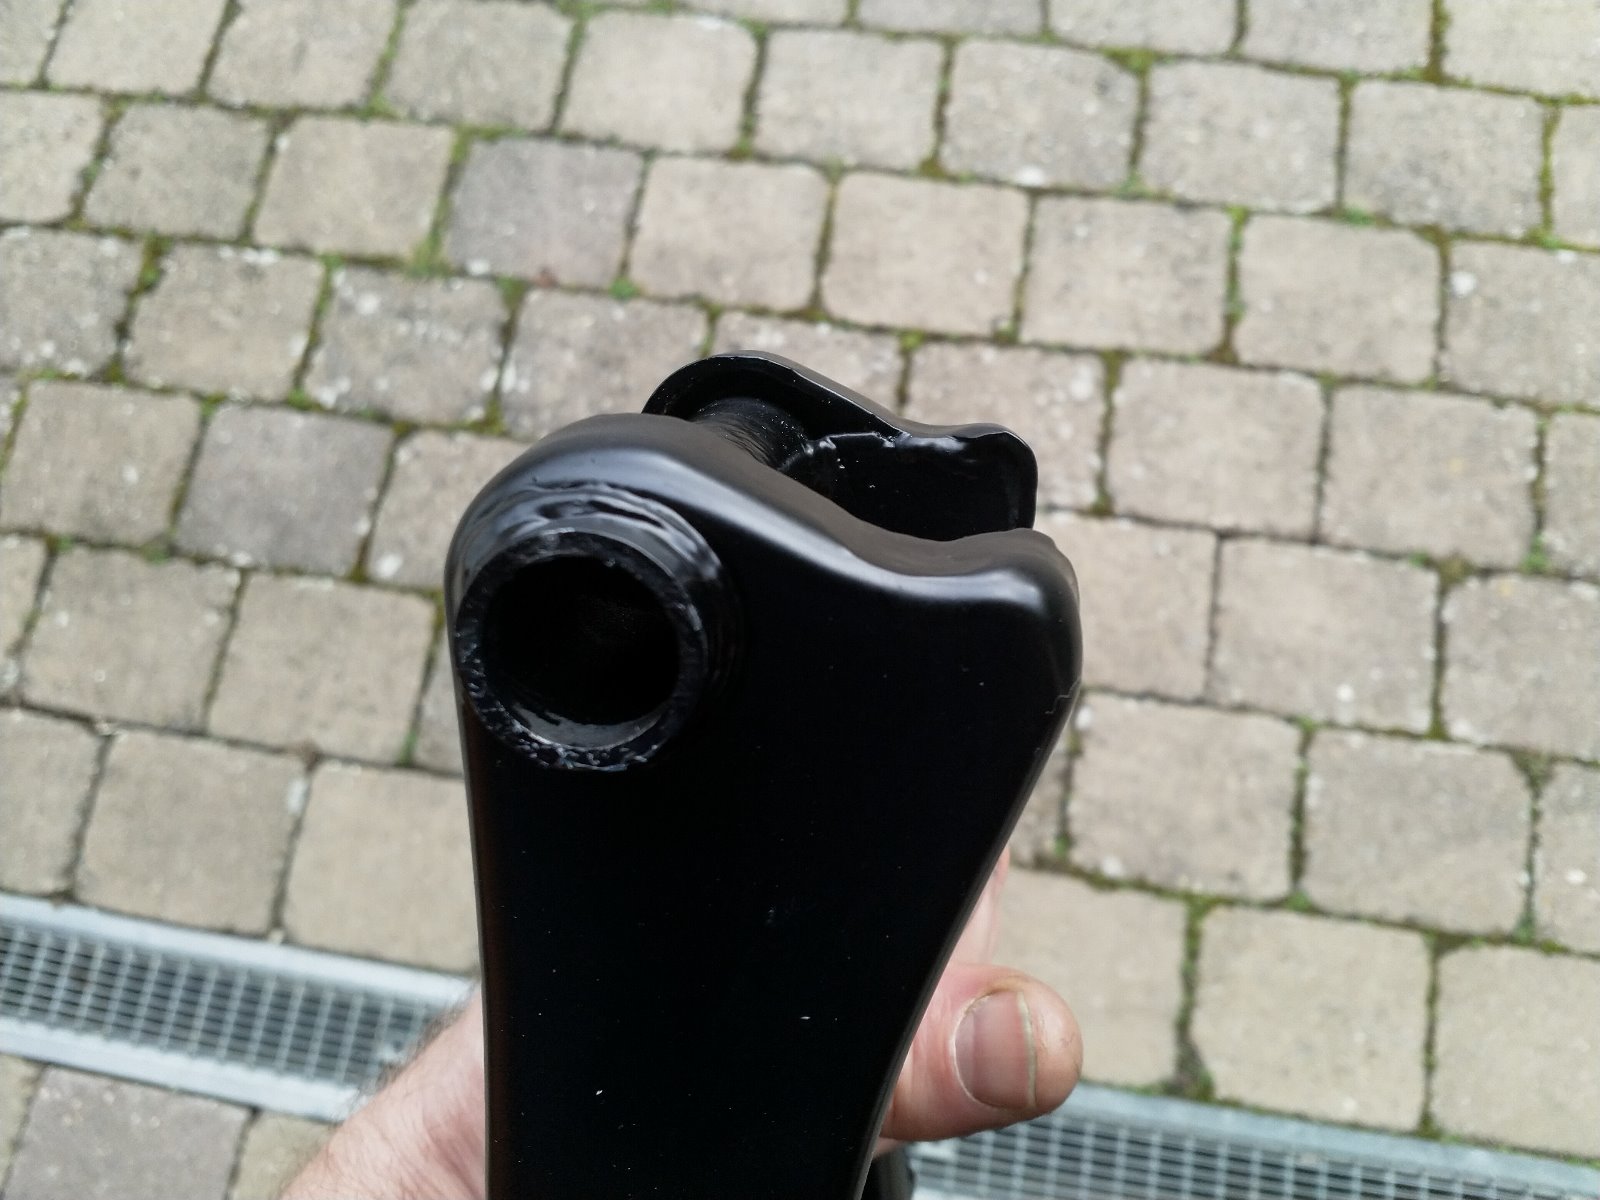
- Weld a 3-4mm plate to the top of the stand so that it hits the crossbar sooner. I can then grind it down with a dremel until I get the correct angle.
And my questions")
- Anything I need to worry about?
- Does anyone have a good picture of the correct angle for the stand?
- Also, how much space should there be between the centre stand and the chain when the bike is on the side stand?
I'm thinking I'll do the following:
- put a washer or metal plate in the gap on the right hand bracket and tap it (lightly) with a hammer to see if I can straighten it out a bit. I'll leave the left hand one alone as that is right next to the engine mount (which is why I assume it is straight - the engine went in the frame without a problem).
- Weld a 3-4mm plate to the top of the stand so that it hits the crossbar sooner. I can then grind it down with a dremel until I get the correct angle.
And my questions
- Anything I need to worry about?
- Does anyone have a good picture of the correct angle for the stand?
- Also, how much space should there be between the centre stand and the chain when the bike is on the side stand?
KZ1000 Restomod (
www.kzrider.com/forum/11-projects/614517-1977-kz1000-restomod
)
1977 KZ1000A1 ( www.kzrider.com/forum/11-projects/616901...-spare-parts-project )
1980 KZ750H ( kzrider.com/forum/11-projects/612054-kz750h-restoration )
2000 BMW F650GS
1977 KZ1000A1 ( www.kzrider.com/forum/11-projects/616901...-spare-parts-project )
1980 KZ750H ( kzrider.com/forum/11-projects/612054-kz750h-restoration )
2000 BMW F650GS
Last edit: 11 Mar 2020 22:37 by calum.
Please Log in or Create an account to join the conversation.
- calum
-
Topic Author
- Offline
- User
-
Registered
- Posts: 1144
- Thanks: 415
Re: KZ750H Restoration
14 Mar 2020 13:32 - 14 Mar 2020 13:34
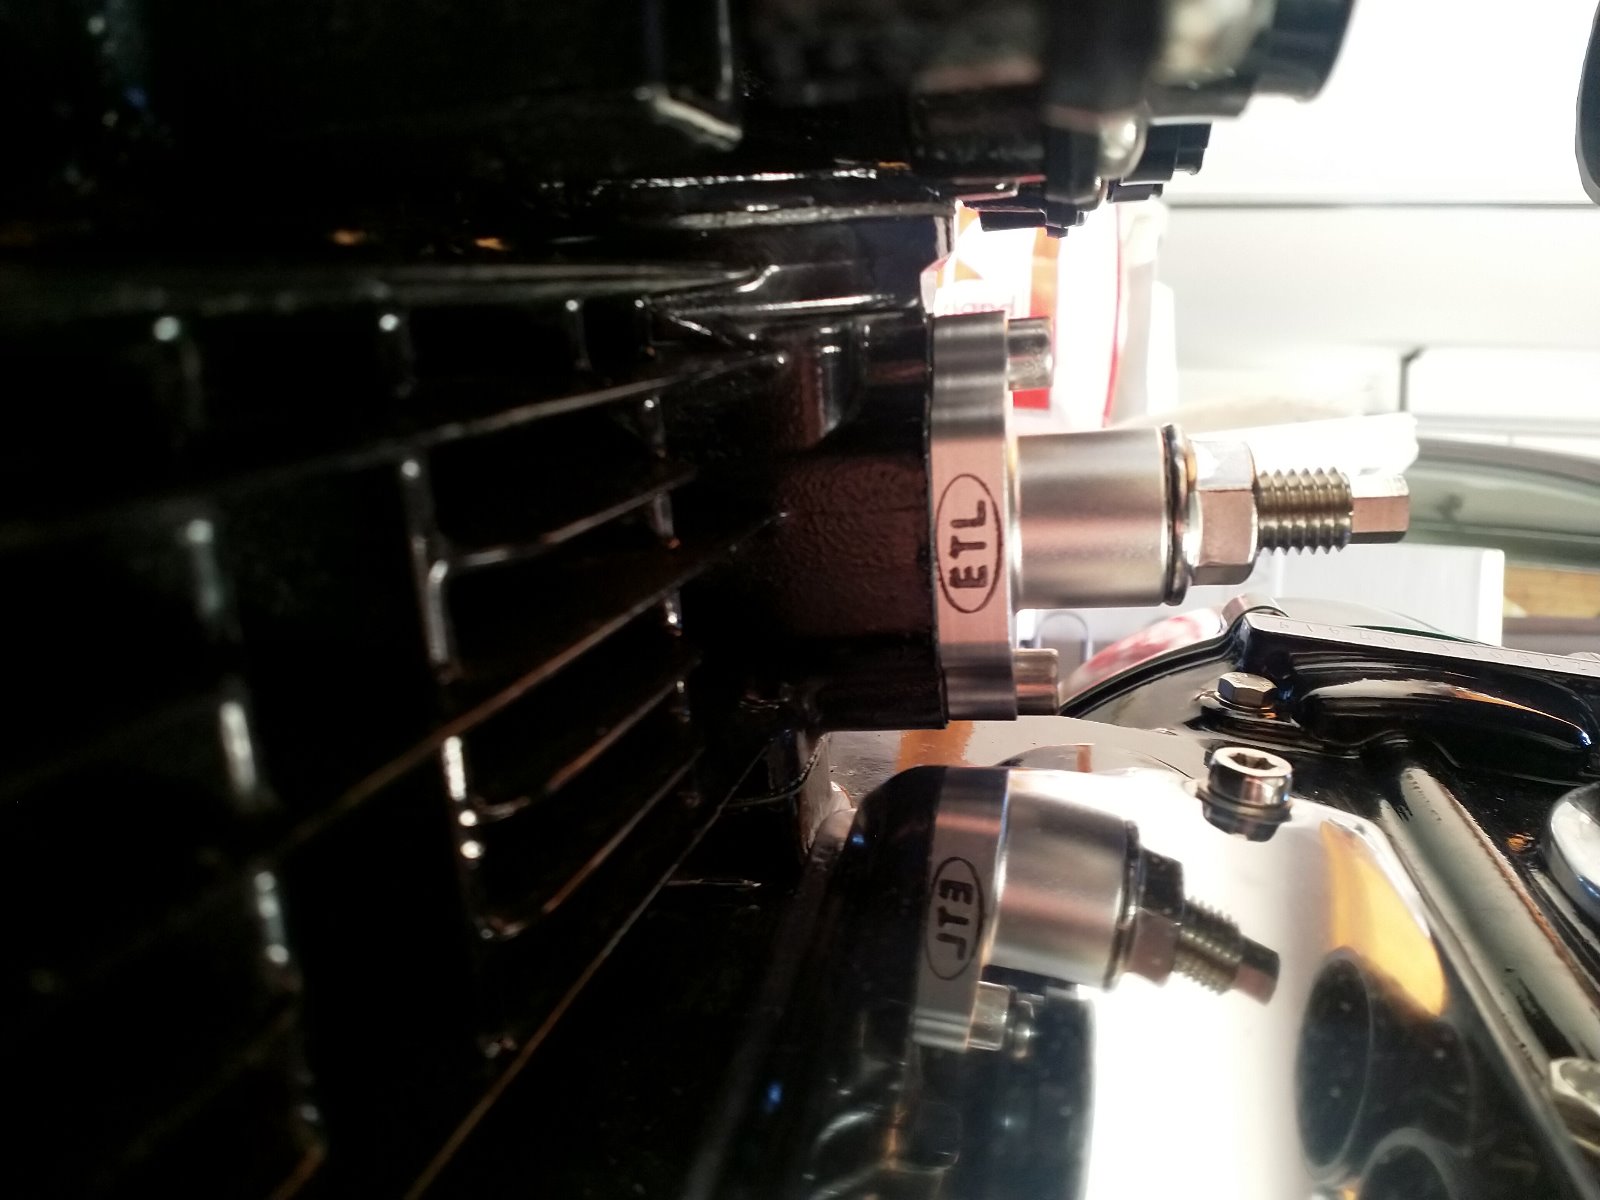
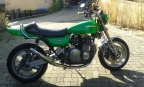
So... measured the new shocks today and they're about 15mm longer than stock - that won't have helped the situation with the centre stand. I've decided to sell the centre stand and just forget about it. It was the only thing I thought looked ugly on the bike so it's outta here. Will get some spools with an M10 mounting bolt and stick them on the shock mounts, then I don't have to nick my sons paddock stand (I've got a centre lift for my Hornet so I gave the boy the paddock stand).
Got the last of the lettering on the controls done. Pretty happy, just have to wait for it to dry. Wondering whether the 2k clear will stick to the already hardened base coat (it's elasticised, so I may be alright). I definitely don't want to sand the base coat as that makes the finish almost matt when I spray satin clear on top. I may use the engine clear coat that I have lying around as that is supposed to stick to polished aluminium. I can then do a coat of satin clear over that... we'll see what the paint guys say.

Got the last of the lettering on the controls done. Pretty happy, just have to wait for it to dry. Wondering whether the 2k clear will stick to the already hardened base coat (it's elasticised, so I may be alright). I definitely don't want to sand the base coat as that makes the finish almost matt when I spray satin clear on top. I may use the engine clear coat that I have lying around as that is supposed to stick to polished aluminium. I can then do a coat of satin clear over that... we'll see what the paint guys say.
KZ1000 Restomod (
www.kzrider.com/forum/11-projects/614517-1977-kz1000-restomod
)
1977 KZ1000A1 ( www.kzrider.com/forum/11-projects/616901...-spare-parts-project )
1980 KZ750H ( kzrider.com/forum/11-projects/612054-kz750h-restoration )
2000 BMW F650GS
1977 KZ1000A1 ( www.kzrider.com/forum/11-projects/616901...-spare-parts-project )
1980 KZ750H ( kzrider.com/forum/11-projects/612054-kz750h-restoration )
2000 BMW F650GS
Last edit: 14 Mar 2020 13:34 by calum.
Please Log in or Create an account to join the conversation.
- calum
-
Topic Author
- Offline
- User
-
Registered
- Posts: 1144
- Thanks: 415
Re: KZ750H Restoration
15 Mar 2020 14:28 - 15 Mar 2020 16:06
Fitted the new cam chain tensioner today. Waiting for new mounting bolts as the socket cap screws that came with it won't be any good with the sealing washer and the original bolts are too long.
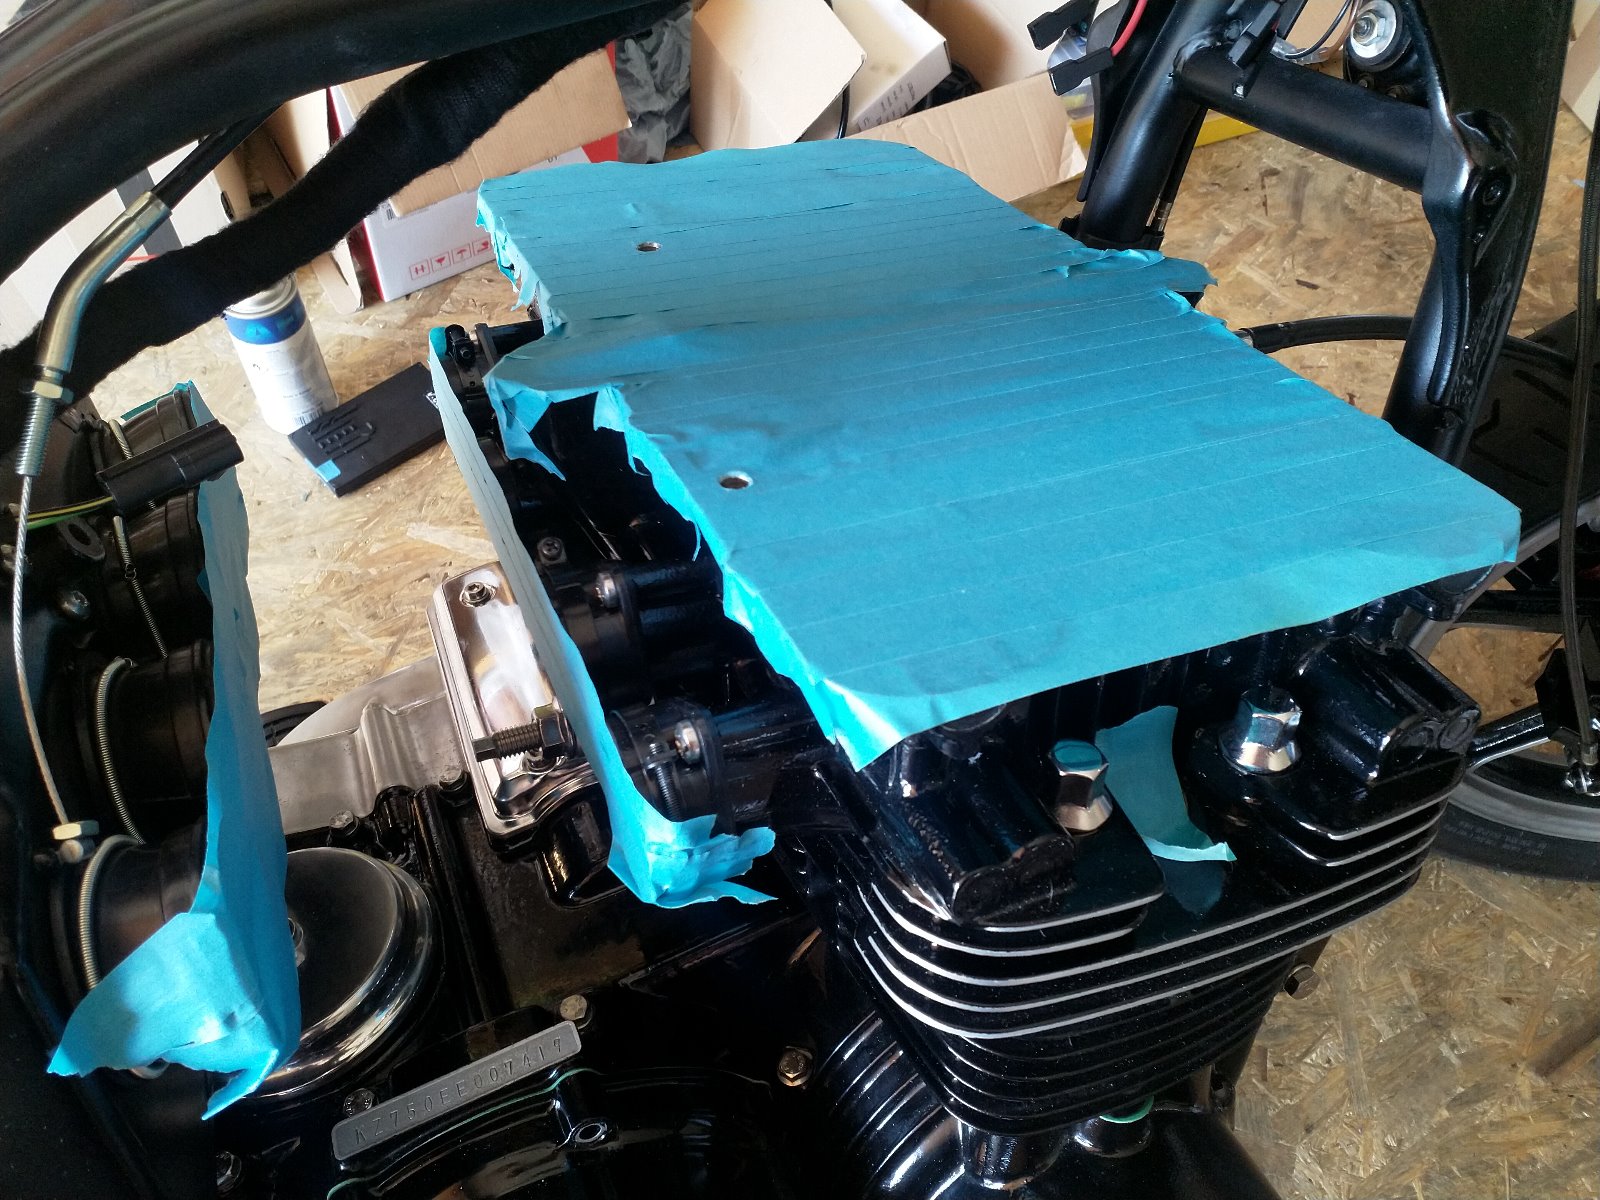
Took the valve cover off and checked the valve clearance. seemed to have increased slightly in a couple of places. Took the cams off to adjust two of the shims and now I get to helicoil some more of the cam cap bolt threads. This will make it 7 of 16... figure I'll get through them all eventually. That's tomorrows job as they have closed the schools here until Easter. Still need to get some worksheets done for the kids but I can do it from home - so I'll have a bit more time for the bike over the next few weeks.

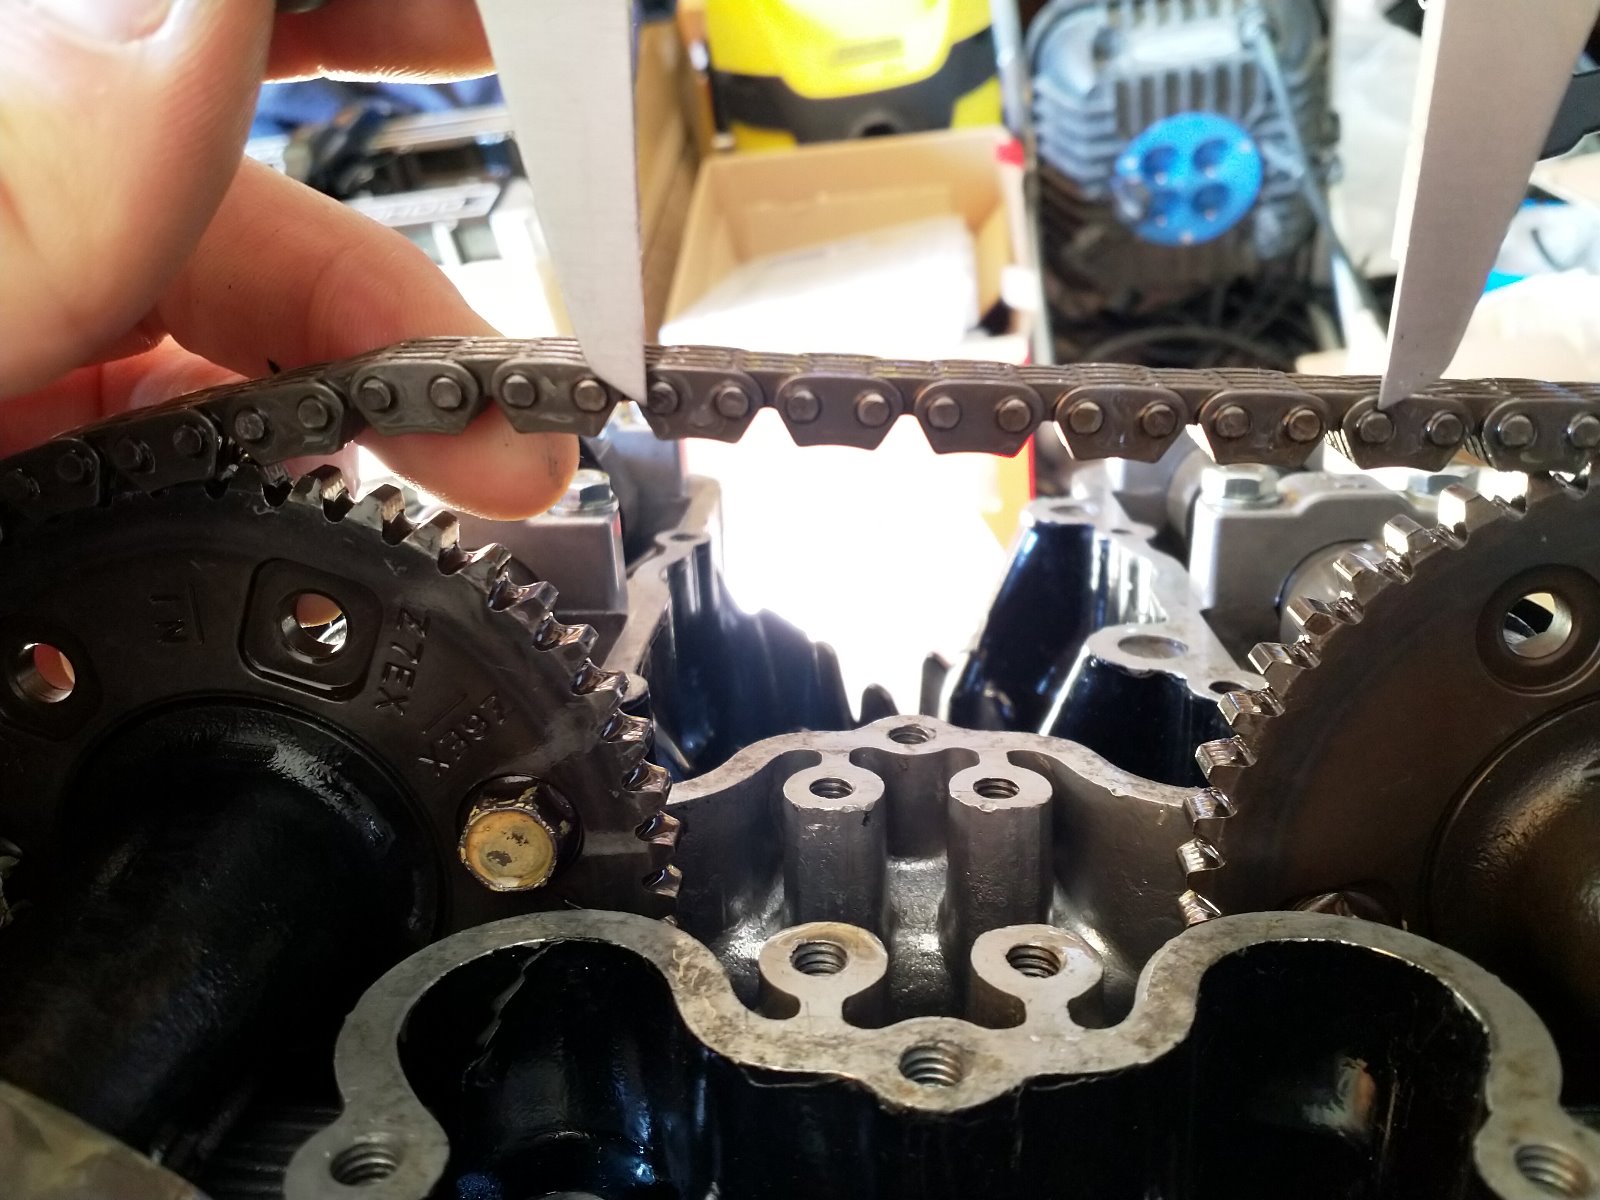
While I had the cover off I decided to measure the cam chain length. The manual says the limit is 128.9mm for a 20 link length. I measured 10 links and they were easily under 64.8mm (don't know what went on in my head - should have been 64.45mm). I'll measure it again tomorrow with both cams out so I can check the proper number of links.
Took the valve cover off and checked the valve clearance. seemed to have increased slightly in a couple of places. Took the cams off to adjust two of the shims and now I get to helicoil some more of the cam cap bolt threads. This will make it 7 of 16... figure I'll get through them all eventually. That's tomorrows job as they have closed the schools here until Easter. Still need to get some worksheets done for the kids but I can do it from home - so I'll have a bit more time for the bike over the next few weeks.
While I had the cover off I decided to measure the cam chain length. The manual says the limit is 128.9mm for a 20 link length. I measured 10 links and they were easily under 64.8mm (don't know what went on in my head - should have been 64.45mm). I'll measure it again tomorrow with both cams out so I can check the proper number of links.
KZ1000 Restomod (
www.kzrider.com/forum/11-projects/614517-1977-kz1000-restomod
)
1977 KZ1000A1 ( www.kzrider.com/forum/11-projects/616901...-spare-parts-project )
1980 KZ750H ( kzrider.com/forum/11-projects/612054-kz750h-restoration )
2000 BMW F650GS
1977 KZ1000A1 ( www.kzrider.com/forum/11-projects/616901...-spare-parts-project )
1980 KZ750H ( kzrider.com/forum/11-projects/612054-kz750h-restoration )
2000 BMW F650GS
Last edit: 15 Mar 2020 16:06 by calum.
Please Log in or Create an account to join the conversation.
- calum
-
Topic Author
- Offline
- User
-
Registered
- Posts: 1144
- Thanks: 415
Re: KZ750H Restoration
17 Mar 2020 12:04
More helicoils for the cam cap bolts...
KZ1000 Restomod (
www.kzrider.com/forum/11-projects/614517-1977-kz1000-restomod
)
1977 KZ1000A1 ( www.kzrider.com/forum/11-projects/616901...-spare-parts-project )
1980 KZ750H ( kzrider.com/forum/11-projects/612054-kz750h-restoration )
2000 BMW F650GS
1977 KZ1000A1 ( www.kzrider.com/forum/11-projects/616901...-spare-parts-project )
1980 KZ750H ( kzrider.com/forum/11-projects/612054-kz750h-restoration )
2000 BMW F650GS
Please Log in or Create an account to join the conversation.
- M_a_t_t
-
- Offline
- Sustaining Member
-

Registered
- Posts: 254
- Thanks: 41
Re: KZ750H Restoration
17 Mar 2020 17:32
I have never pulled the cams on my bike, but I have read where you can use a longer bolt or a threaded rod and a nut to pull the cap down (more thread engagement) then use the correct bolts to clamp it the rest of the way down and secure it. Of course remove the long bolt/rod. Might save you the hassle of helicoiling all of them.
Nessism also posted a method of holding down the cams while you get the caps on, but I can't remember what it was or how it was used. Helpful I know :laugh:
Nessism also posted a method of holding down the cams while you get the caps on, but I can't remember what it was or how it was used. Helpful I know :laugh:
83 KZ1100A (shaft)
17 Versys X 300 abs
81 kz650h1
81 kz750e2
90 Honda CBR600F (brother's)
17 Versys X 300 abs
81 kz650h1
81 kz750e2
90 Honda CBR600F (brother's)
The following user(s) said Thank You: calum
Please Log in or Create an account to join the conversation.
- calum
-
Topic Author
- Offline
- User
-
Registered
- Posts: 1144
- Thanks: 415
Re: KZ750H Restoration
17 Mar 2020 17:58
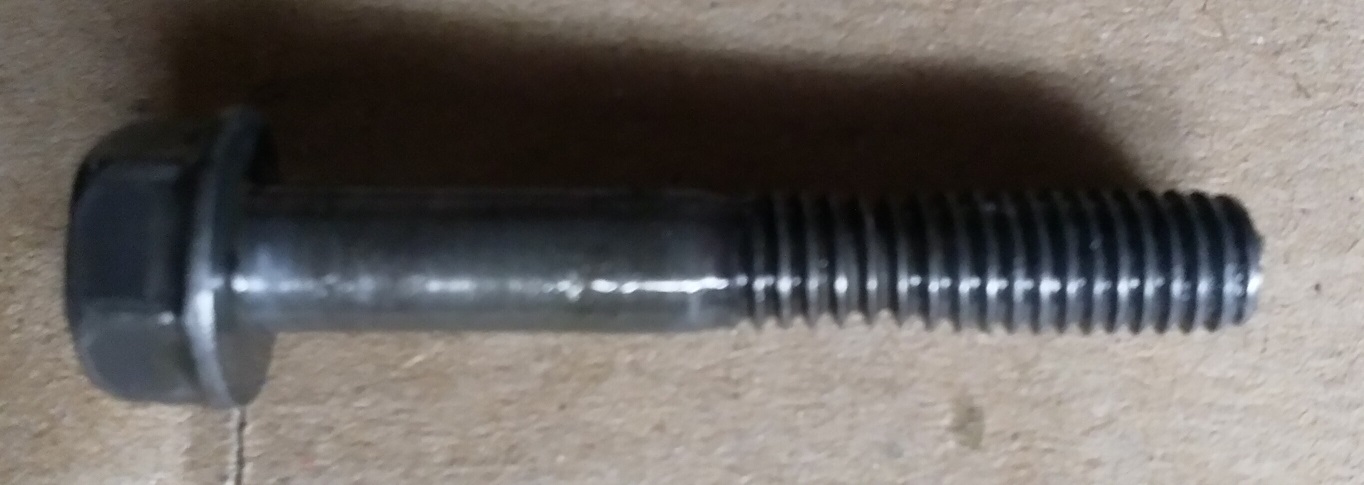
Thanks Matt. I haven't actually had a problem getting the caps seated. I can usually get about 9-10 Nm of torque but then the thread goes. I guess I could use longer bolts but I figure the helicoil is a better solution in the long term. One of the previous owners was pretty hard on the bolts/threads, don't think there was a torque wrench in the tool box:
KZ1000 Restomod (
www.kzrider.com/forum/11-projects/614517-1977-kz1000-restomod
)
1977 KZ1000A1 ( www.kzrider.com/forum/11-projects/616901...-spare-parts-project )
1980 KZ750H ( kzrider.com/forum/11-projects/612054-kz750h-restoration )
2000 BMW F650GS
1977 KZ1000A1 ( www.kzrider.com/forum/11-projects/616901...-spare-parts-project )
1980 KZ750H ( kzrider.com/forum/11-projects/612054-kz750h-restoration )
2000 BMW F650GS
Please Log in or Create an account to join the conversation.
- Scirocco
-
- Offline
- Premium Member
-

Registered
- Never change a running system
- Posts: 4397
- Thanks: 2260
Re: KZ750H Restoration
17 Mar 2020 18:09 - 17 Mar 2020 18:10Nessism also posted a method of holding down the cams while you get the caps on, but I can't remember what it was or how it was used. Helpful I know :laugh:
He had use vise grips to push down the cam bearings.:whistle: :whistle: :whistle:
kzrider.com/forum/2-engine/600920-cracke...eads?start=12#706786
My 1975 Z 1 B 900 Project
www.kzrider.com/forum/11-projects/605133...ears-deep-sleep-mode
www.kzrider.com/forum/11-projects/605133...ears-deep-sleep-mode
Last edit: 17 Mar 2020 18:10 by Scirocco.
The following user(s) said Thank You: Nessism
Please Log in or Create an account to join the conversation.
- calum
-
Topic Author
- Offline
- User
-
Registered
- Posts: 1144
- Thanks: 415
Re: KZ750H Restoration
17 Mar 2020 18:20 - 17 Mar 2020 18:26
I figure if the threads don't hold out enough to seat the caps (with progressive tightening), then I'd rather they go when the engine isn't running. All of the 7 threads have gone with the caps already seated (I do them all up to 8Nm, then increase to 12Nm). If you need to hold the caps down to avoid stripping the thread then, as far as I'm concerned, the thread is already toast.
Edit: I take that back. If the pressure is on a bolt that's only in one or two turns then you will put unnecessary force on the threads. Thinking about it I usually push down on the cams until the bolt is in 5-6 turns.
KZ1000 Restomod (
www.kzrider.com/forum/11-projects/614517-1977-kz1000-restomod
)
1977 KZ1000A1 ( www.kzrider.com/forum/11-projects/616901...-spare-parts-project )
1980 KZ750H ( kzrider.com/forum/11-projects/612054-kz750h-restoration )
2000 BMW F650GS
1977 KZ1000A1 ( www.kzrider.com/forum/11-projects/616901...-spare-parts-project )
1980 KZ750H ( kzrider.com/forum/11-projects/612054-kz750h-restoration )
2000 BMW F650GS
Last edit: 17 Mar 2020 18:26 by calum.
Please Log in or Create an account to join the conversation.
- Skidmark
-
- Offline
- User
-
Registered
- Posts: 1087
- Thanks: 312
Re: KZ750H Restoration
18 Mar 2020 07:44
I have heard that once the thread engagement length is greater than the major diameter of the fastener, the maximum strength of the fastener has been achieved. Any further engagement does not add to the holding strength. I was told this by an aerospace engineer, so I have never had any reason to question it, That may only apply when the material of both the male and female threads are made of the same material, though. Steel bolts in an aluminum threaded hole may be a different situation.
Retired gearhead
'81 KZ-750 E2
'87 Suzuki Savage 650 Street Tracker (lost in the shop fire)
'81 KZ-750 E2
'87 Suzuki Savage 650 Street Tracker (lost in the shop fire)
Please Log in or Create an account to join the conversation.
- calum
-
Topic Author
- Offline
- User
-
Registered
- Posts: 1144
- Thanks: 415
Re: KZ750H Restoration
18 Mar 2020 10:12
That's pretty much the rule of thumb I go by. I just use 6mm for M6, 8mm for M8 etc.
KZ1000 Restomod (
www.kzrider.com/forum/11-projects/614517-1977-kz1000-restomod
)
1977 KZ1000A1 ( www.kzrider.com/forum/11-projects/616901...-spare-parts-project )
1980 KZ750H ( kzrider.com/forum/11-projects/612054-kz750h-restoration )
2000 BMW F650GS
1977 KZ1000A1 ( www.kzrider.com/forum/11-projects/616901...-spare-parts-project )
1980 KZ750H ( kzrider.com/forum/11-projects/612054-kz750h-restoration )
2000 BMW F650GS
Please Log in or Create an account to join the conversation.
- M_a_t_t
-
- Offline
- Sustaining Member
-
Registered
- Posts: 254
- Thanks: 41
Re: KZ750H Restoration
18 Mar 2020 16:57 - 18 Mar 2020 16:59Skidmark wrote: I have heard that once the thread engagement length is greater than the major diameter of the fastener, the maximum strength of the fastener has been achieved. Any further engagement does not add to the holding strength. I was told this by an aerospace engineer, so I have never had any reason to question it, That may only apply when the material of both the male and female threads are made of the same material, though. Steel bolts in an aluminum threaded hole may be a different situation.
That sounds like a good rule of thumb, but I don't see the math in it unless it is referring to holding force (or static load) vs pulling down (or static plus an axial load of the force to slide the ramps of the threads along each other) something like the caps. Having that engagement is probably more than adequate, but the more cross sectional area the greater the shear strength right (in reference to the area of the teeth engagement)? So I would think max strength wouldn't be reached until full engagement of the threads. It doesn't sound like you need max shear strength in this case though.
IDK, just my initial thoughts about it. If I thought about it more I might be able to figure it out.
83 KZ1100A (shaft)
17 Versys X 300 abs
81 kz650h1
81 kz750e2
90 Honda CBR600F (brother's)
17 Versys X 300 abs
81 kz650h1
81 kz750e2
90 Honda CBR600F (brother's)
Last edit: 18 Mar 2020 16:59 by M_a_t_t.
Please Log in or Create an account to join the conversation.
Moderators: Street Fighter LTD