
KZ750H Restoration
- calum
-
 Topic Author
- Offline
- User
-

Registered
- Posts: 1144
- Thanks: 415
Re: KZ750H Restoration
22 Jan 2020 11:01 - 22 Jan 2020 11:03
Bit the bullet on the headlight housing and just took it back to get the chrome redone - no chance of getting it back to the state it was in and I'll still come out under the price of a new one. Live and learn I guess...
Spent all day today blasting, sanding and polishing. Blasted the inside of the front fender and chain guard to get them prepped for re-plated. Was originally going to let the guy that does the chrome do it as it takes a while to do with my small setup, decided to put the time in though - trying to save some of the cash I just threw away on the headlight.
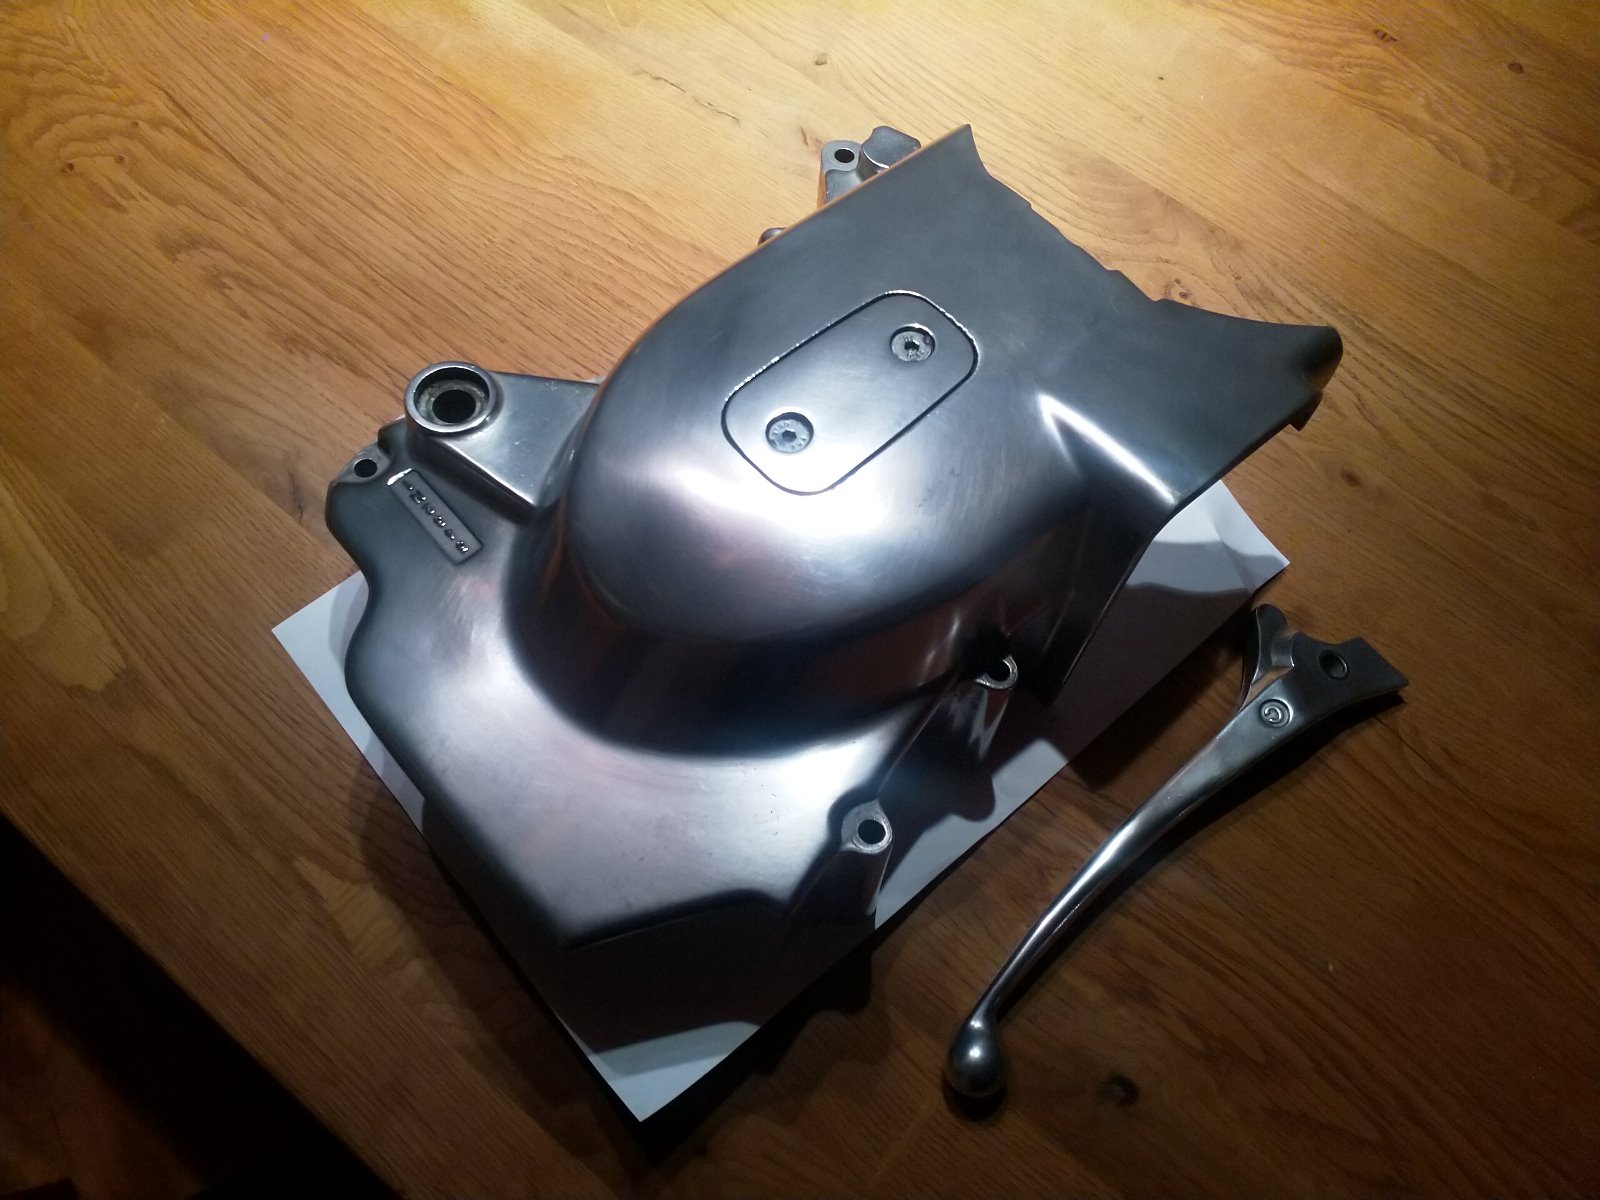
Finally got the sprocket cover done. Not perfect but it's good enough. It should be fine next to the alternator cover as that's not perfect either") I figure I can always polish up the covers next winter if I'm bored. Sorted out the brake lever too.
I figure I can always polish up the covers next winter if I'm bored. Sorted out the brake lever too.
Spent all day today blasting, sanding and polishing. Blasted the inside of the front fender and chain guard to get them prepped for re-plated. Was originally going to let the guy that does the chrome do it as it takes a while to do with my small setup, decided to put the time in though - trying to save some of the cash I just threw away on the headlight.
Finally got the sprocket cover done. Not perfect but it's good enough. It should be fine next to the alternator cover as that's not perfect either
I figure I can always polish up the covers next winter if I'm bored. Sorted out the brake lever too.
KZ1000 Restomod (
www.kzrider.com/forum/11-projects/614517-1977-kz1000-restomod
)
1977 KZ1000A1 ( www.kzrider.com/forum/11-projects/616901...-spare-parts-project )
1980 KZ750H ( kzrider.com/forum/11-projects/612054-kz750h-restoration )
2000 BMW F650GS
1977 KZ1000A1 ( www.kzrider.com/forum/11-projects/616901...-spare-parts-project )
1980 KZ750H ( kzrider.com/forum/11-projects/612054-kz750h-restoration )
2000 BMW F650GS
Last edit: 22 Jan 2020 11:03 by calum.
Please Log in or Create an account to join the conversation.
- calum
-
Topic Author
- Offline
- User
-
Registered
- Posts: 1144
- Thanks: 415
Re: KZ750H Restoration
26 Jan 2020 01:43
Got the carbs in yesterday. Wanted to get the wiring for the starter, alternator and neutral switch done so I could put the sprocket cover back on and take some photos. Turned out my crimping pliers don't like the bullet connectors I have. They're fine on econo- and superseal connectors, but I wanted to use bullets again for the alternator so they don't get in the way of the sprocket cover. Also found out that I don't have the right combination of colour and gauge for a lot of the wiring (not sure what I was thinking when I ordered the wiring last year). Anyway, this put the breaks on for a couple of days until the new wiring and crimping pliers arrive. In the meantime I've put my back out which means I can't even sort out the valve clearances now that the shims have finally arrived. All a bit frustrating but thems the breaks I guess.
KZ1000 Restomod (
www.kzrider.com/forum/11-projects/614517-1977-kz1000-restomod
)
1977 KZ1000A1 ( www.kzrider.com/forum/11-projects/616901...-spare-parts-project )
1980 KZ750H ( kzrider.com/forum/11-projects/612054-kz750h-restoration )
2000 BMW F650GS
1977 KZ1000A1 ( www.kzrider.com/forum/11-projects/616901...-spare-parts-project )
1980 KZ750H ( kzrider.com/forum/11-projects/612054-kz750h-restoration )
2000 BMW F650GS
Please Log in or Create an account to join the conversation.
- calum
-
Topic Author
- Offline
- User
-
Registered
- Posts: 1144
- Thanks: 415
Re: KZ750H Restoration
31 Jan 2020 11:16
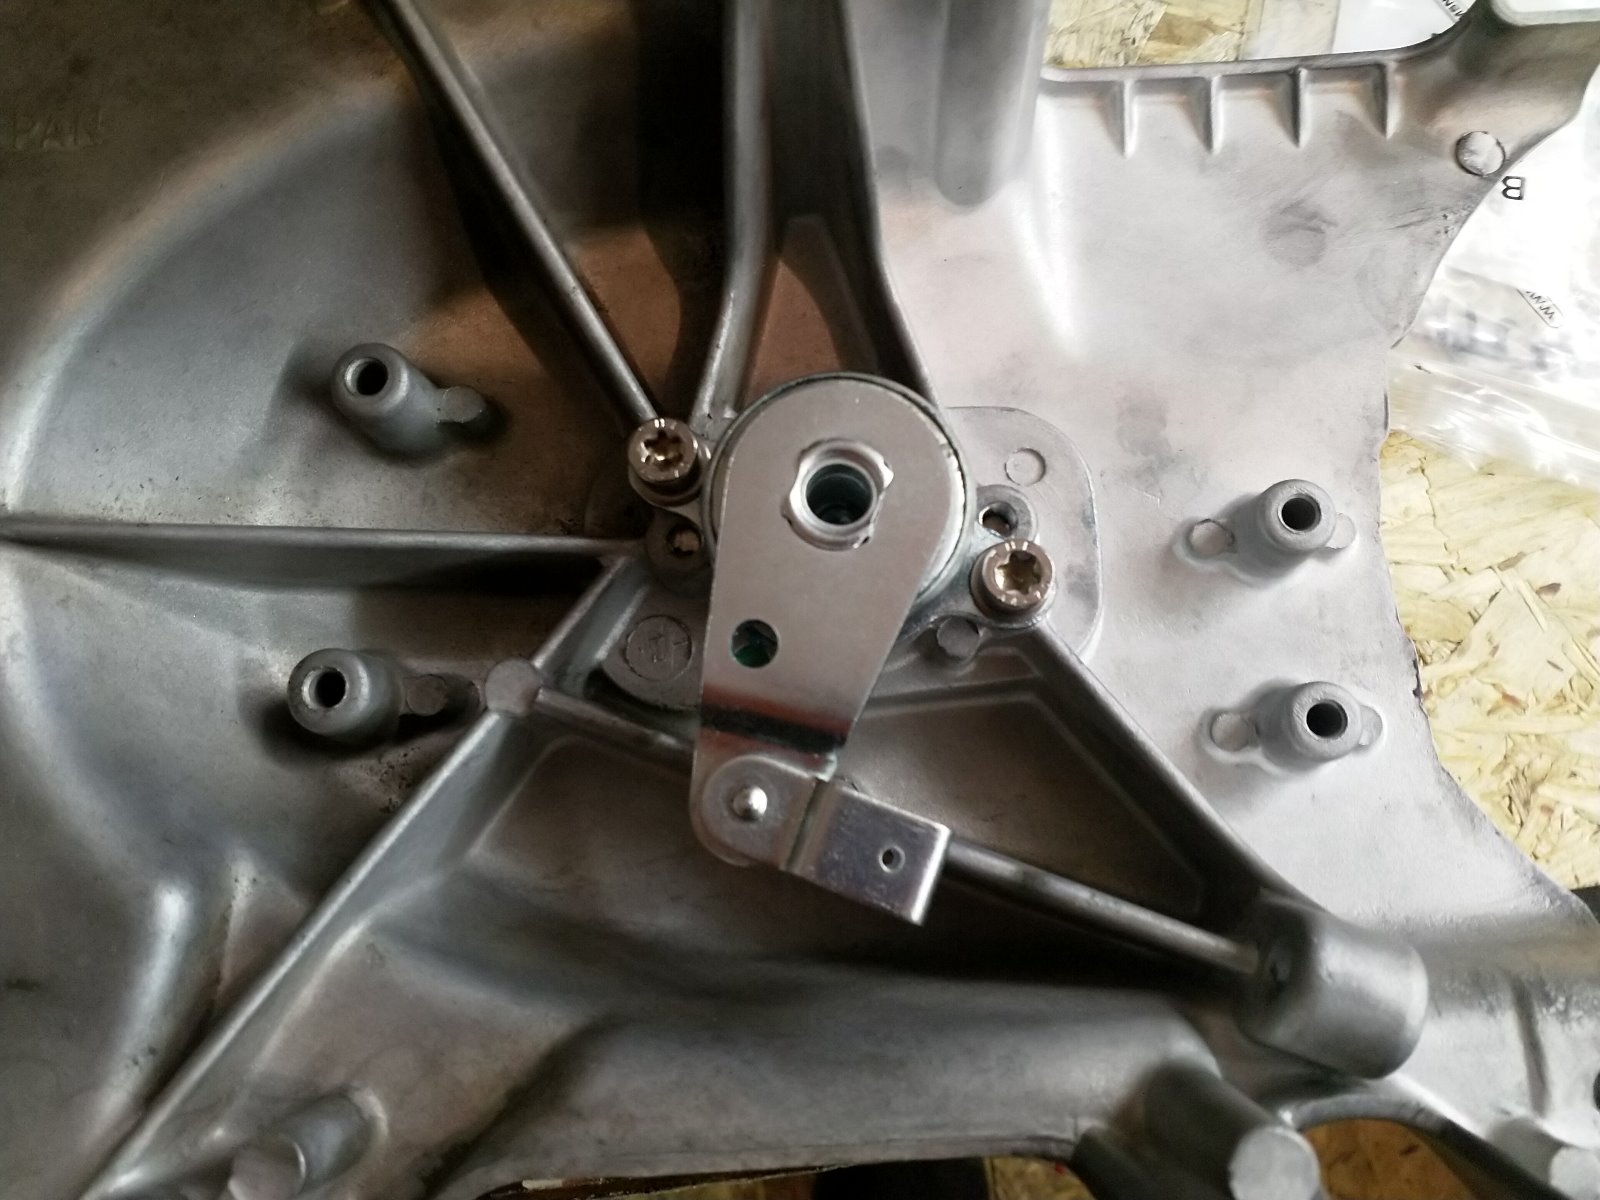
So, getting back into things - finally. Got all the parts I need to start her up now, so just need to get to work. Started the wiring today. Got the rectifier, alternator, neutral switch and starter wired up. Took a while to sort out all the wires and connectors - everything is getting replaced, so I have a load of stuff. Put two 3-pin plugs on the rectifier so I can easily separate the alternator. Will get the plugs on the igniter, brake failure sensor and fuse box replaced tomorrow and wire it all up.
Here's the wiring under the sprocket cover (I now realise that I need to route the wiring under the engine mount spacer if I want to get the sprocket cover back on :rolleyes: ):
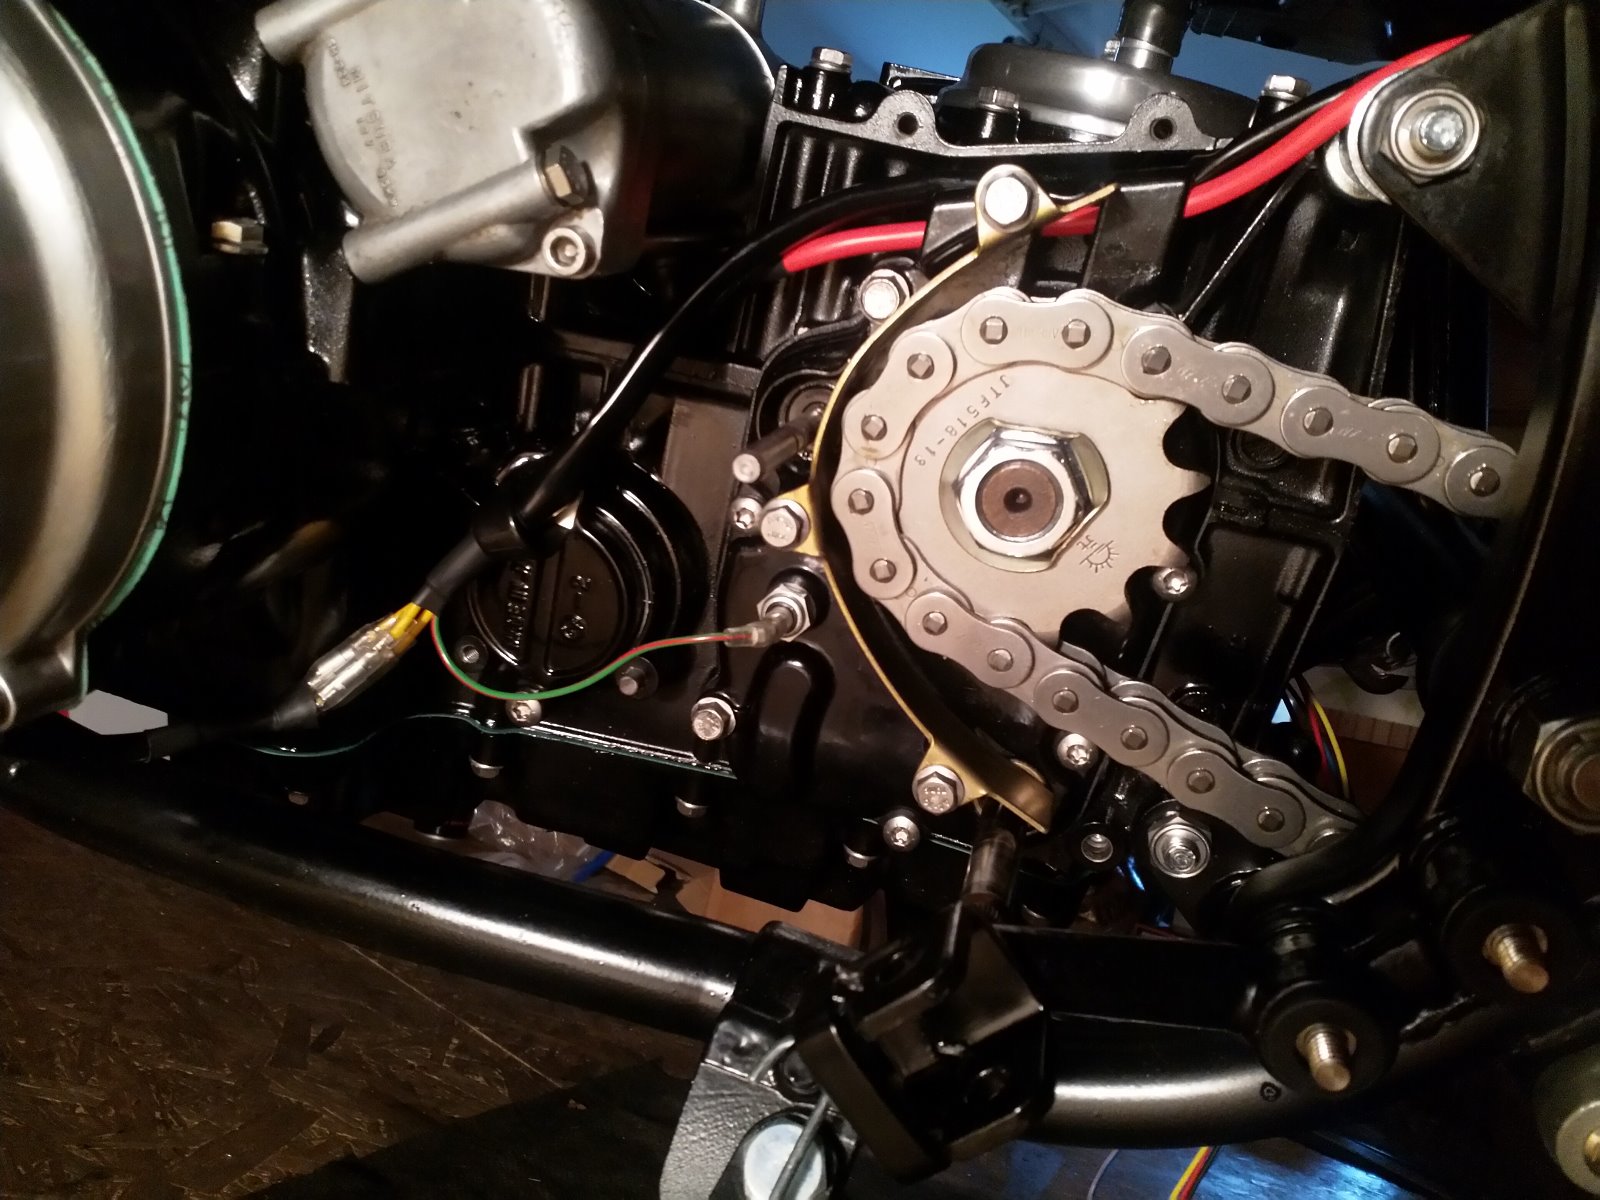
Here's the wiring under the sprocket cover (I now realise that I need to route the wiring under the engine mount spacer if I want to get the sprocket cover back on :rolleyes: ):
KZ1000 Restomod (
www.kzrider.com/forum/11-projects/614517-1977-kz1000-restomod
)
1977 KZ1000A1 ( www.kzrider.com/forum/11-projects/616901...-spare-parts-project )
1980 KZ750H ( kzrider.com/forum/11-projects/612054-kz750h-restoration )
2000 BMW F650GS
1977 KZ1000A1 ( www.kzrider.com/forum/11-projects/616901...-spare-parts-project )
1980 KZ750H ( kzrider.com/forum/11-projects/612054-kz750h-restoration )
2000 BMW F650GS
Please Log in or Create an account to join the conversation.
- calum
-
Topic Author
- Offline
- User
-
Registered
- Posts: 1144
- Thanks: 415
Re: KZ750H Restoration
01 Feb 2020 05:19 - 01 Feb 2020 05:24
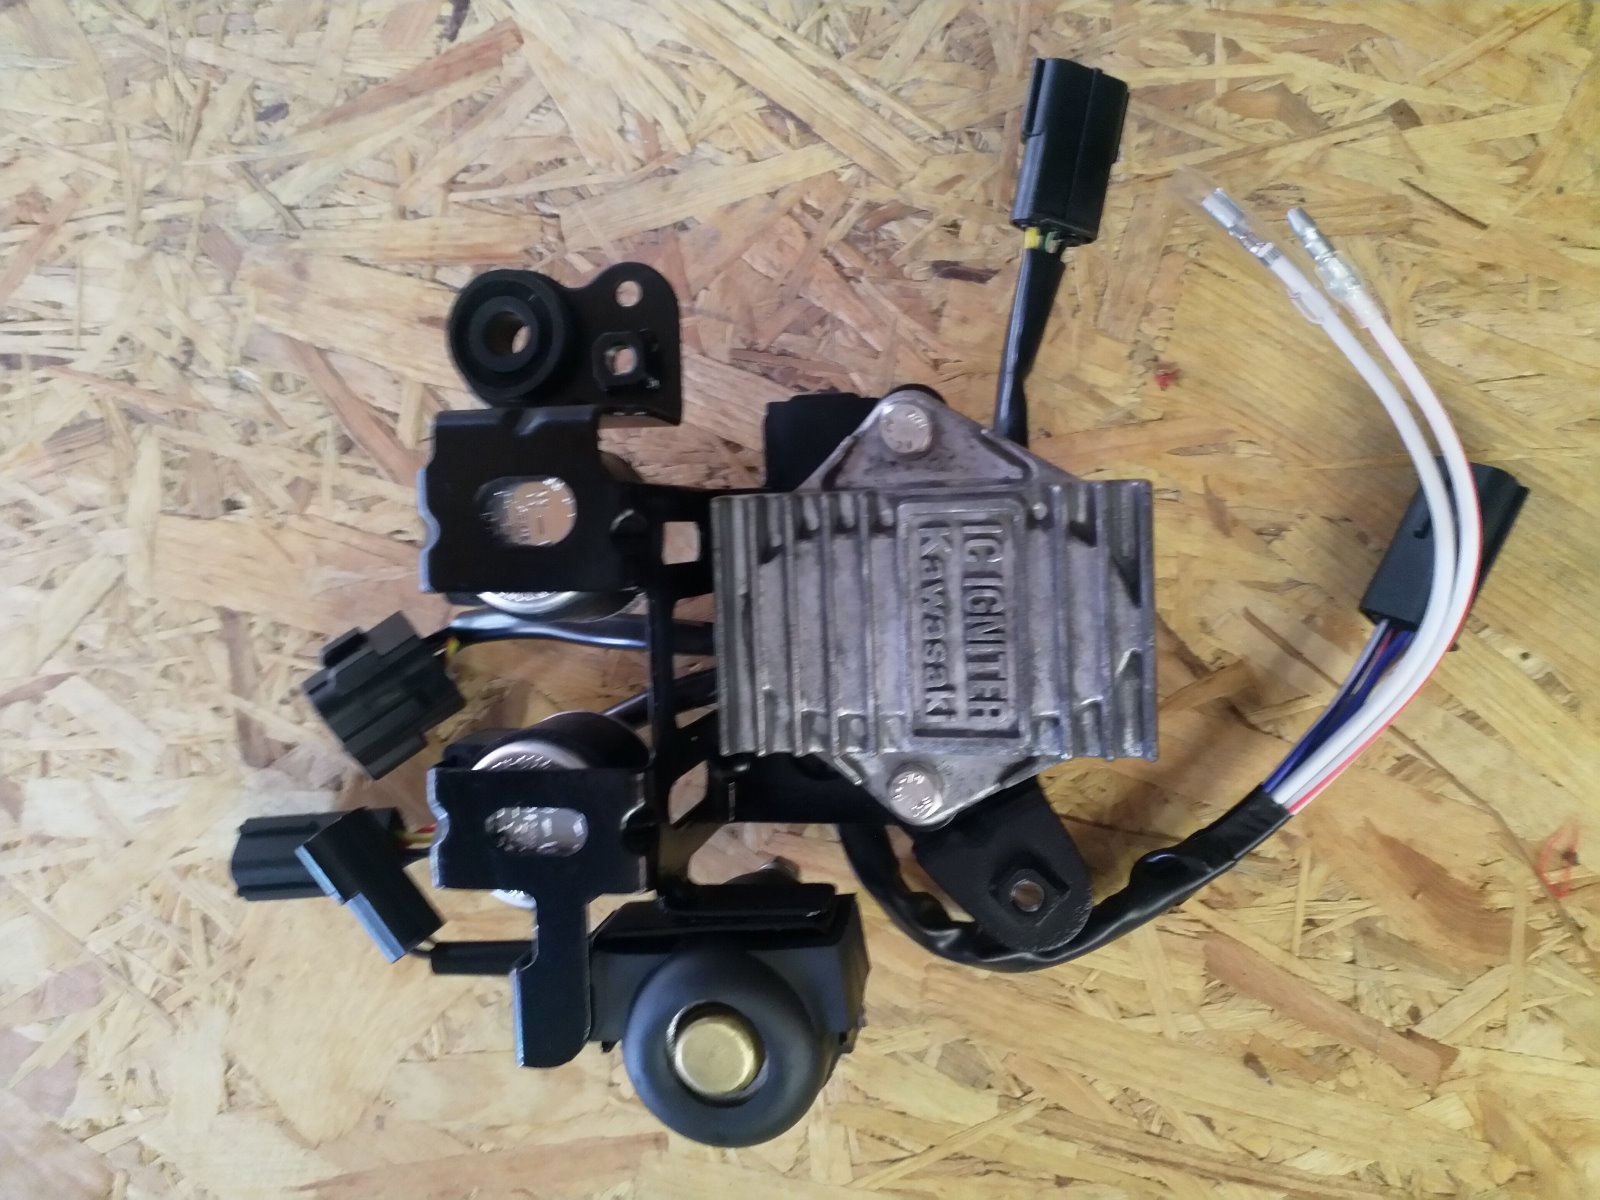
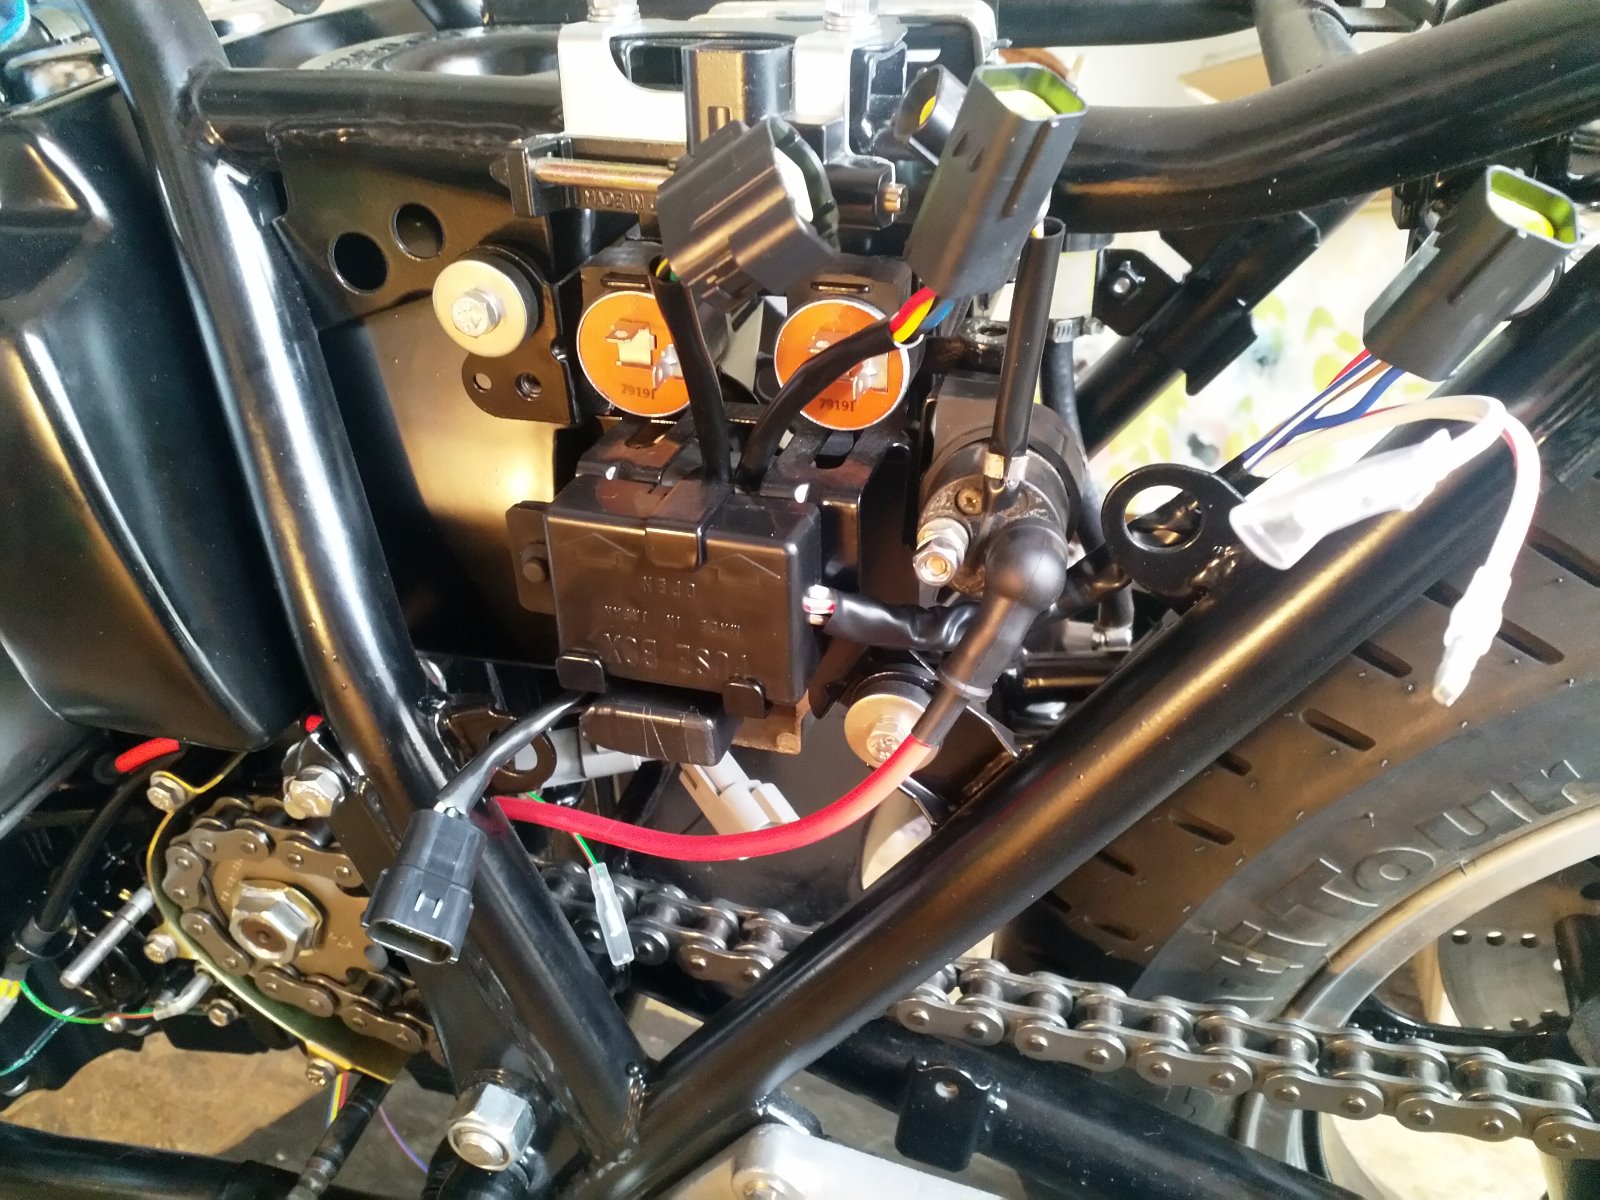
Slowly making my way through the electrics. Got all the connectors replaced except for the reserve lighting device. Trying to figure out how best to route the wiring. Thinking that I will go under the air box for most of it but it may be quite tight. May go around the back of the battery case for the fuse box, starter relay, indicator/hazard relays and coil - igniter circuit. That would mean I only need to route the pickup coils, rectifier, neutral switch and brake light failure sensor underneath the air box. Any thoughts?
KZ1000 Restomod (
www.kzrider.com/forum/11-projects/614517-1977-kz1000-restomod
)
1977 KZ1000A1 ( www.kzrider.com/forum/11-projects/616901...-spare-parts-project )
1980 KZ750H ( kzrider.com/forum/11-projects/612054-kz750h-restoration )
2000 BMW F650GS
1977 KZ1000A1 ( www.kzrider.com/forum/11-projects/616901...-spare-parts-project )
1980 KZ750H ( kzrider.com/forum/11-projects/612054-kz750h-restoration )
2000 BMW F650GS
Last edit: 01 Feb 2020 05:24 by calum.
Please Log in or Create an account to join the conversation.
- DoctoRot
-

- Offline
- Sustaining Member
-

Registered
- Oh, the usual... I bowl, I drive around...
- Posts: 2621
- Thanks: 784
Re: KZ750H Restoration
01 Feb 2020 13:05
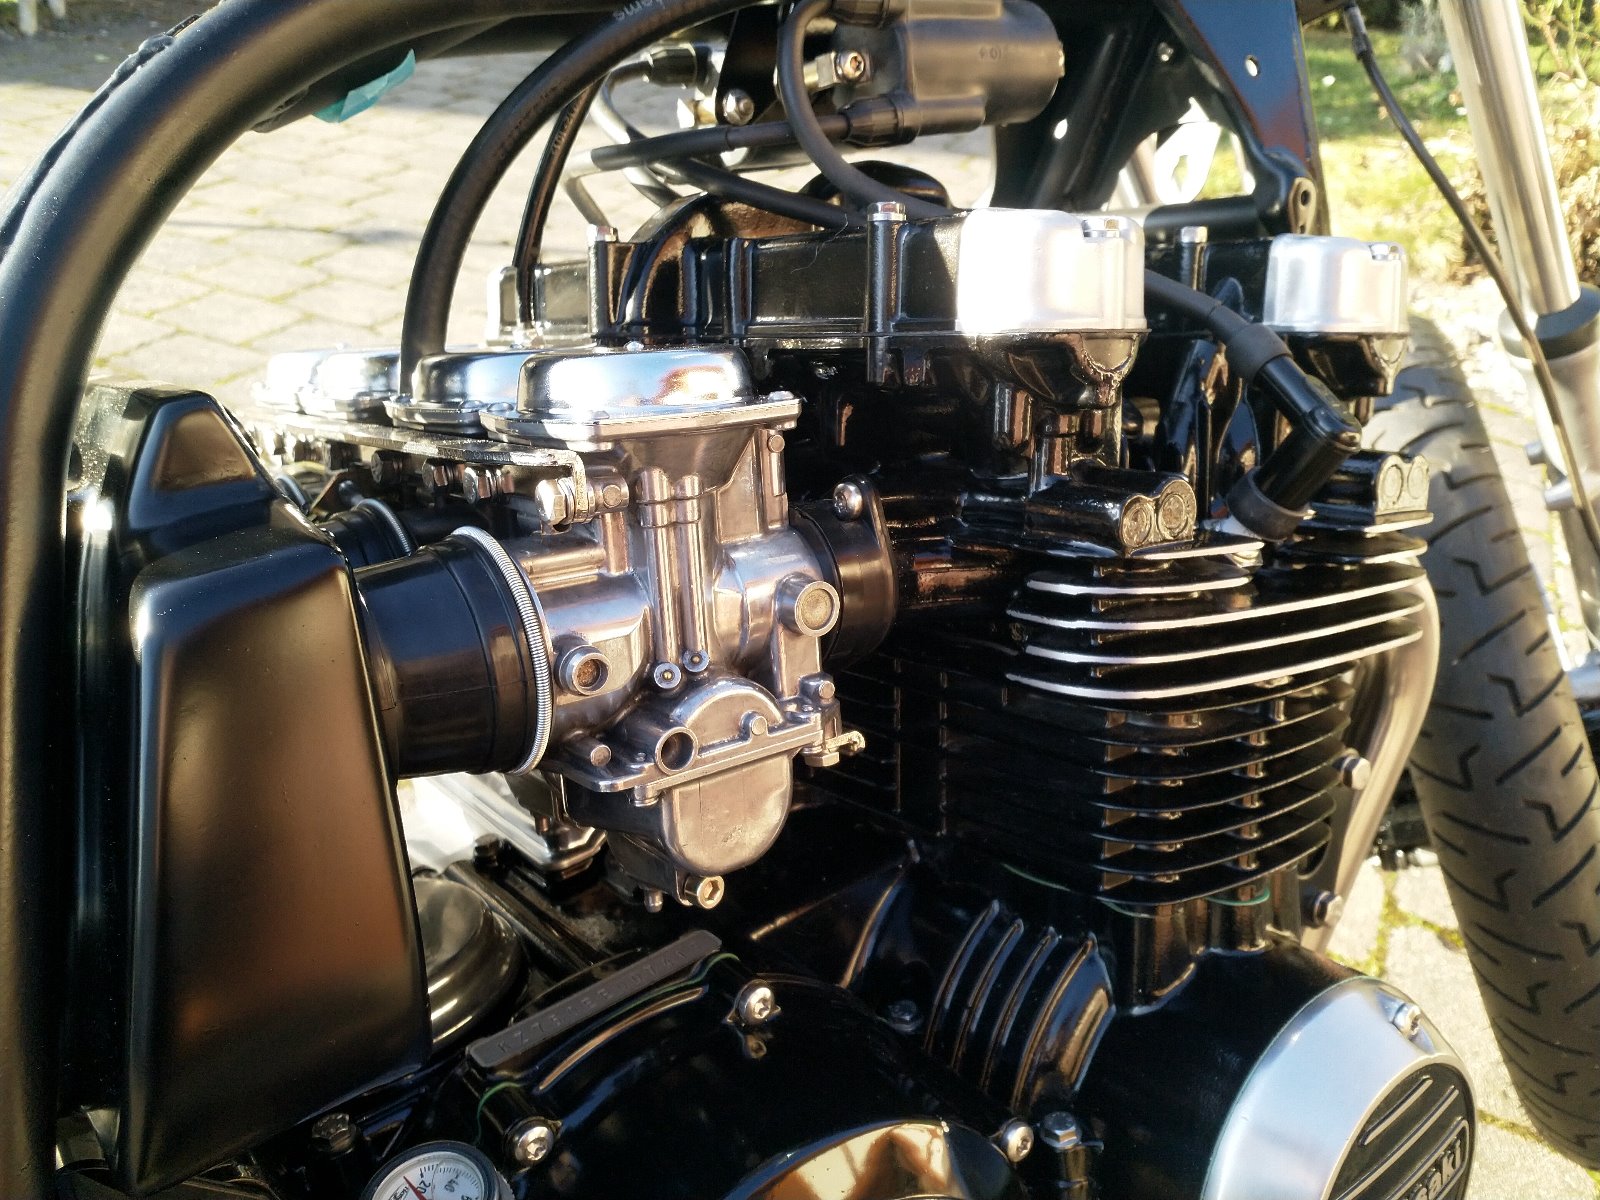
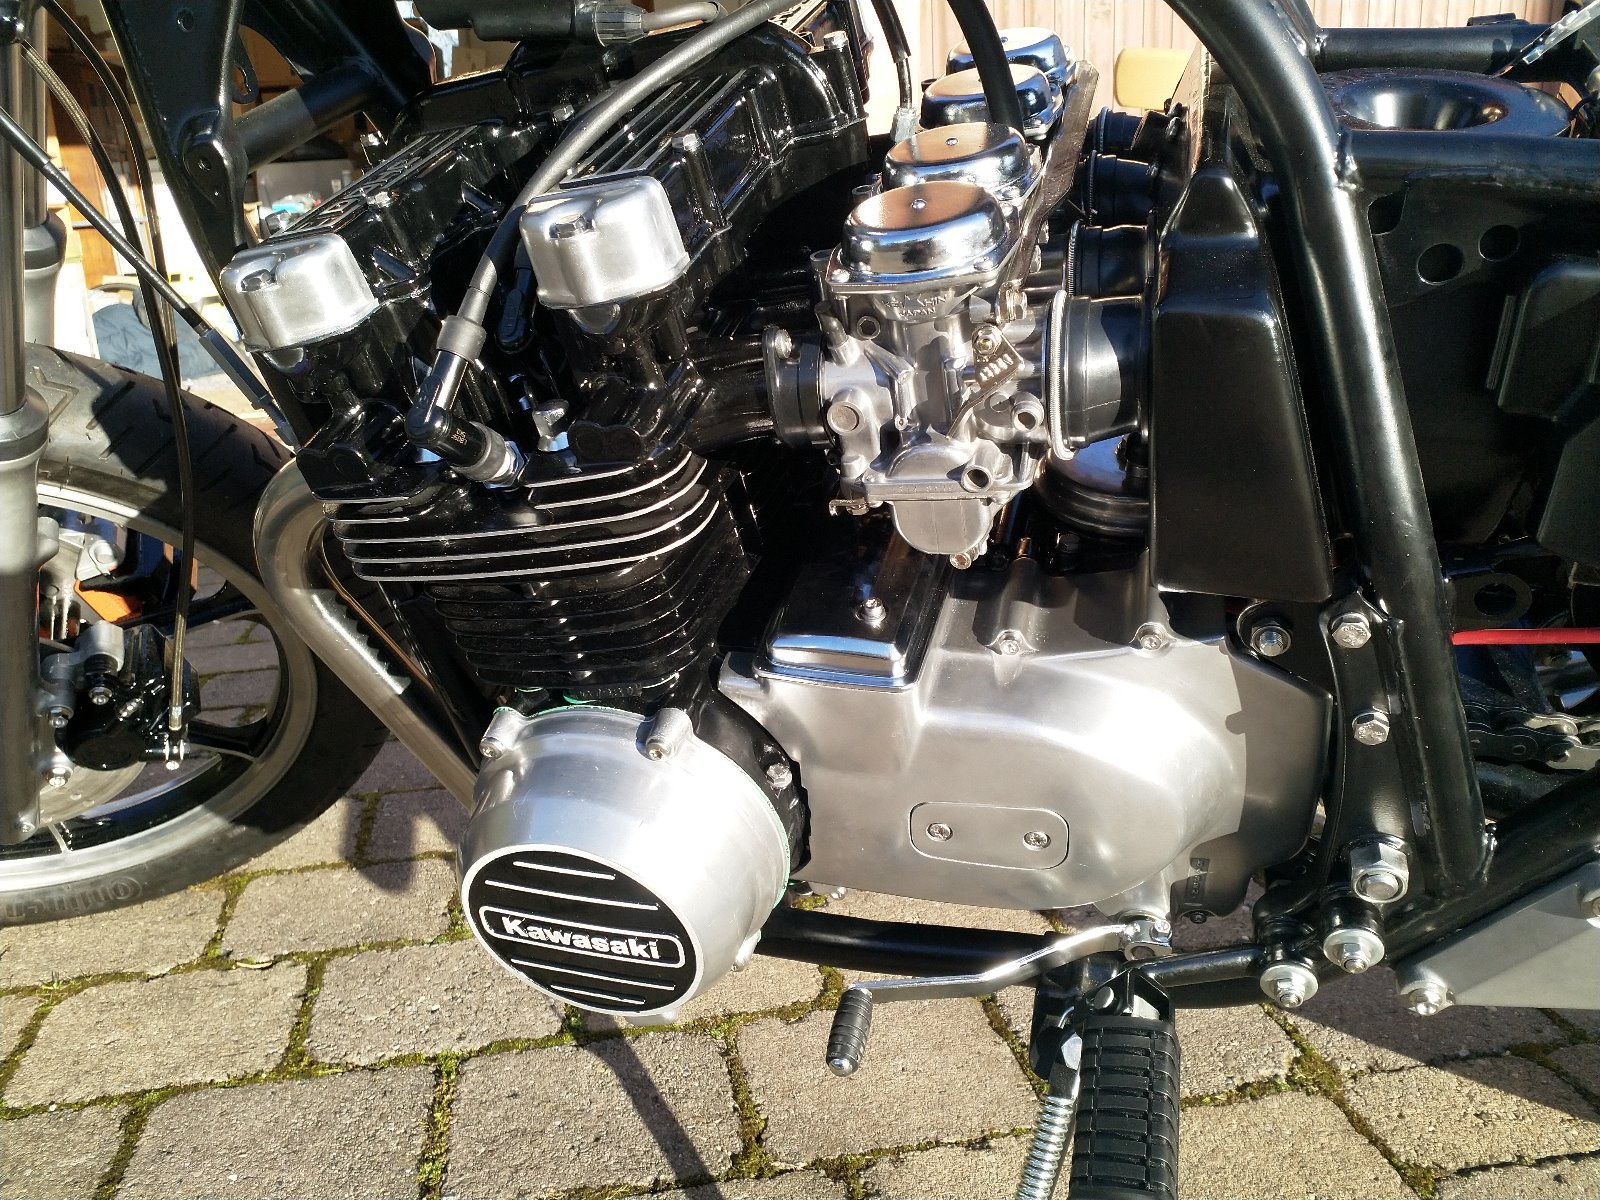
Nice work on those carbs, they look better than OEM.
The following user(s) said Thank You: calum
Please Log in or Create an account to join the conversation.
- calum
-
Topic Author
- Offline
- User
-
Registered
- Posts: 1144
- Thanks: 415
Re: KZ750H Restoration
02 Feb 2020 09:41
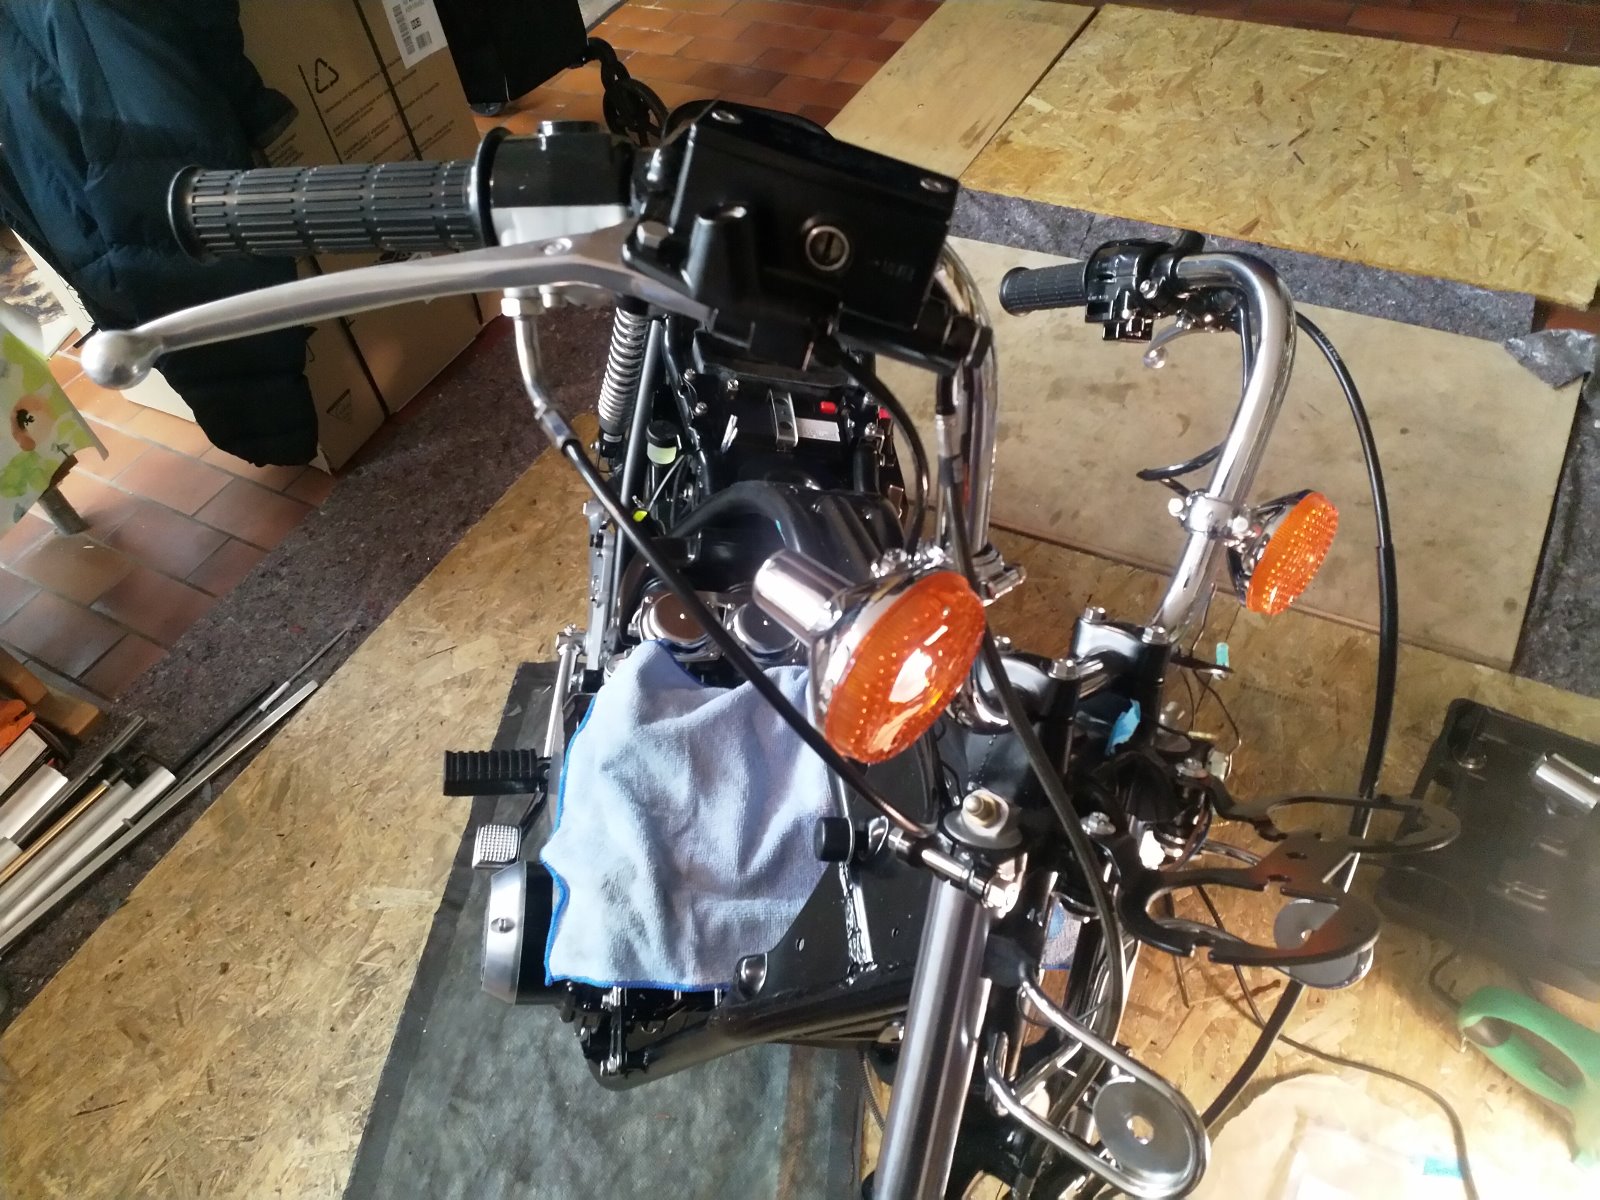
Got a bit more done today. Tried to get everything sorted out so I can do the main wiring harness in one go. Got the front indicators on and the brake and clutch switches. Mounted the backup set of controls (just the empty housing) so I could get the spacing for the master cylinder and clutch bracket sorted. Hopefully the headlight housing will be back this week so I can get he meter and ignition connectors done.
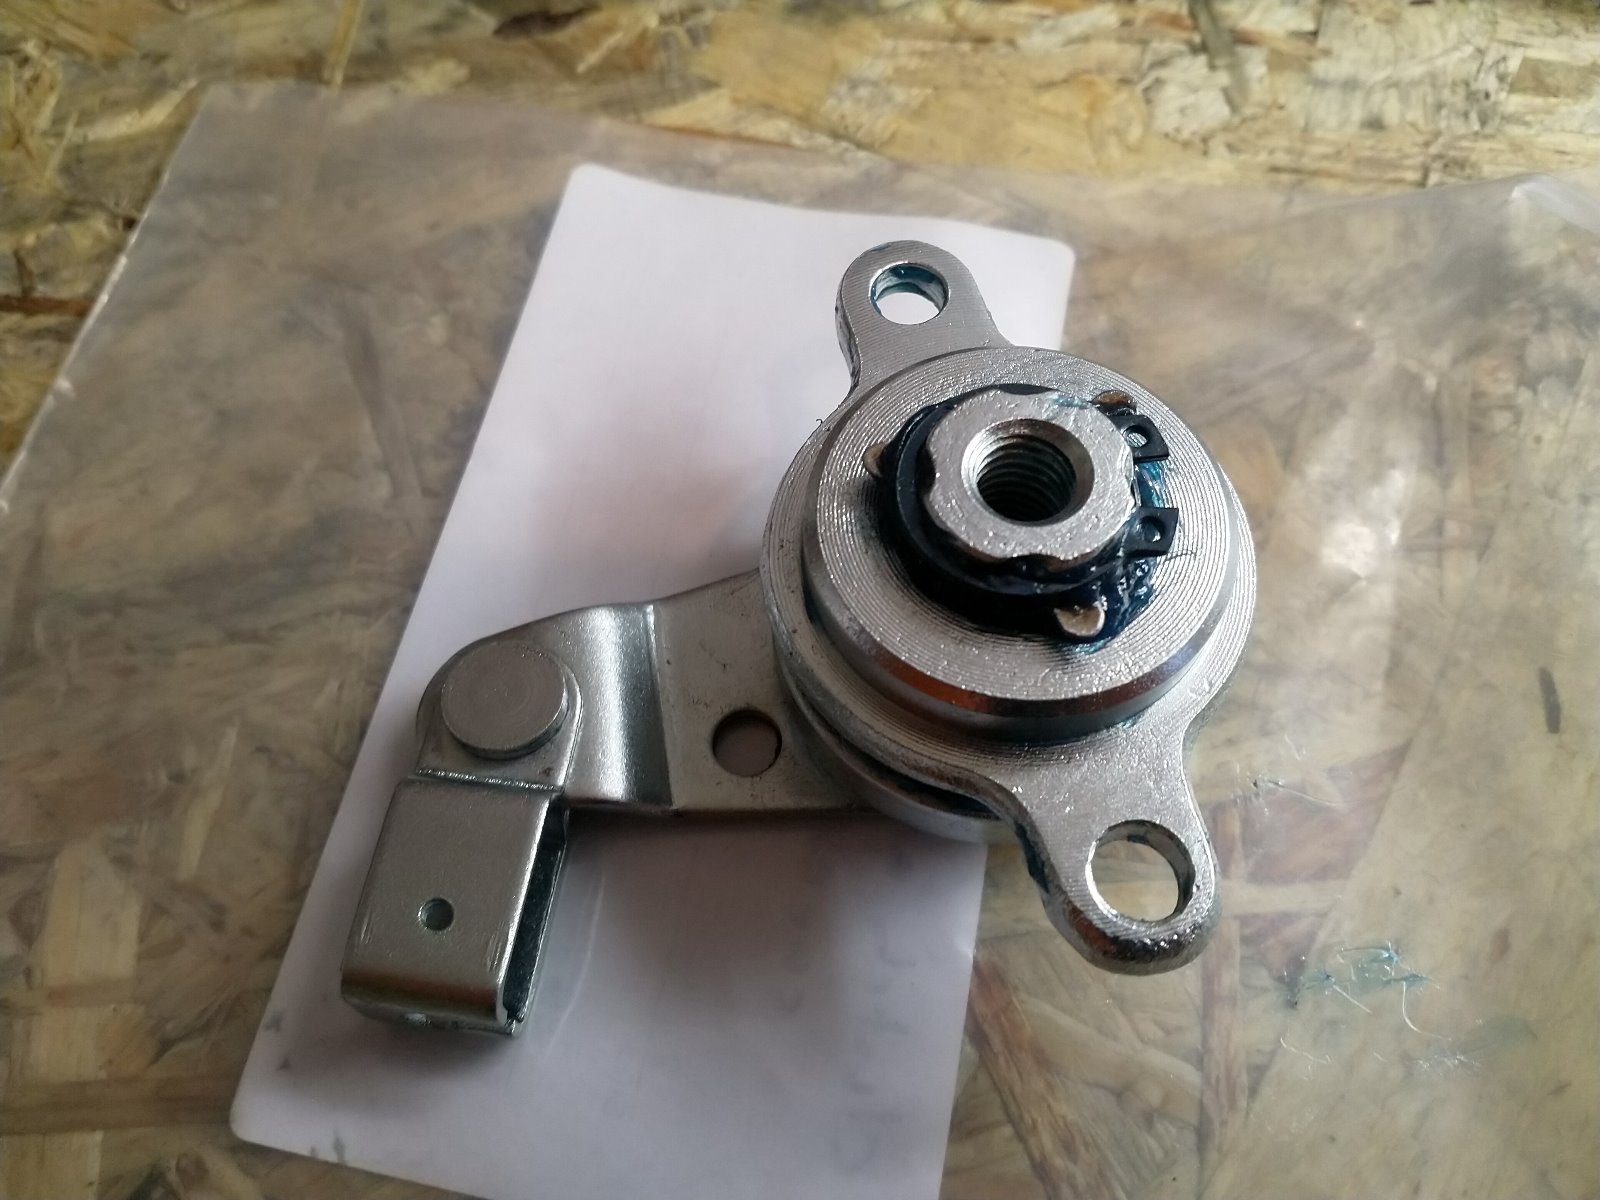
Got the clutch actuator reassembled and the sprocket cover back on. Finished the last of the wiring prep as well (ground cable, reserve lighting device and the rear brake switch). On to the main harness on Wednesday (my day off).
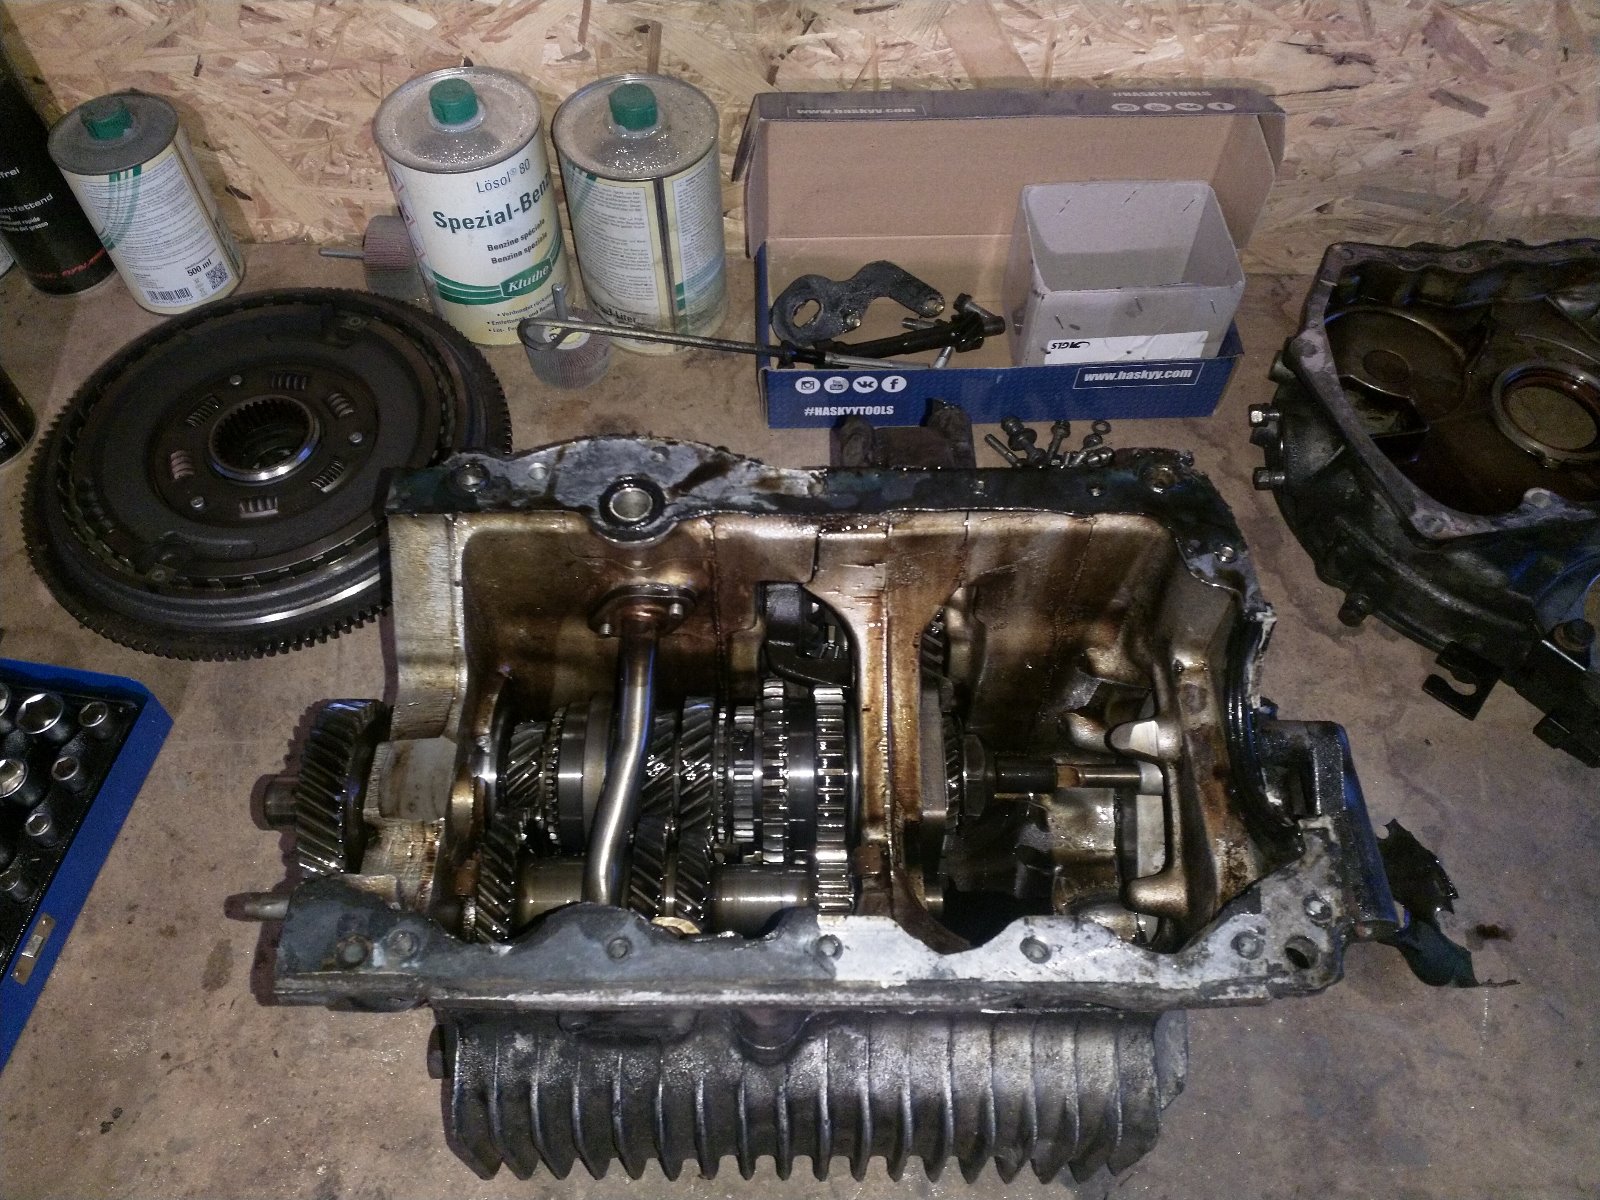
The other project is coming along as well... Will leave it until next weekend to replace the sync rings so I can just work on the bike on Wednesday:
Got the clutch actuator reassembled and the sprocket cover back on. Finished the last of the wiring prep as well (ground cable, reserve lighting device and the rear brake switch). On to the main harness on Wednesday (my day off).
The other project is coming along as well... Will leave it until next weekend to replace the sync rings so I can just work on the bike on Wednesday:
KZ1000 Restomod (
www.kzrider.com/forum/11-projects/614517-1977-kz1000-restomod
)
1977 KZ1000A1 ( www.kzrider.com/forum/11-projects/616901...-spare-parts-project )
1980 KZ750H ( kzrider.com/forum/11-projects/612054-kz750h-restoration )
2000 BMW F650GS
1977 KZ1000A1 ( www.kzrider.com/forum/11-projects/616901...-spare-parts-project )
1980 KZ750H ( kzrider.com/forum/11-projects/612054-kz750h-restoration )
2000 BMW F650GS
Please Log in or Create an account to join the conversation.
- Skidmark
-
- Offline
- User
-
Registered
- Posts: 1087
- Thanks: 312
Re: KZ750H Restoration
02 Feb 2020 13:51
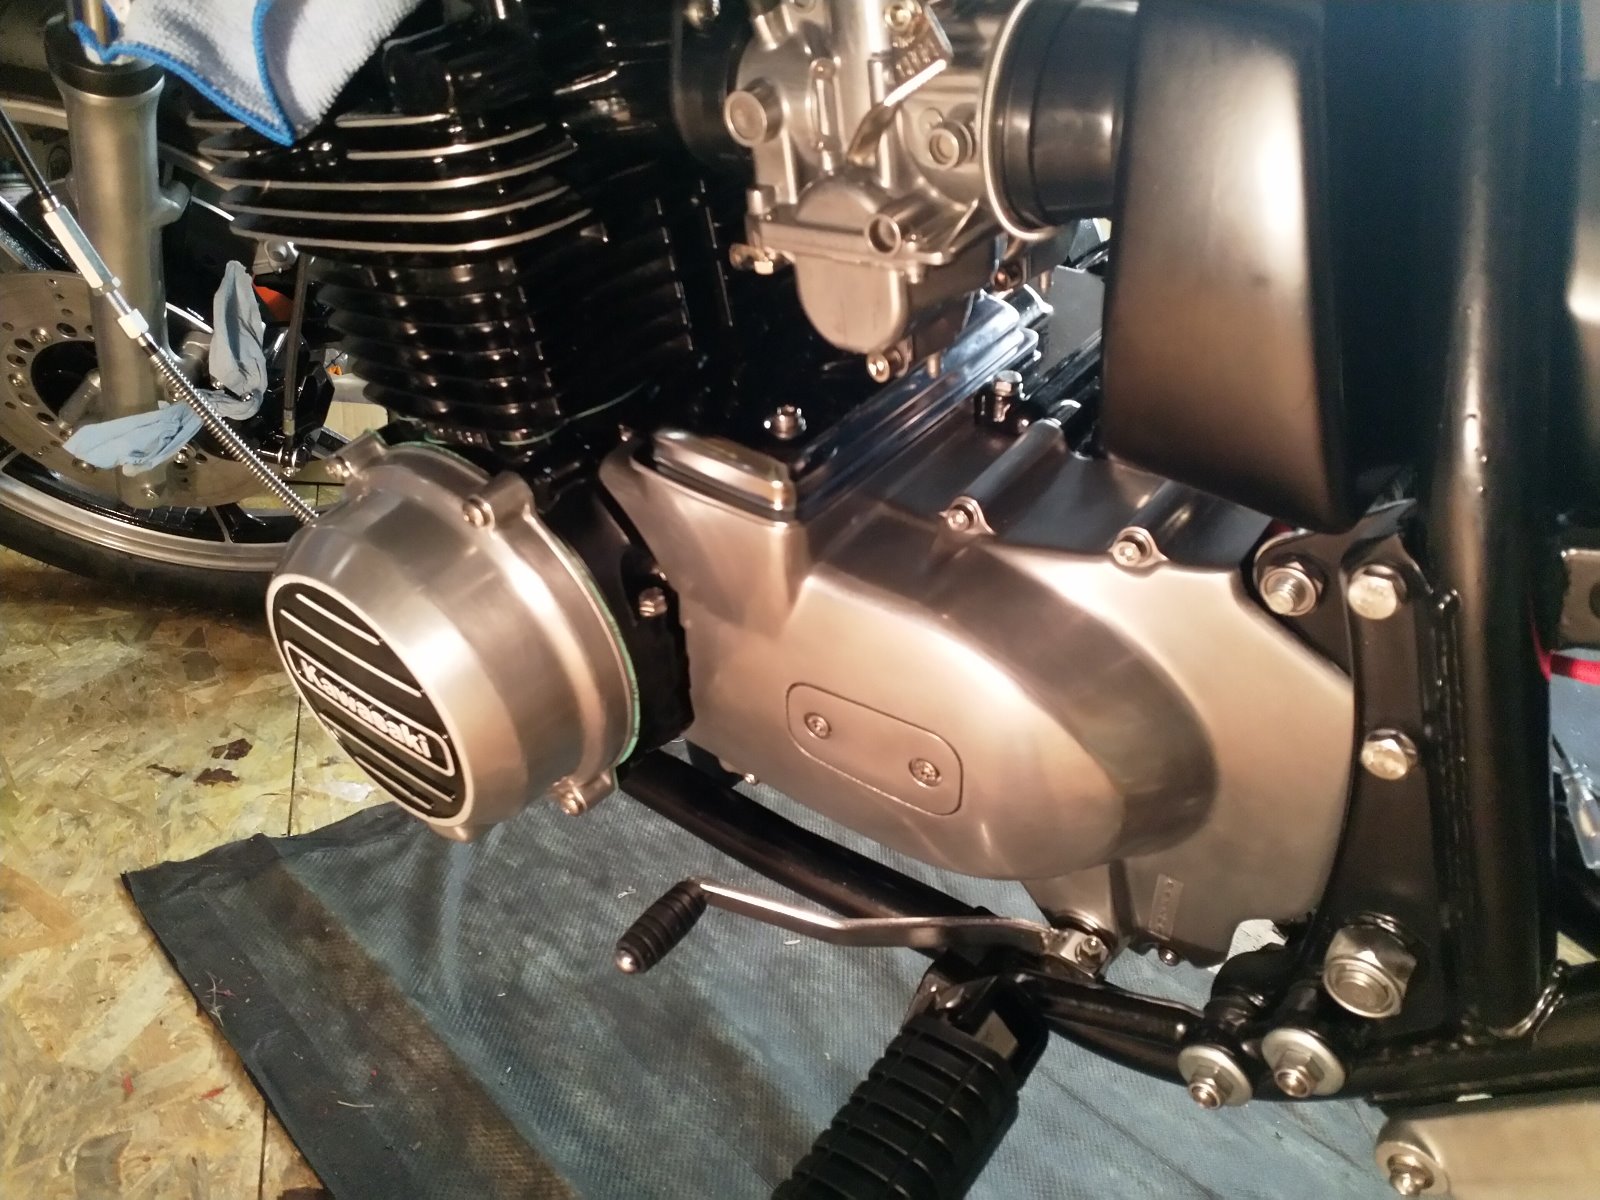
Where did you pick up your engine paint? This is one part of my project I haven't started yet, but need to begin the acquisition part of it so I have what I need when I start on the engine.
Retired gearhead
'81 KZ-750 E2
'87 Suzuki Savage 650 Street Tracker (lost in the shop fire)
'81 KZ-750 E2
'87 Suzuki Savage 650 Street Tracker (lost in the shop fire)
Please Log in or Create an account to join the conversation.
- calum
-
Topic Author
- Offline
- User
-
Registered
- Posts: 1144
- Thanks: 415
Re: KZ750H Restoration
02 Feb 2020 14:33
I got it from some guys in Germany that specialise in motorbike paint (
www.motorradlack.de/
). I get all of my paint from them. It's a bit expensive but it's been worth it.
Probably not much help :S
I know that Nessism used something that he said to steer clear of but I'm pretty sure he had something in mind if he did it again.
Probably not much help :S
I know that Nessism used something that he said to steer clear of but I'm pretty sure he had something in mind if he did it again.
KZ1000 Restomod (
www.kzrider.com/forum/11-projects/614517-1977-kz1000-restomod
)
1977 KZ1000A1 ( www.kzrider.com/forum/11-projects/616901...-spare-parts-project )
1980 KZ750H ( kzrider.com/forum/11-projects/612054-kz750h-restoration )
2000 BMW F650GS
1977 KZ1000A1 ( www.kzrider.com/forum/11-projects/616901...-spare-parts-project )
1980 KZ750H ( kzrider.com/forum/11-projects/612054-kz750h-restoration )
2000 BMW F650GS
Please Log in or Create an account to join the conversation.
- jayrodoh
-

- Offline
- User
-
Registered
- Posts: 128
- Thanks: 27
Re: KZ750H Restoration
04 Feb 2020 16:59
Beautiful restoration you are doing there. Keep the pictures coming!
1982 KZ750-M1 CSR
The following user(s) said Thank You: calum
Please Log in or Create an account to join the conversation.
- calum
-
Topic Author
- Offline
- User
-
Registered
- Posts: 1144
- Thanks: 415
Re: KZ750H Restoration
05 Feb 2020 08:27 - 05 Feb 2020 09:28
Thanks jayrodoh, more pictures coming in the next post
Did some repair work today. The threads for the cam cap bolts have taken a beating over time. Two of the threads couldn't hold the 12 Nm torque when I checked the valve clearances the first time, and two more went when I put the new shims in last night. Helicoil time:
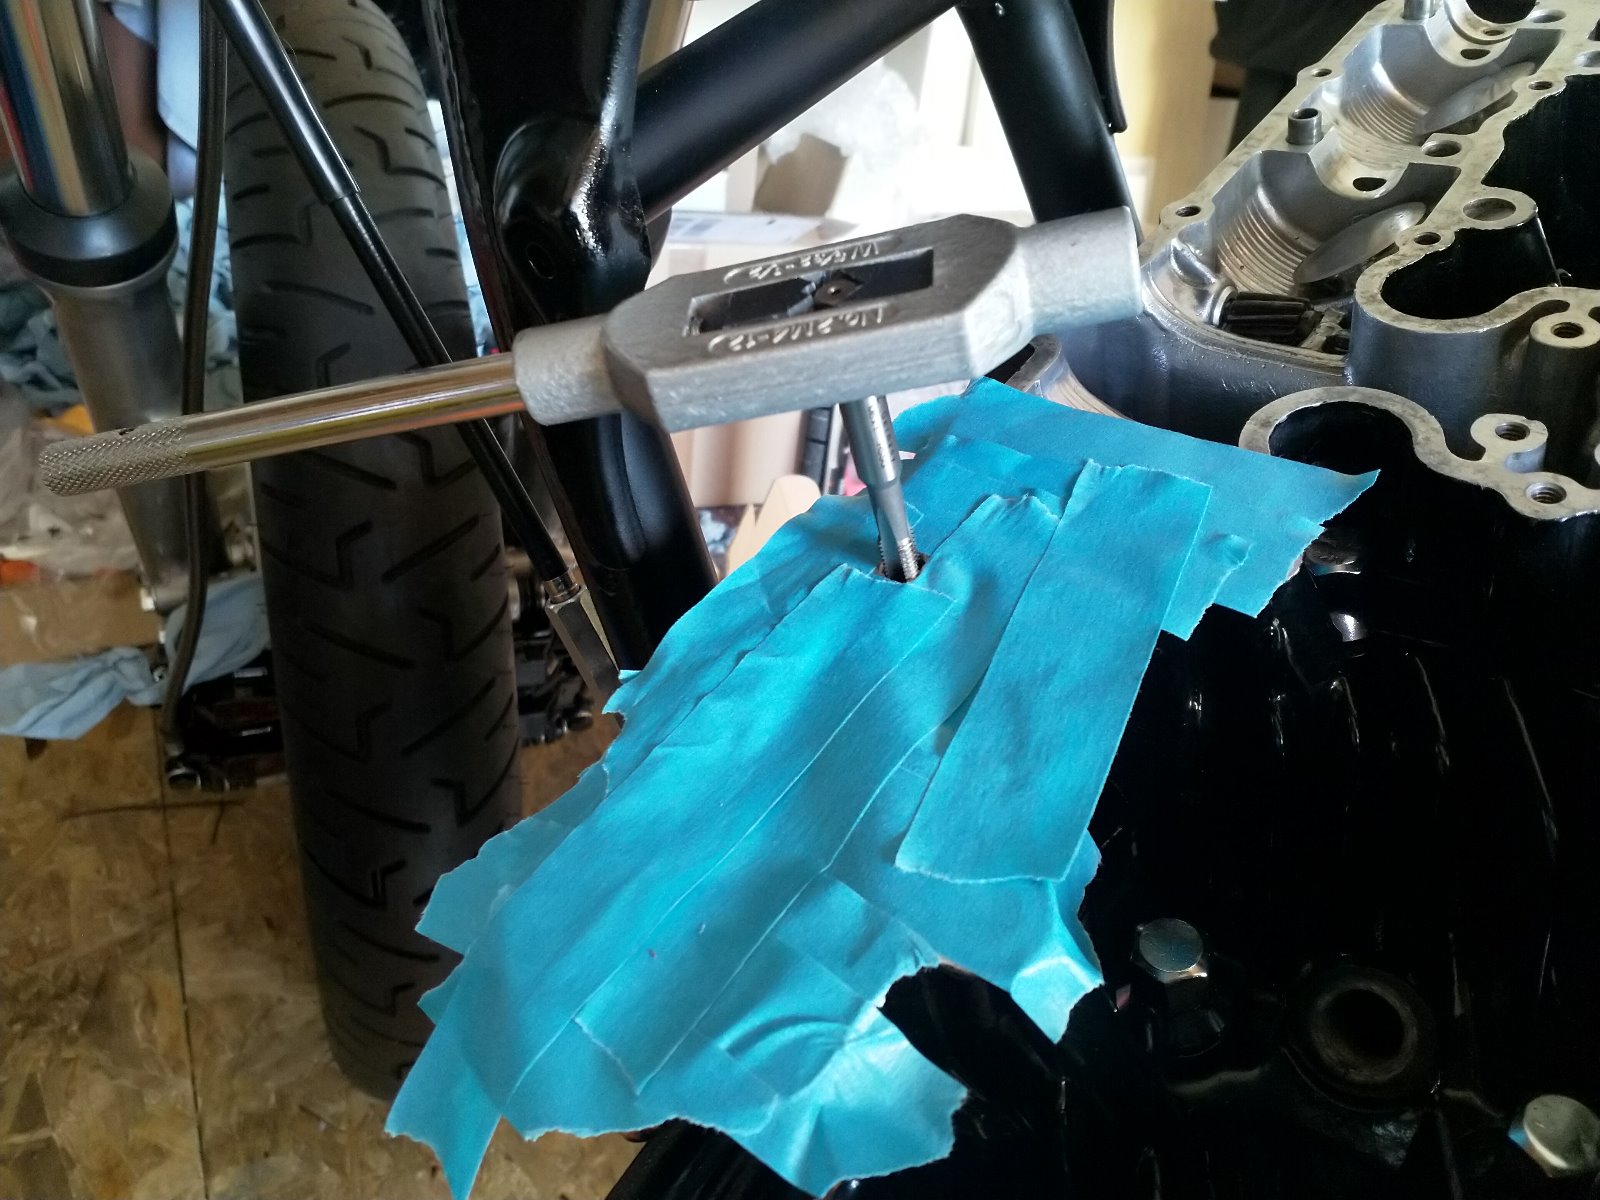
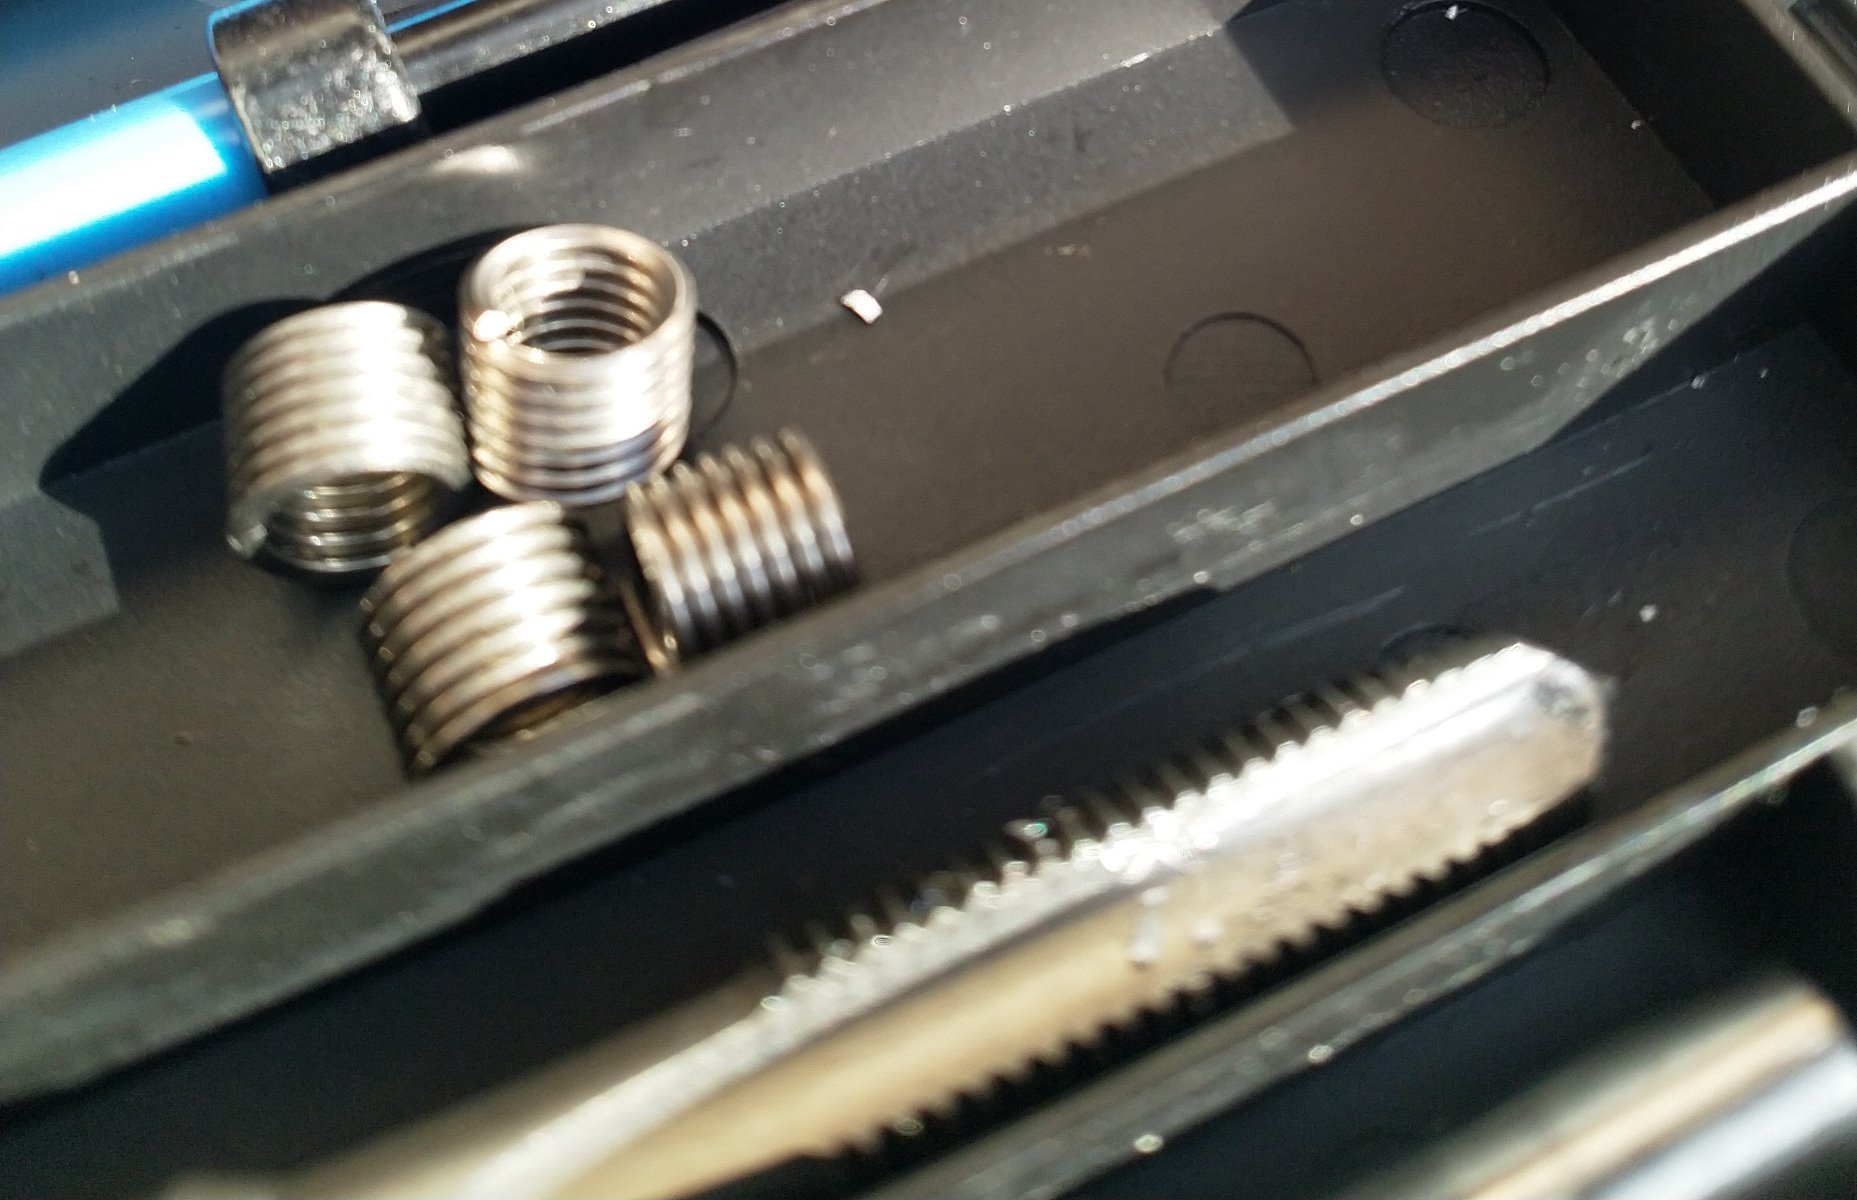
I taped up the area around the holes and used the vacuum cleaner to suck out all the shavings. After the thread insert was in I blasted a bit of compressed air in to get the last of the crap out. I had a brain fart on the second hole and blasted with compressed air before vacuuming the shavings out... Metal shavings went everywhere! The camshafts were covered but the spark plugs weren't in. Looking at the distribution of crap around the engine one or two tiny shavings may have gone through the hole on cylinder no. 4. I figure that a tiny aluminium shaving (like the one next to the m6 helicoils in the picture) will be dealt with pretty quickly though and shouldn't do any damage - am I wrong?
Did some repair work today. The threads for the cam cap bolts have taken a beating over time. Two of the threads couldn't hold the 12 Nm torque when I checked the valve clearances the first time, and two more went when I put the new shims in last night. Helicoil time:
I taped up the area around the holes and used the vacuum cleaner to suck out all the shavings. After the thread insert was in I blasted a bit of compressed air in to get the last of the crap out. I had a brain fart on the second hole and blasted with compressed air before vacuuming the shavings out... Metal shavings went everywhere! The camshafts were covered but the spark plugs weren't in. Looking at the distribution of crap around the engine one or two tiny shavings may have gone through the hole on cylinder no. 4. I figure that a tiny aluminium shaving (like the one next to the m6 helicoils in the picture) will be dealt with pretty quickly though and shouldn't do any damage - am I wrong?
KZ1000 Restomod (
www.kzrider.com/forum/11-projects/614517-1977-kz1000-restomod
)
1977 KZ1000A1 ( www.kzrider.com/forum/11-projects/616901...-spare-parts-project )
1980 KZ750H ( kzrider.com/forum/11-projects/612054-kz750h-restoration )
2000 BMW F650GS
1977 KZ1000A1 ( www.kzrider.com/forum/11-projects/616901...-spare-parts-project )
1980 KZ750H ( kzrider.com/forum/11-projects/612054-kz750h-restoration )
2000 BMW F650GS
Last edit: 05 Feb 2020 09:28 by calum.
Please Log in or Create an account to join the conversation.
- calum
-
Topic Author
- Offline
- User
-
Registered
- Posts: 1144
- Thanks: 415
Re: KZ750H Restoration
05 Feb 2020 08:31 - 05 Feb 2020 09:30
After the valve clearance was done I got everything assembled ready for a first test run. Still need to do a bit of wiring, will hopefully get it done on Friday or Saturday.
Here's the state of things at the moment (the rear mudguard needs a coat of paint - it's just in there while I'm doing the wiring):
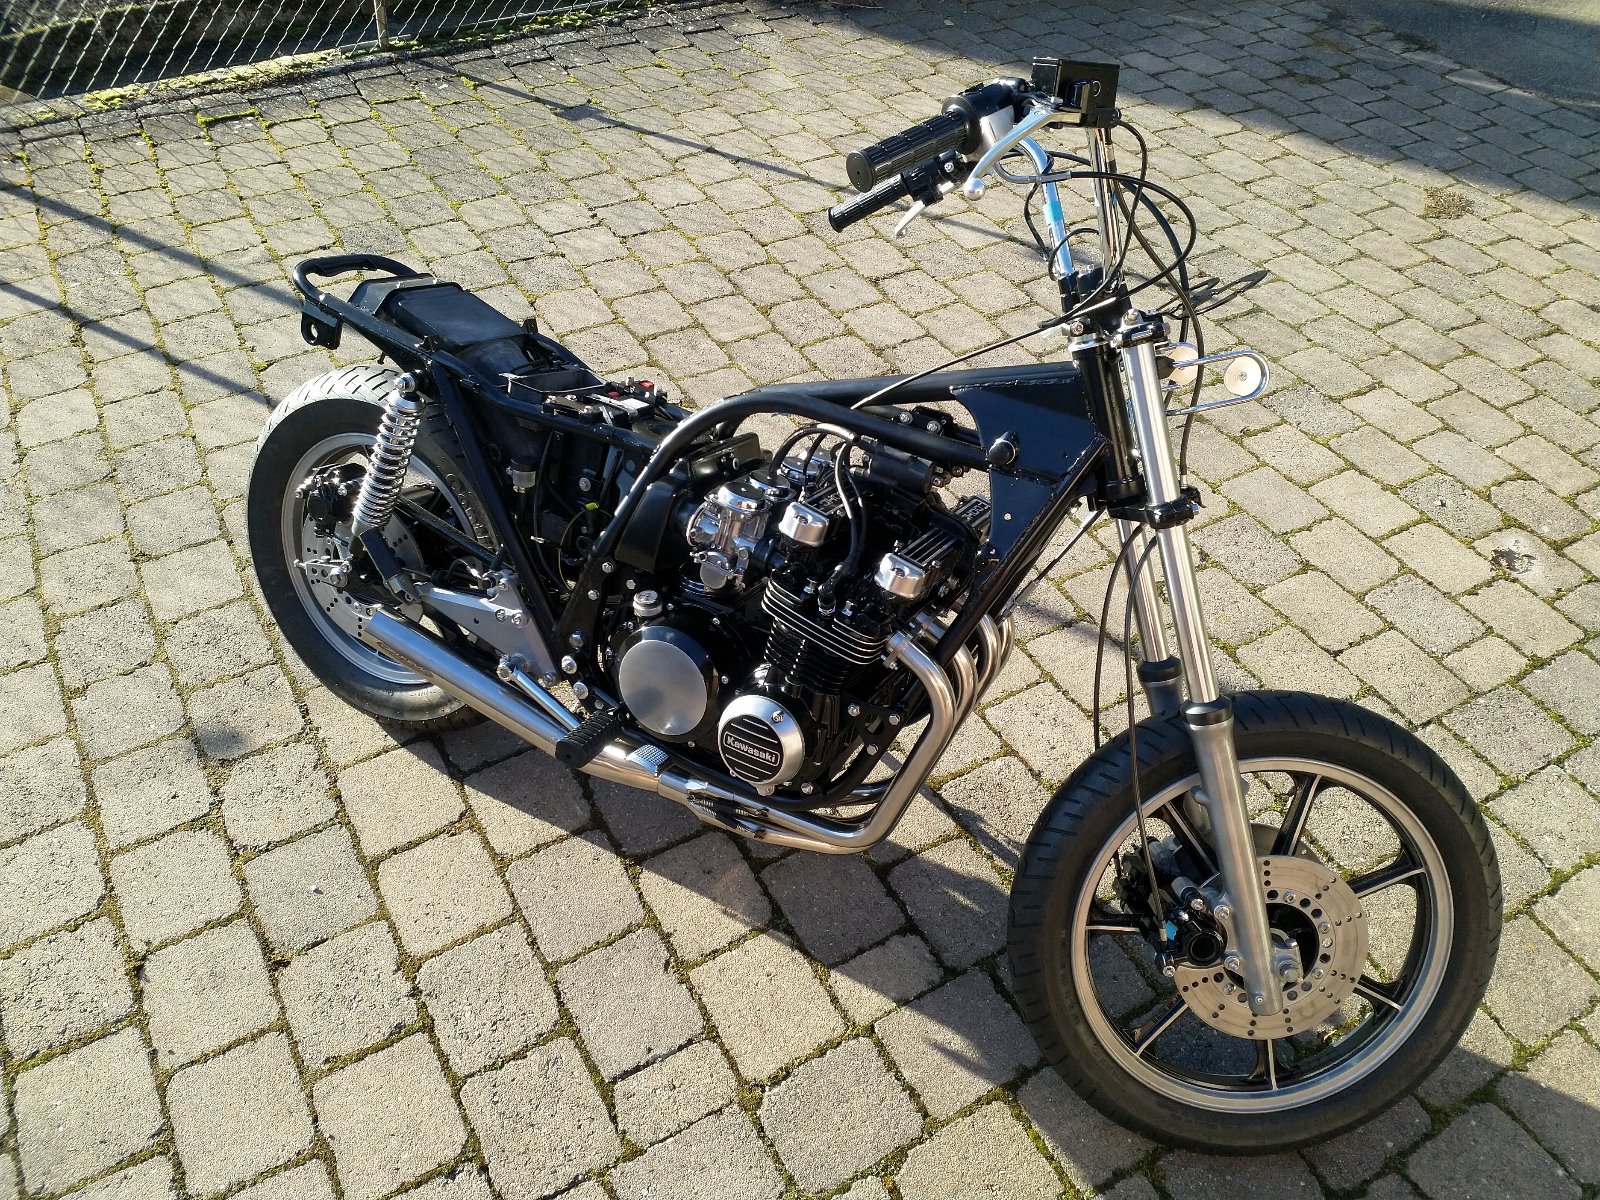
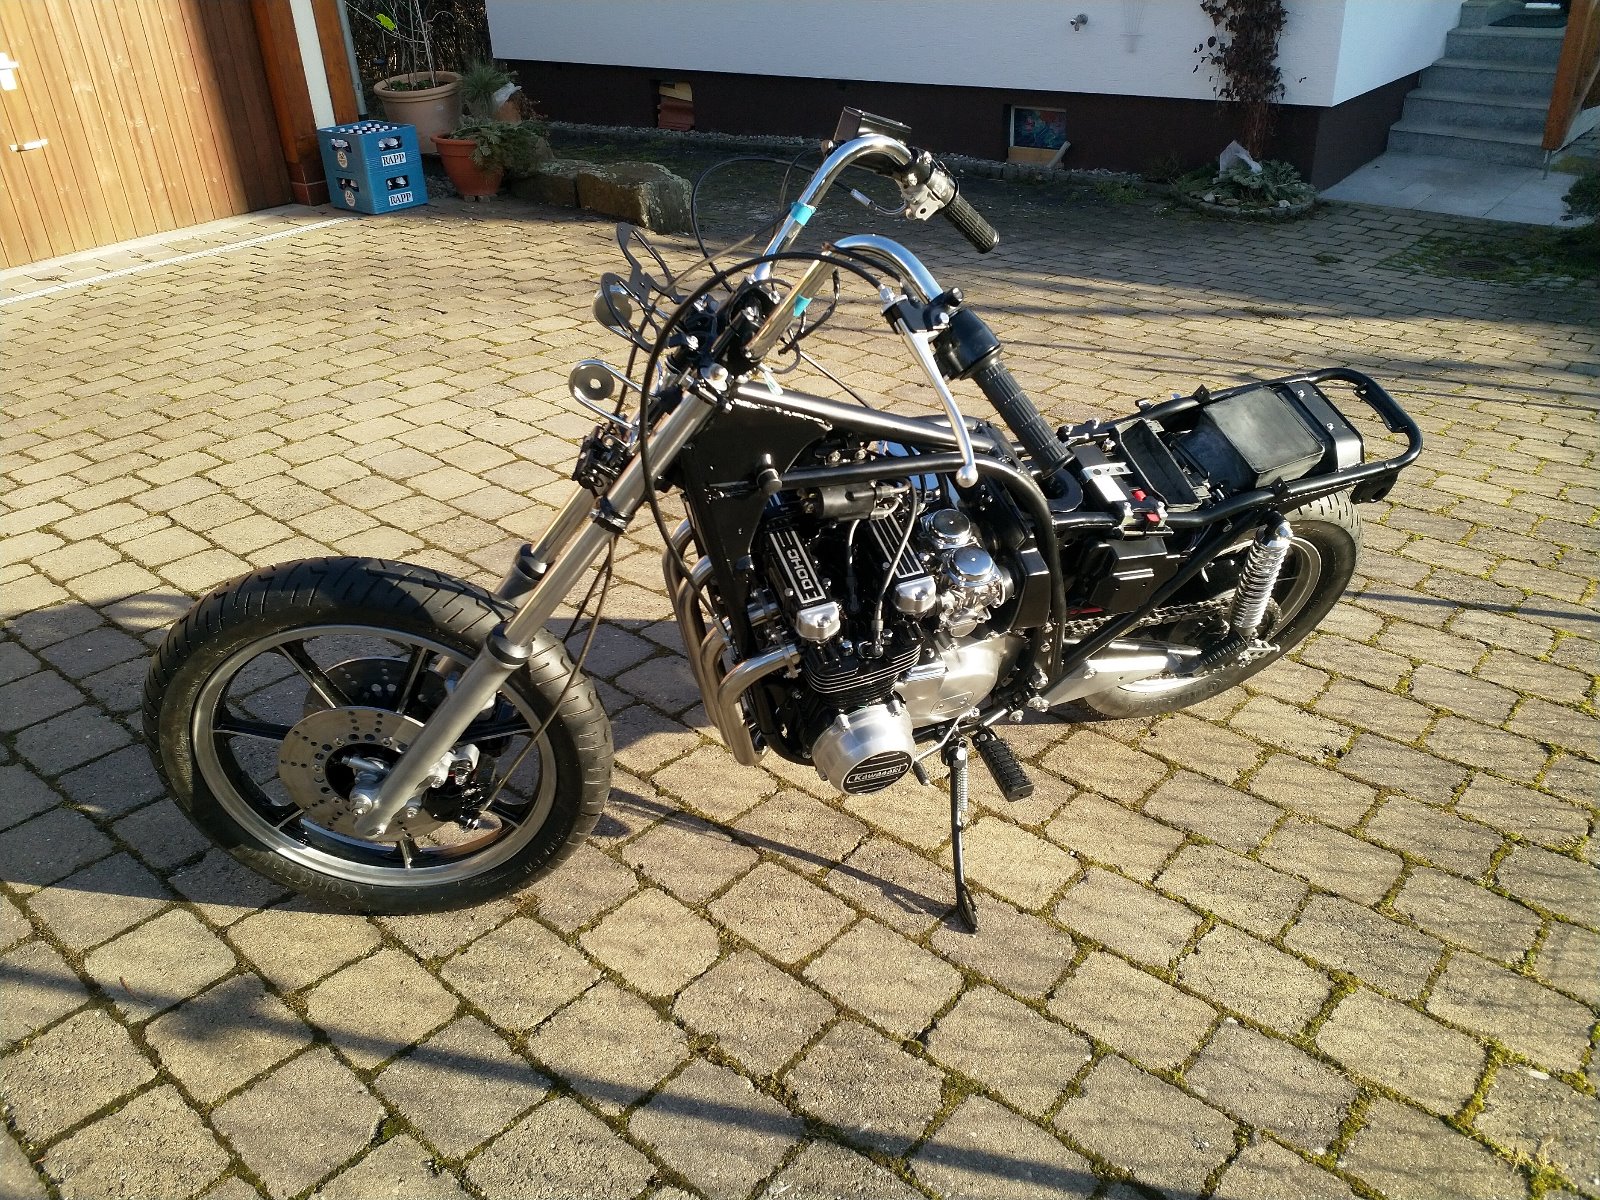
Here's the state of things at the moment (the rear mudguard needs a coat of paint - it's just in there while I'm doing the wiring):
KZ1000 Restomod (
www.kzrider.com/forum/11-projects/614517-1977-kz1000-restomod
)
1977 KZ1000A1 ( www.kzrider.com/forum/11-projects/616901...-spare-parts-project )
1980 KZ750H ( kzrider.com/forum/11-projects/612054-kz750h-restoration )
2000 BMW F650GS
1977 KZ1000A1 ( www.kzrider.com/forum/11-projects/616901...-spare-parts-project )
1980 KZ750H ( kzrider.com/forum/11-projects/612054-kz750h-restoration )
2000 BMW F650GS
Last edit: 05 Feb 2020 09:30 by calum.
The following user(s) said Thank You: Dragbike_Mike
Please Log in or Create an account to join the conversation.
- Kidkawie
-

- Offline
- User
-
Registered
- I bleed premix
- Posts: 1916
- Thanks: 243
Re: KZ750H Restoration
06 Feb 2020 06:50
About the metal shavings, you should buy a bore scope off amazon, they are pretty cheap now. To remove you can try vaccuuming out by reducing down to a tube that fits through the splark plug hole.
Dont try to turn it over until you can confirm there is no debris inside.
Dont try to turn it over until you can confirm there is no debris inside.
1975 Z1 900
1994 KX250 Supermoto
2004 KX125
1994 KX250 Supermoto
2004 KX125
The following user(s) said Thank You: calum
Please Log in or Create an account to join the conversation.
Moderators: Street Fighter LTD