Welcome, Guest
Username: Password: Remember me

TOPIC:

My first engine rebuild on a 1980 KZ1000 LTD 01 Jun 2011 19:13 #454831

  • DoctoRot
  • DoctoRot's Avatar Topic Author
  • Offline
  • Sustaining Member
  • Oh, the usual... I bowl, I drive around...
  • Posts: 2544
  • Thank you received: 664
I was curious if those rings were normal, there seem to be alot of brown rings on different parts. Is that because I wasn't changing the oil frequently enough? I was changing it around every 2000 miles regularly, but near the end it was burning oil like crazy, so maybe it wasn't frequently enough.


Got the pistons off, and finished dissembling the rest of the engine.
went pretty smooth, except for one of the engine case bolts shearing off. there was a ton of corrosion on it for some reason


I also picked up this


and these


So now I will be cleaning everything up, and measuring the tolerances described in my Clymer manual. Ill be posting alot of close ups on here once everything is tidy so i can get some idea of what i need to replace.

Please Log in or Create an account to join the conversation.

Last edit: by DoctoRot.

My first engine rebuild on a 1980 KZ1000 LTD 01 Jun 2011 21:00 #454847

  • Treewizard
  • Treewizard's Avatar
  • Offline
  • User
  • Posts: 84
  • Thank you received: 1
just beng finshed with my own rebuild on my 83 Kz 750 one of the things that id do diffrently for sure is

go ahead and glass bead blast ALL the carbon off the combustion chamber,

just get 80 grit blasting media and go at it.

all u have to do is stop as soon as the black comes off

this is doubly true for the valves, i started with a brass brush just like u did and very quickly discovered that was a task for an entire other life.

i just used metal tape around the flat rim of the head when i blasted it with the valves still in and it was short, quick, and sexxy finish. just lap ur valves good after and ur golden

BEAD BLAST TEH SHEET AND BEE DONE! B)
1983 KZ 750 shaft
2002 ZRX 1200R
Raleigh NC

Please Log in or Create an account to join the conversation.

Last edit: by Treewizard. Reason: kZ

My first engine rebuild on a 1980 KZ1000 LTD 02 Jun 2011 00:40 #454898

  • wireman
  • wireman's Avatar
  • Offline
  • User
  • The most interesting prick in the world
  • Posts: 4761
  • Thank you received: 299

Treewizard wrote: just beng finshed with my own rebuild on my 83 Kz 750 one of the things that id do diffrently for sure is

go ahead and glass bead blast ALL the carbon off the combustion chamber,

just get 80 grit blasting media and go at it.

all u have to do is stop as soon as the black comes off

this is doubly true for the valves, i started with a brass brush just like u did and very quickly discovered that was a task for an entire other life.

i just used metal tape around the flat rim of the head when i blasted it with the valves still in and it was short, quick, and sexxy finish. just lap ur valves good after and ur golden

BEAD BLAST TEH SHEET AND BEE DONE! B)

i think id be inclined to have the head fully stripped and stick a golf tee into both ends of each valve guide when blasting.
after you get done blasting head id take the cleaned valves and stick them in guides and give the rock test,if they move at all in the guides its time for new guides.
lapping valves on an old motor does little good in my experiance anyway.
you need a good solid guide fit to keep valve square on its seat and a good valve job and new springs to seal things up.the little bit lapping valves without a good valve job first is lost as engine gets up to temp B)
posting from deep under a non-descript barn in an undisclosed location southwest of Omaha.

Please Log in or Create an account to join the conversation.

My first engine rebuild on a 1980 KZ1000 LTD 02 Jun 2011 23:33 #455098

  • DoctoRot
  • DoctoRot's Avatar Topic Author
  • Offline
  • Sustaining Member
  • Oh, the usual... I bowl, I drive around...
  • Posts: 2544
  • Thank you received: 664
Thanks for the link to that thread Patton, made up one of my own and got the valves out.


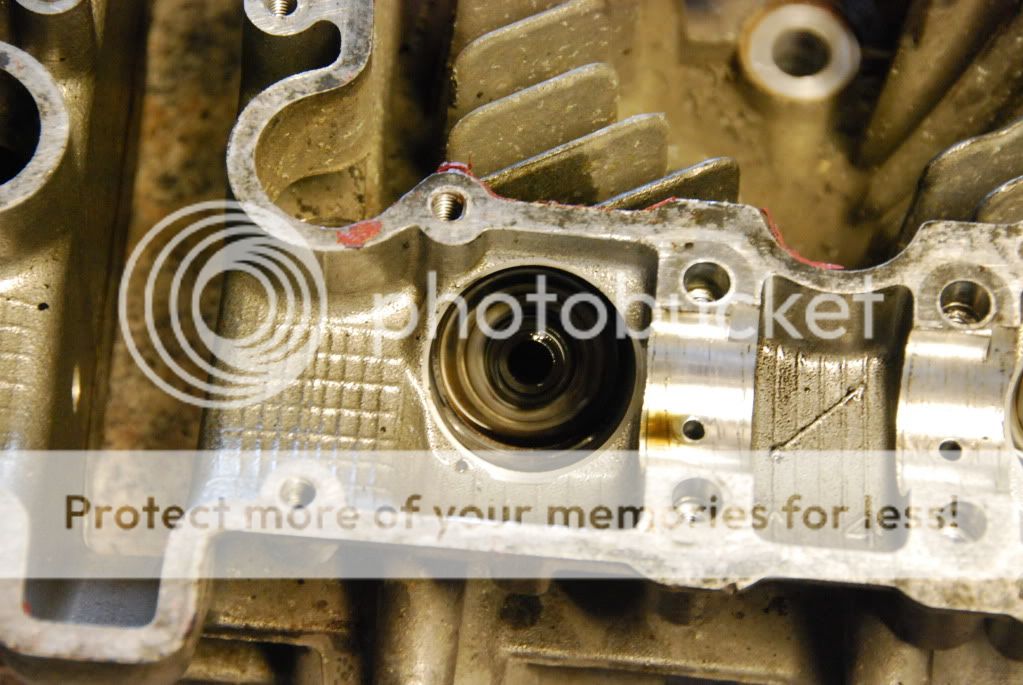
After inspecting the valves I am definitely going to need new exhaust valves at the least, maybe intake valves as well. Also there is lateral movement on every valve guide, so I will be needing new guides as well. It says in my Clymer manual that I should have a shop instal new guides. I was looking at Cavanaugh Racing Heads webpage, and they offer a "Street Port With Valve Job - 20% Avg. flow gain. Nice performance boost for street and touring type riding with Drop In Cams." Thinking about springing for this. I'm gonna try to give them a call tomorrow to find out more.

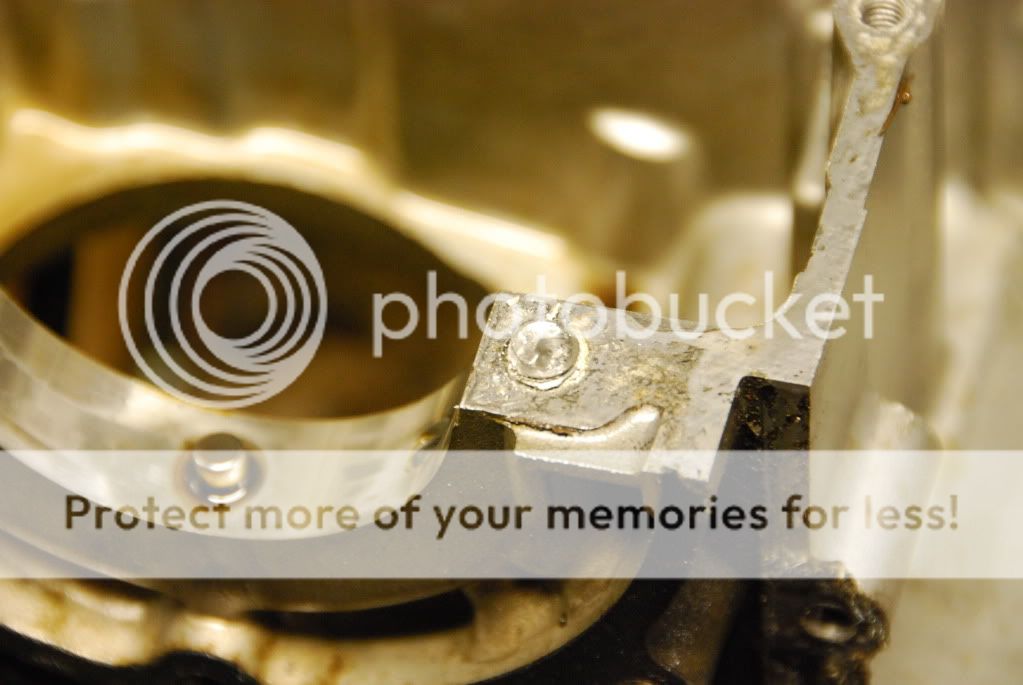
Oh, and yeah, this happened.

Please Log in or Create an account to join the conversation.

My first engine rebuild on a 1980 KZ1000 LTD 03 Jun 2011 00:39 #455108

  • elfmagic17
  • elfmagic17's Avatar
  • Offline
  • User
  • Posts: 337
  • Thank you received: 24
Brake cleaner works really good for cleaning off carbon, but you have to be careful on plastic since some plastics melt if it gets on them.
Kenny Hicks
74 Honda CB550
75 Honda CB360 (runs and rides good but not a show bike)
77 KZ650B1 (Runs Great, but needs painted and a little work.)

Please Log in or Create an account to join the conversation.

My first engine rebuild on a 1980 KZ1000 LTD 03 Jun 2011 00:52 #455111

  • rich67
  • rich67's Avatar
  • Offline
  • User
  • Posts: 191
  • Thank you received: 42
Can't go wrong with any work done at Cavanaugh Racing . larry did an awesome job on my head for the 1200 im building . Good luck and good progress !

Please Log in or Create an account to join the conversation.

My first engine rebuild on a 1980 KZ1000 LTD 06 Jun 2011 04:27 #455733

  • jimmyjimmyjoe
  • jimmyjimmyjoe's Avatar
  • Offline
  • User
  • Hope Im ready for this build
  • Posts: 4
  • Thank you received: 0
I

Please Log in or Create an account to join the conversation.

Last edit: by jimmyjimmyjoe.

My first engine rebuild on a 1980 KZ1000 LTD 06 Jun 2011 04:29 #455734

  • wireman
  • wireman's Avatar
  • Offline
  • User
  • The most interesting prick in the world
  • Posts: 4761
  • Thank you received: 299
use something soft like a brass drift and tap on it with a hammer to see if they move B)
posting from deep under a non-descript barn in an undisclosed location southwest of Omaha.

Please Log in or Create an account to join the conversation.

My first engine rebuild on a 1980 KZ1000 LTD 06 Jun 2011 04:35 #455735

  • jimmyjimmyjoe
  • jimmyjimmyjoe's Avatar
  • Offline
  • User
  • Hope Im ready for this build
  • Posts: 4
  • Thank you received: 0

DoctoRot wrote: I took the cylinder off and tried to remove the pistons. I got the circlips out but the wrist pin doesn't want to come out. The manual said to try heating up with a torch, that didn't work either, it also has a diagram for a home made puller. I'm gonna try and make it today and see if i can get those pins out.


So how did you end up getting the pistons off? Any pictures of the tool.

I also am about to take apart a kz1000p I just picked up a couple of days ago. I also have never build one before so I will be watching close and I hope you dont mind if I ask questions in your tread. Not trying to hijack your thread. Just in the same boat.

Thanks for all ive learned so far. :)

Please Log in or Create an account to join the conversation.

My first engine rebuild on a 1980 KZ1000 LTD 06 Jun 2011 04:49 #455739

  • wireman
  • wireman's Avatar
  • Offline
  • User
  • The most interesting prick in the world
  • Posts: 4761
  • Thank you received: 299

Attachment brassrod.jpg not found

posting from deep under a non-descript barn in an undisclosed location southwest of Omaha.
Attachments:

Please Log in or Create an account to join the conversation.

My first engine rebuild on a 1980 KZ1000 LTD 12 Jun 2011 00:48 #456770

  • DoctoRot
  • DoctoRot's Avatar Topic Author
  • Offline
  • Sustaining Member
  • Oh, the usual... I bowl, I drive around...
  • Posts: 2544
  • Thank you received: 664
sorry for the lack of posts i have been out of town for a while, but im back now.

@wireman little confused here "use something soft like a brass drift and tap on it with a hammer to see if they move" are you talking about the valve guides?

@jimmyjoe I cant seem to find it at the moment but there is a pic of one in the clymer manual, i took a photo of it, when i find that thing i'll put it up here. I used a PVC pipe and no pad.


I picked up this solvent sink and started cleaning the engine cases


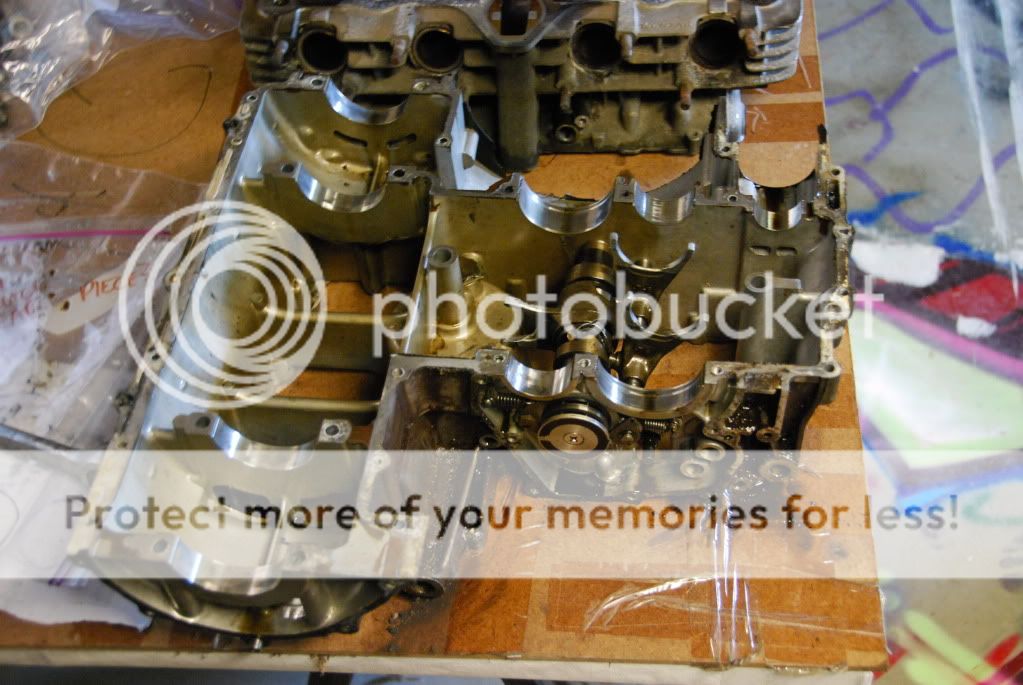
The gaskets are really stuck on there, my friend suggested i use a razor to slice them off, but because the aluminum is so soft, I seem to be slicing it as well. Is there some easier way to get the gaskets off? Then I remembered I read somewhere that its good to have all the mating surfaces machined down when you rebuild an engine. Is this true or did I make this up? I know you need the head resurfaced, but what about the top of the engine case, and between the cases?

Please Log in or Create an account to join the conversation.

Last edit: by DoctoRot.

My first engine rebuild on a 1980 KZ1000 LTD 12 Jun 2011 01:43 #456782

  • MFolks
  • MFolks's Avatar
  • Offline
  • User
  • Posts: 6650
  • Thank you received: 540
When removing stuck on gaskets, I use a piece of sharpened hard plastic like Lexan or Plexiglass. They can be re-sharpened when dull with a file and will not damage the aluminum engine cases.
1982 GPZ1100 B2
General Dynamics/Convair 1983-1993
GLCM BGM-109 Tomahawk, AGM-129A Advanced Cruise Missile (ACM)

Please Log in or Create an account to join the conversation.

Powered by Kunena Forum