Hey Folks!
Been about a week since last we chatted. Been trying to plug a couple or more hours daily into raising the KZombie from the dead. This week was mostly positive results. Still stumbling over parts that are missing but I don't know it until the manual mentions something about it but otherwise. Thank goodness for online shopping and free shipping eh? Dayum, I remember a time in the early 90's restoring a car in my garage and I had find parts in popular magazines, call the vendor and order advertised items and then wait a couple of weeks for them to be delivered. You really had to plan-out your project carefully or you lost hours or days or worse had a long weekend with one part halting any progress.
So the weather has been kinda' stwange lately, Humid every afternoon. So painting has been off the table for the most part unless it was something small that I could tackle in the morning and be done before noon. Now that I had KZombie as a roller, I started piecing together all the bits to get an idea of the overall look. So I started with the controls. My new master cylinder came in and bolted right on with no problems:
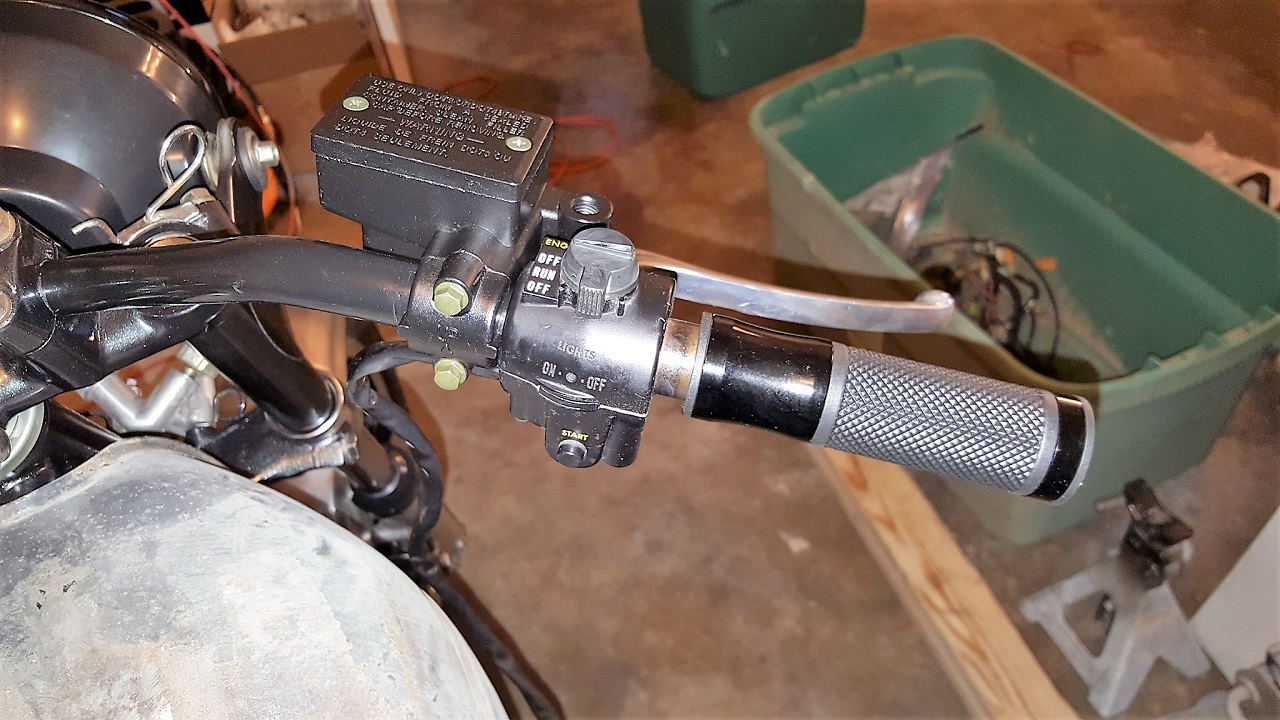
However, that right hand control was basically seized up. I couldn't rotate the 0/1/0 switch at all. The start button moved but I got no continuity at the connector-end. I took it apart and basically found a rusty, gritty, spider-webby mess inside and dismantled it completely. Cleaning and lubricating every contact or erstwhile moving part. Then retested with the multi-meter and voila! Working right hand control. I was surprised to see that the throttle tube was steel and not plastic. I guess this was a change made in 1980 or so since the other two KZs have plastic throttle tubes. My new grips don't quite fit the older steel tube though. I dunno about that yet. I may just come up with some spacer or rubber or maybe just cut-down the tube so the grip fits closer to the control hub.
So next was the left hand controls. I slipped the clutch perch onto the bar and the new grip already:
Then I cracked open the FSM and began reviewing the wiring diagram for the left hand control:
Funny huh? How perfectly neat and orderly the left hand control looks in the manual. I got familiar with it at any rate and then tried to check it out on the bench with the meter again. No bueno. Same as the right side control. Most switching didn't budge and the one that did (horn) was dead at the wired-end. So I cracked it open:
Whoa!

This looks
nuthin' like the factory wiring diagram above. And what's that teeny weeny circlip for?
Basically the same thing here. spider webs, sandy grit and oxidation was stopping anything and everything from working. I had to fully dismantle it and remove absolutely every component right down to the bottom where the hazard switch is buried and discovered that in addition to the rusty/dusty/spidery stuff, some of the wires had separated from their respective solder points:
Of course, I couldn't put my hand on my soldering iron to save my life so I fearfully had to leave it like this overnight until I could find my ancient soldering gear in some packed box inside a moving tub, on a shelf..at another address.
Next day I had the soldering gear and set to repairing the hazard switch mini circuit /switch:
Fortunately, I remembered how to put the exploded-view control back together and tested it with the meter. Result and onto the handlebar it went. Also fortunate was the delivery that day of a new-to-me headlamp assembly. I really like the look of the stock headlamp and I found one online which was listed as for a KZ750. Turns out the rubber bushing were slightly thicker and this didn't allow my headlamp ears to quite align. Thankfully, I had previously ordered online a random collection of hardware from a motorcycle salvage and in that tray were two 650 headlamp bushings. Saweet! So I buffed up the chrome and assembled it with two old/original turn signals that will be replaced with new old stock units in the coming weeks but the old units were sufficient to get things mounted:
Next up were the speedometer/tachometer/panel. KZombie had this cluster but the central panel lights (oil, neutral, etc) were missing their top and bottom covers. Of course I only figured this out
after I had dismantled, cleaned and made ready for paint the speedometer. Luckily, the replacement unit I found included all the bits and had the bonus of having the chromed lower shell covers:
So the ol' bike was starting to look like a
real motorcycle again! Woot!
")
Well, except for the obvious absence of that little thing under the tank - the engine...

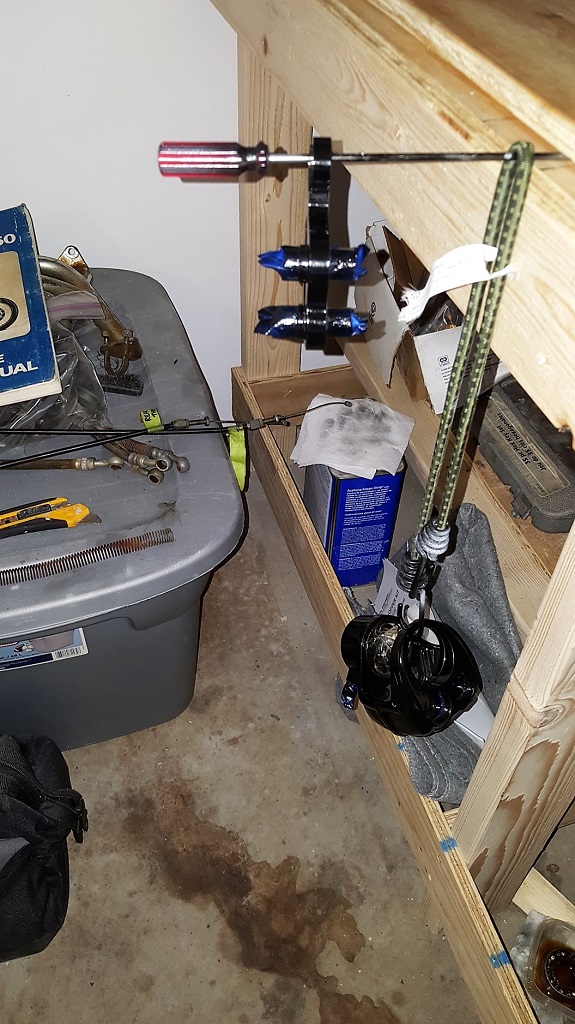
I was pretty stoked about the progress with the over-all appearance and realized in all my random, adhoc approach to restoration, I had forgot to rebuild the other front disc caliper. As this was the last of three brake calipers it went pretty smoothly and I had the caliper body in paint in quick order:
Fast forward to the last day of the holiday weekend here in the USA. I had to work over the weekend but got let out of the cage for Monday and had let it be known in no uncertain terms to the wife and family that there was an invisible "Do NOT Disturb" sign posted on the garage door. Bright and early, I rolled out all the bikes (my son's HD is found a temporary home in my garage while he and his wife are moving from Round Rock to Waco) and got KZombie's rolling frame centered in the garage for engine installation. All the painted mounting ears and associated hardware were ready and laying in position and I picked up the engine lunk off the workbench all my wittle self and lowered it carefully into the frame, onto a hydraulic jack with a wood plank. Incredibly, I suffered no injury or hernia and other than some brow sweat, it was almost as easy as the removal was a couple months ago:
Cracking open the FSM again, I rechecked all the mounting hardware was tight and removed the shipping bubble wrap from the frame sections to prepare to assemble the engine finally..
Freakin' Finally!
I had to back step when I opened up the new allen head hardware selection which clearly stated I should be using anti-seize and I also noted in the manual about needing some liquid gasket sealant for the clutch cover. Of course I couldn't find either and so hopped on the trusty KZ550a and took a short ride over to the auto parts store and back. I gotta say how thorough the hardware "Kit" is:
There are clearly labelled, compartmentalized baggies of bolts and washers for every case and cover. So thanks to Kaw-A-Holic-Jon for suggesting this clever solution. KZombie's engine hardware was random, rusty and sometimes absent to begin with, so it was nice to have this new stainless steel hardware, clearly labelled on where it goes. I did run into one snag though. 2 of the bolts for the dynamo cover were the incorrect size when compared to the original screws. No big deal really. I just substituted a couple from the valve cover for now. Otherwise this vendor is great!
I had to dismantle the clutch as I discovered that the manual stipulates to oil the clutch plates if new or cleaned and since I cleaned the clutch assembly some weeks ago and didn't oil the plates then, there was a need. Didn't take long though and I was onto the sealer needed on the case cover here:
The manual showed a diagram of the location for this so I put a fine line of sealer there where the upper and lower case halves mate.
Soon after, I had the clutch cover with new gasket installed and the ignition cover with new gasket temporarily installed:
Then it was onto the other side:
The rear cover is only temporarily installed as I don't yet have the new clutch cable yet but Wow! Don't it look saweet!!
")
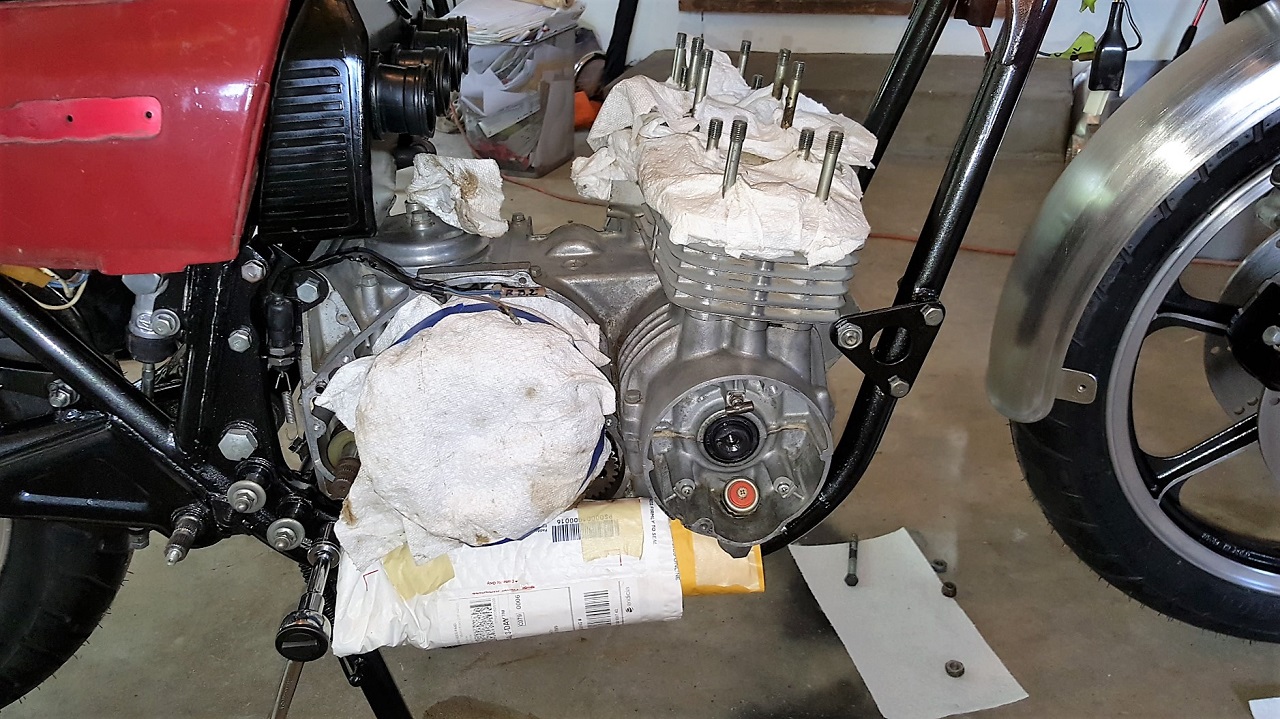
Well, by this time it was getting later in the afternoon and the heat in the garage was climbing but I managed to get the rebuilt cylinder head cleaned and prepped and installed and torqued down and then carried on to get the camshafts set and timed into place:
Et Voila! Ready to have the valve lashes all checked out and hopefully the valve cover bolted on with new gasket and sweet new stainless hardware:


 Anyway don't or do, it always gonna need it again at some point. In your case probably 40ooo miles from now. The joy of 80ish bikes. R
